My Apprenticeship under Bryan Saner
4-16 hours a week for 6 months
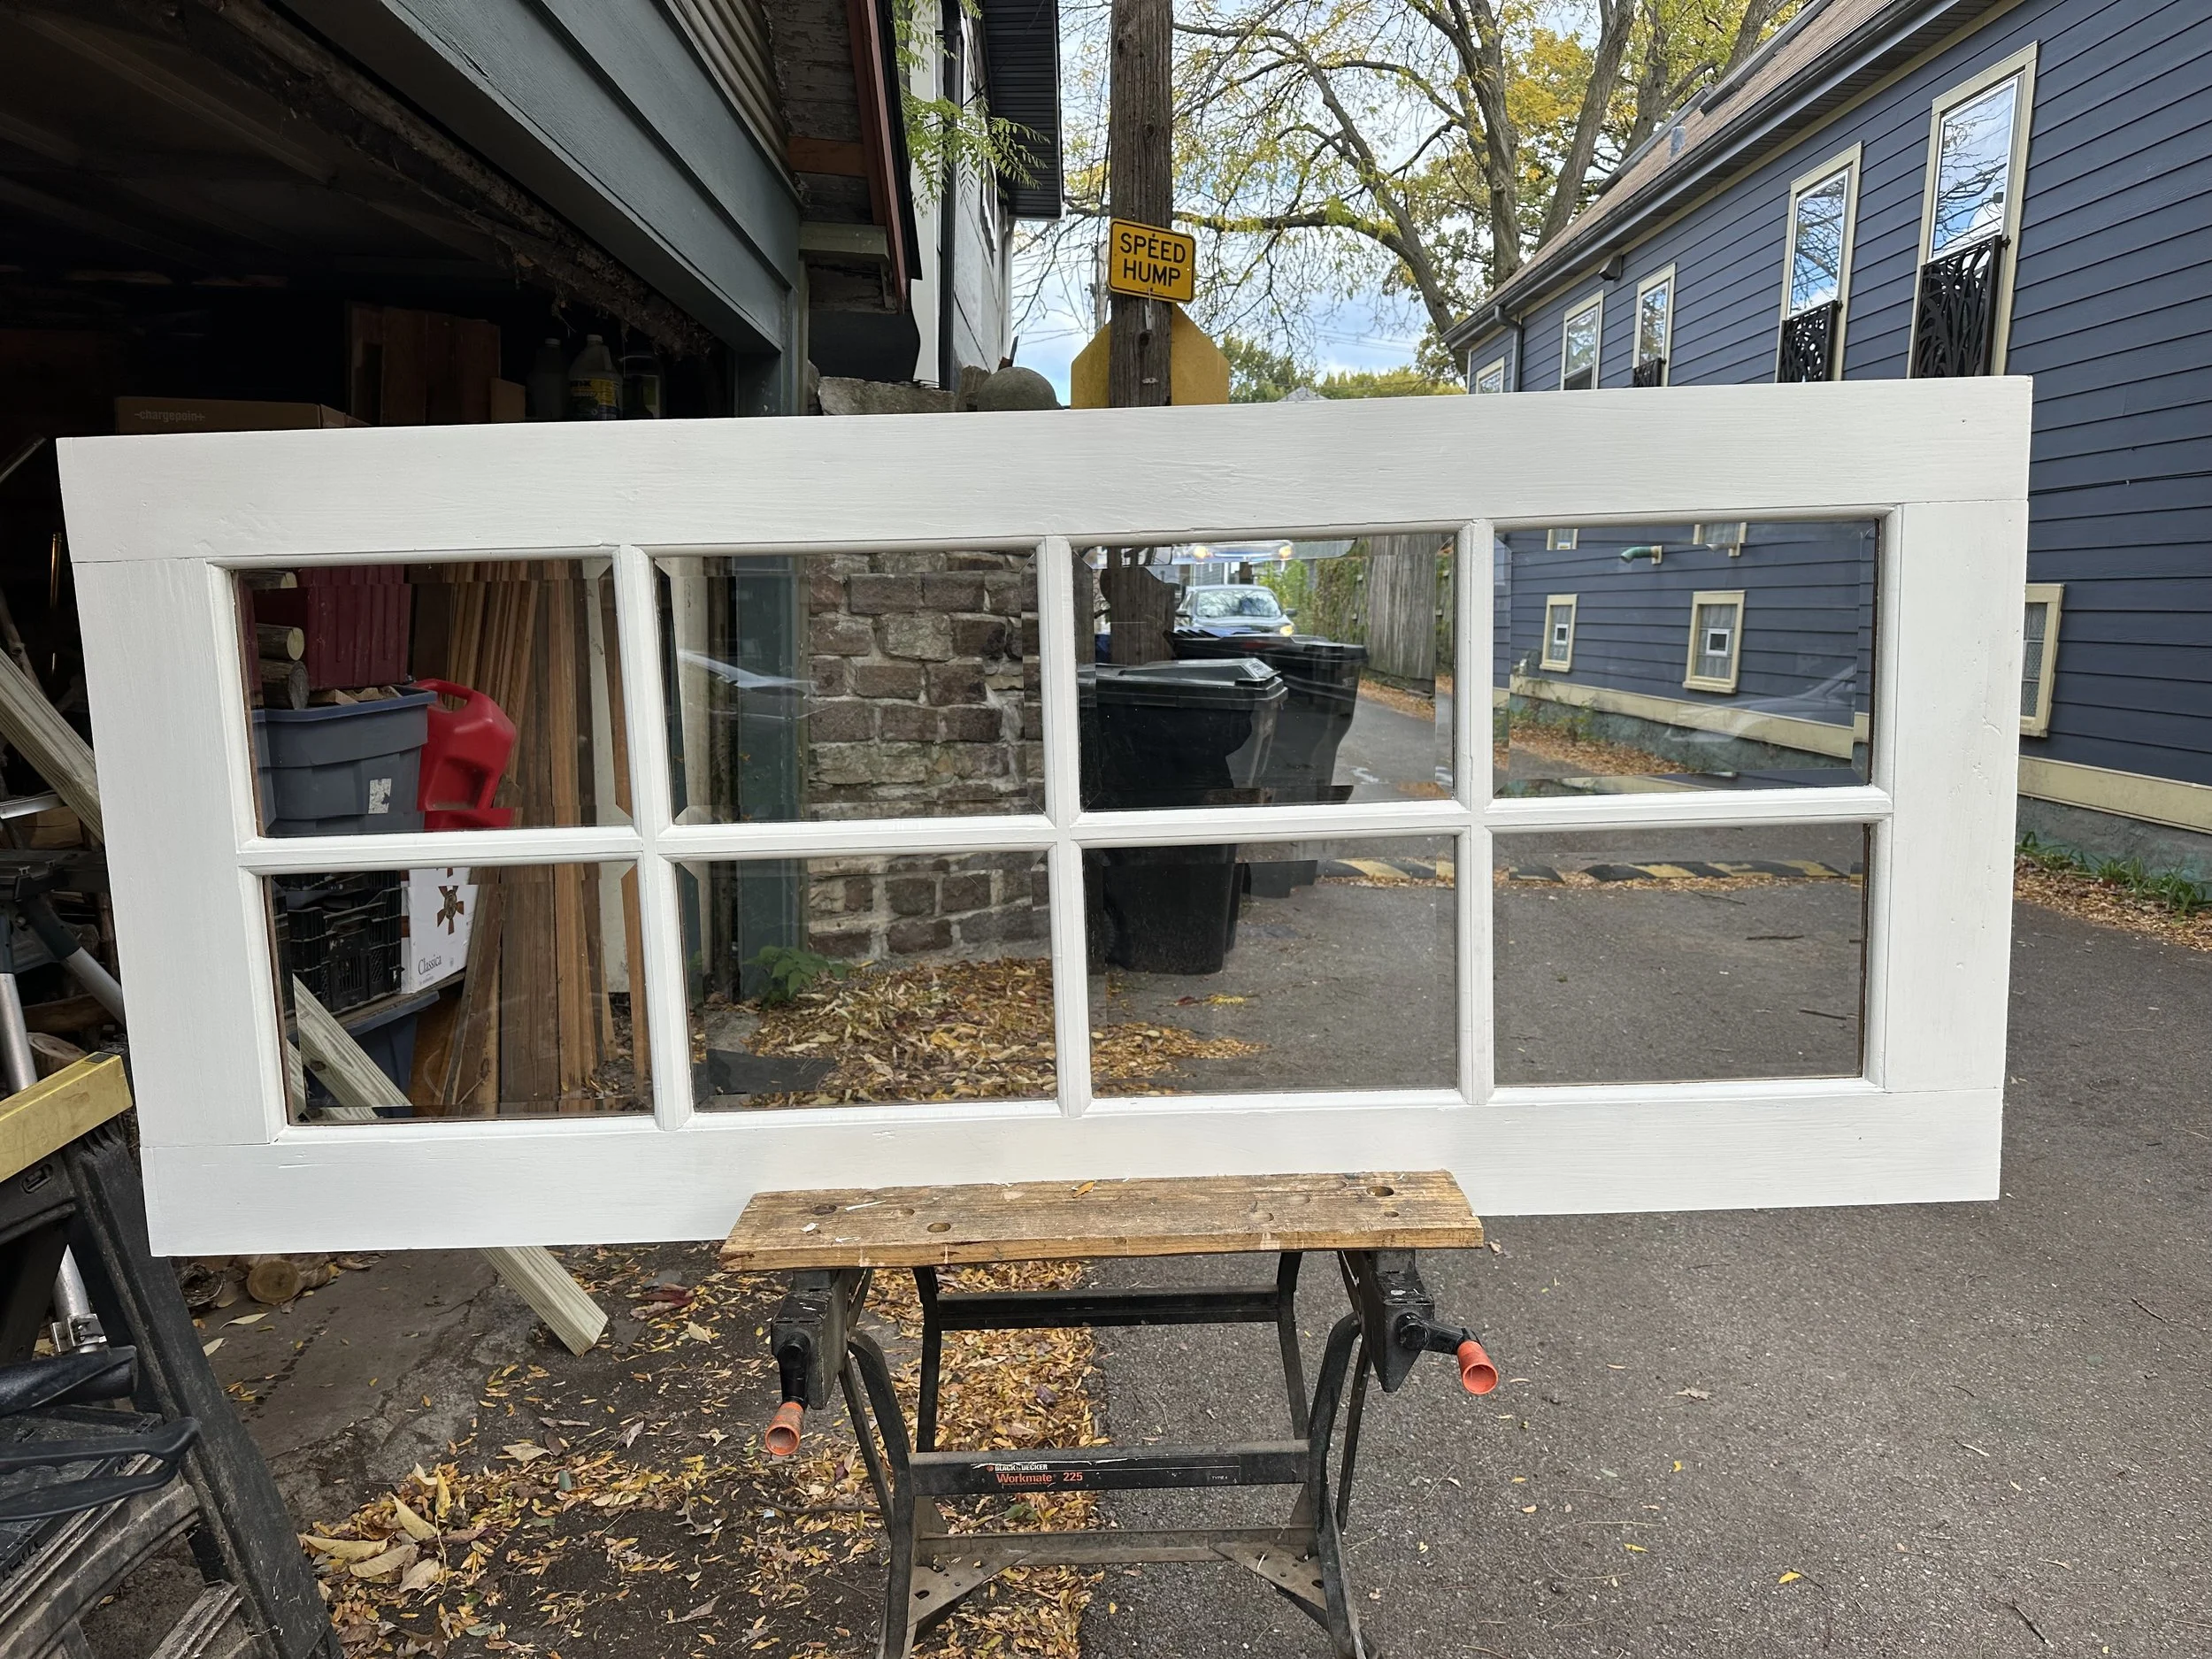
On my first day in my apprenticeship, I was to sand, varnish, and clean the window glass which was covered in paint and other material. I spent about 3 hours on this task, careful to move with care. I noticed that the White paint on the exterior side was uneven, and I took time to apply a more thorough coat.
Feedback I recieved was that I was gouging the waterproofing material. I had thought I was being thorough in my cleanup, but I was taking my chisel too far. Lesson learned. From then on, I was careful of gouging when working on windows. Used a chisel to clean glass, paint brush and paint

Here you see the window installed, and the wall being restored and prepped to reinstall the casing. I assisted by smoothing out the construction foam as my mentor built out the corner wall. I sanded and then painted, all while careful to not disturb the ceiling sculpture that was fragile and prone to disturbance. This process stretched my ability to become comfortable working a space over and over. There were several layers to restoring this window, and I found pride in supporting most of the process. I became inspired by how two people could make such a difference in someone’s home before snowfall.
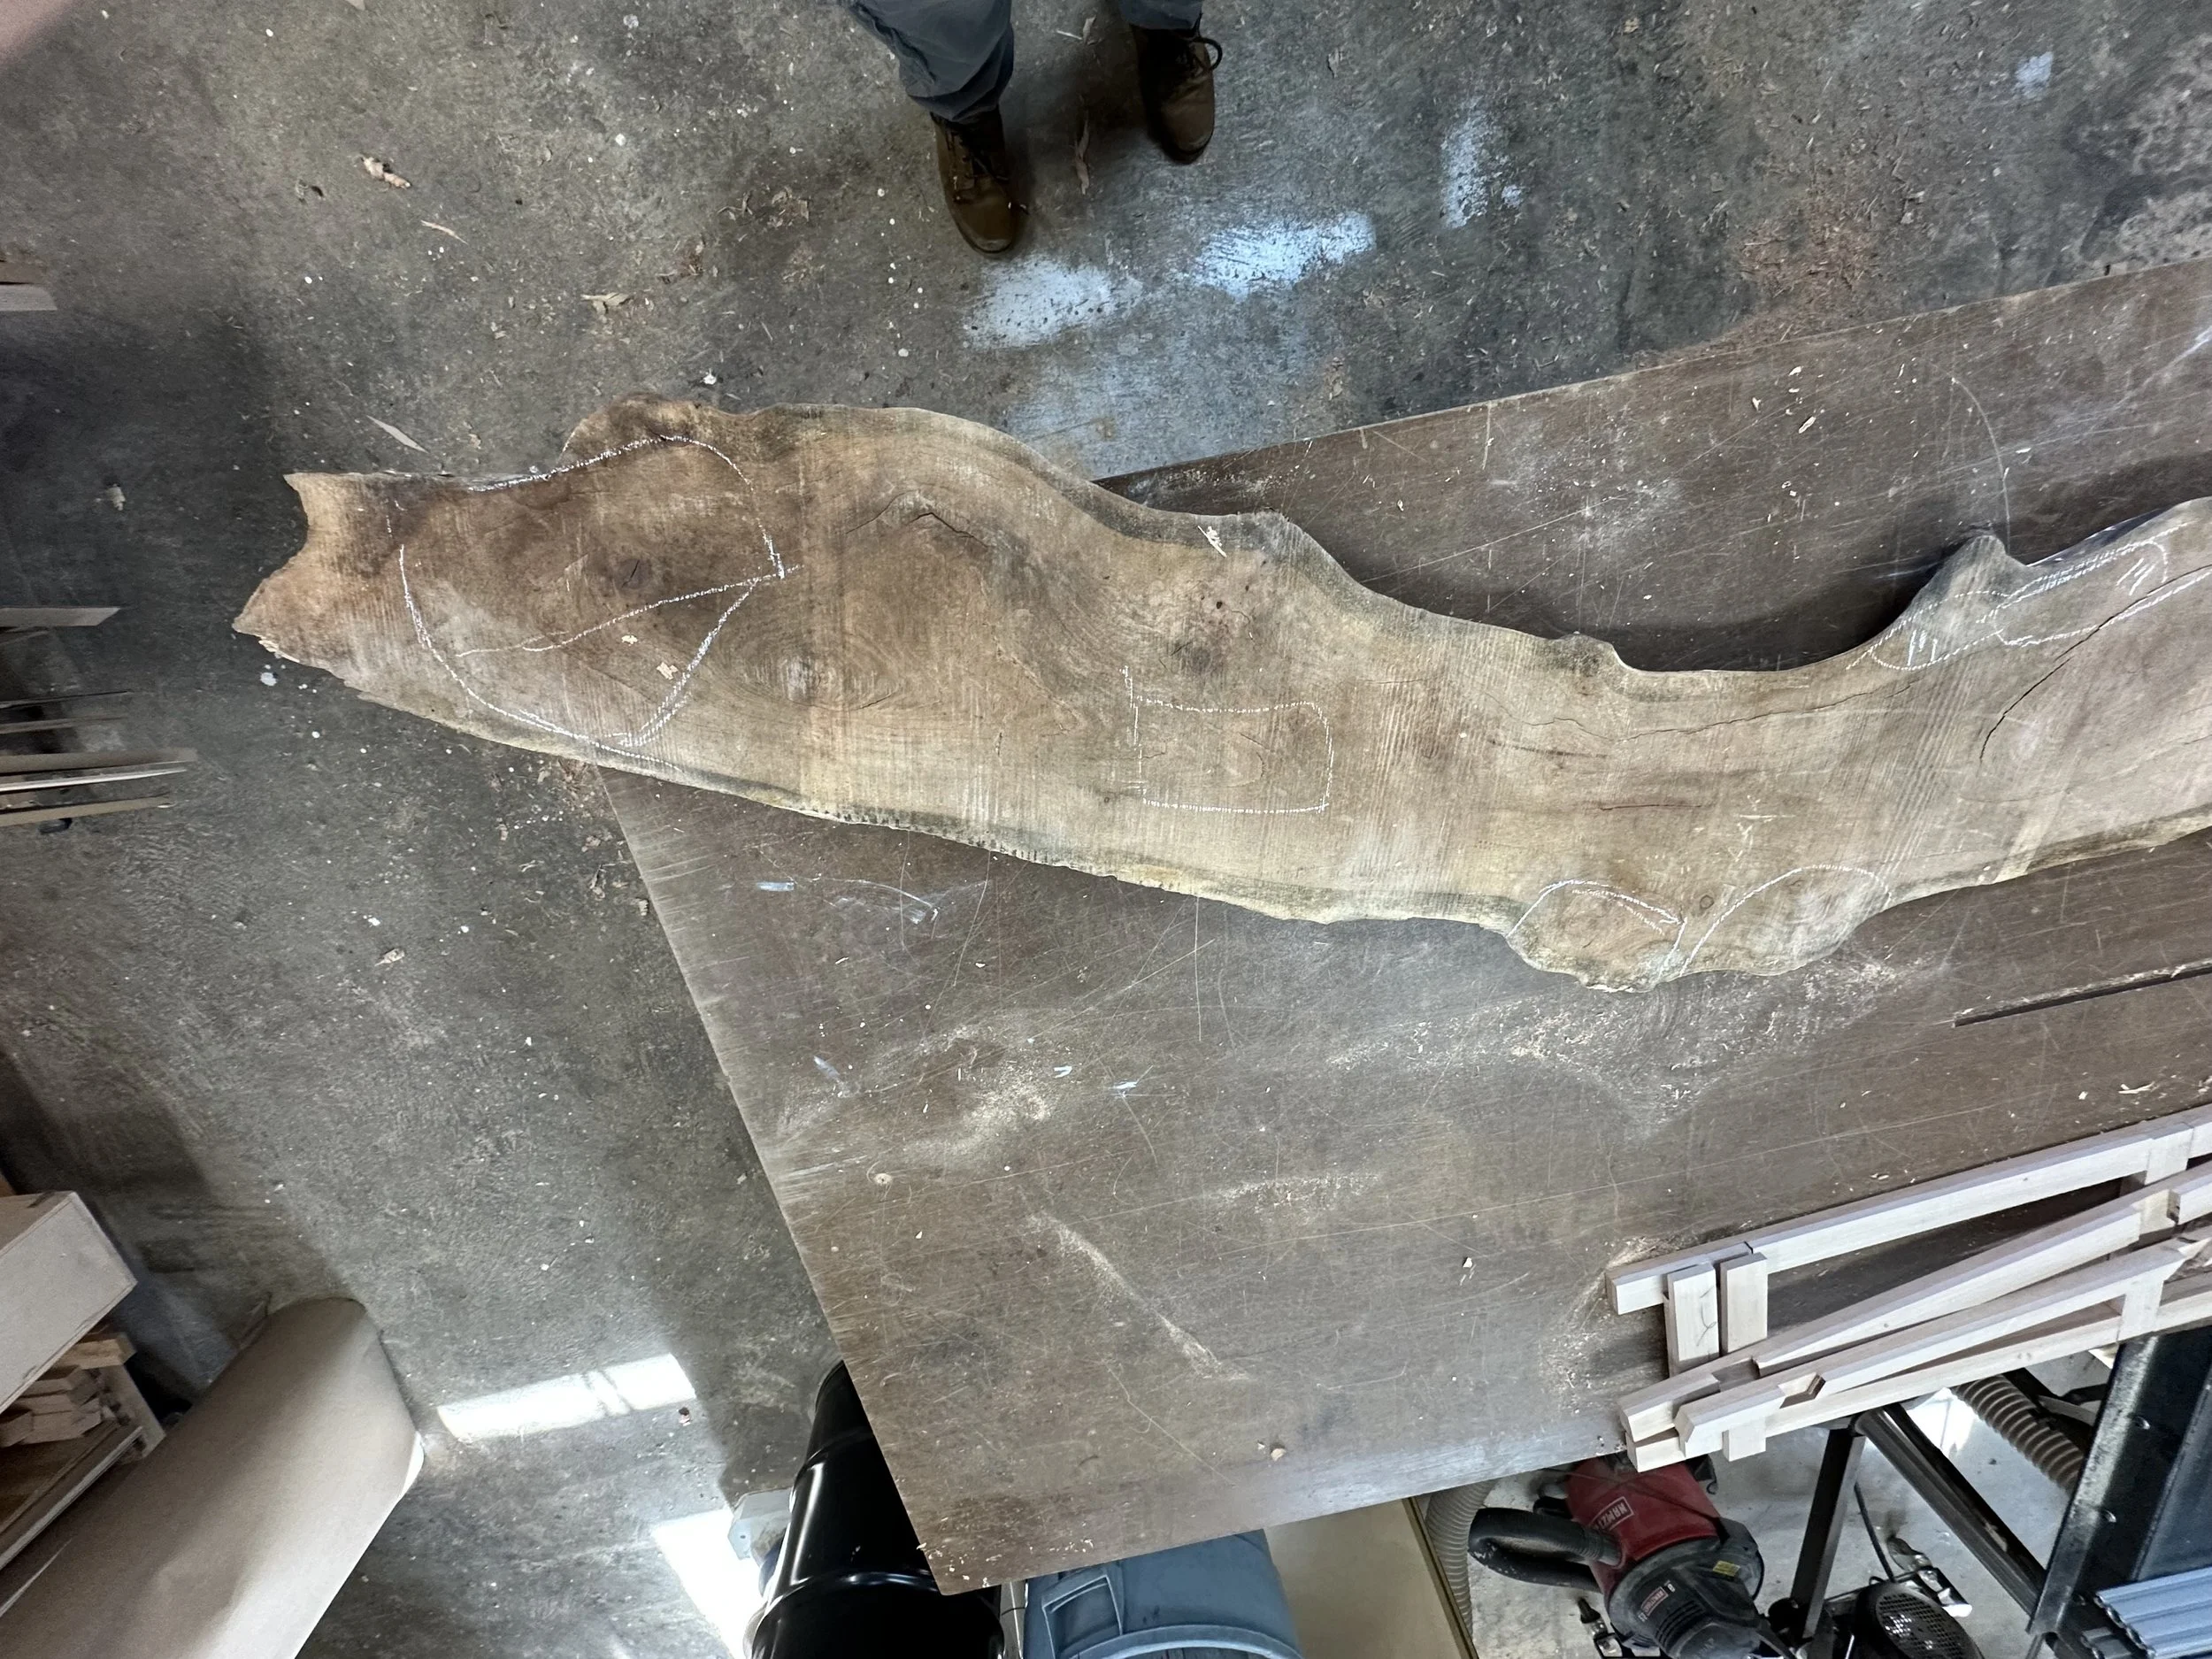
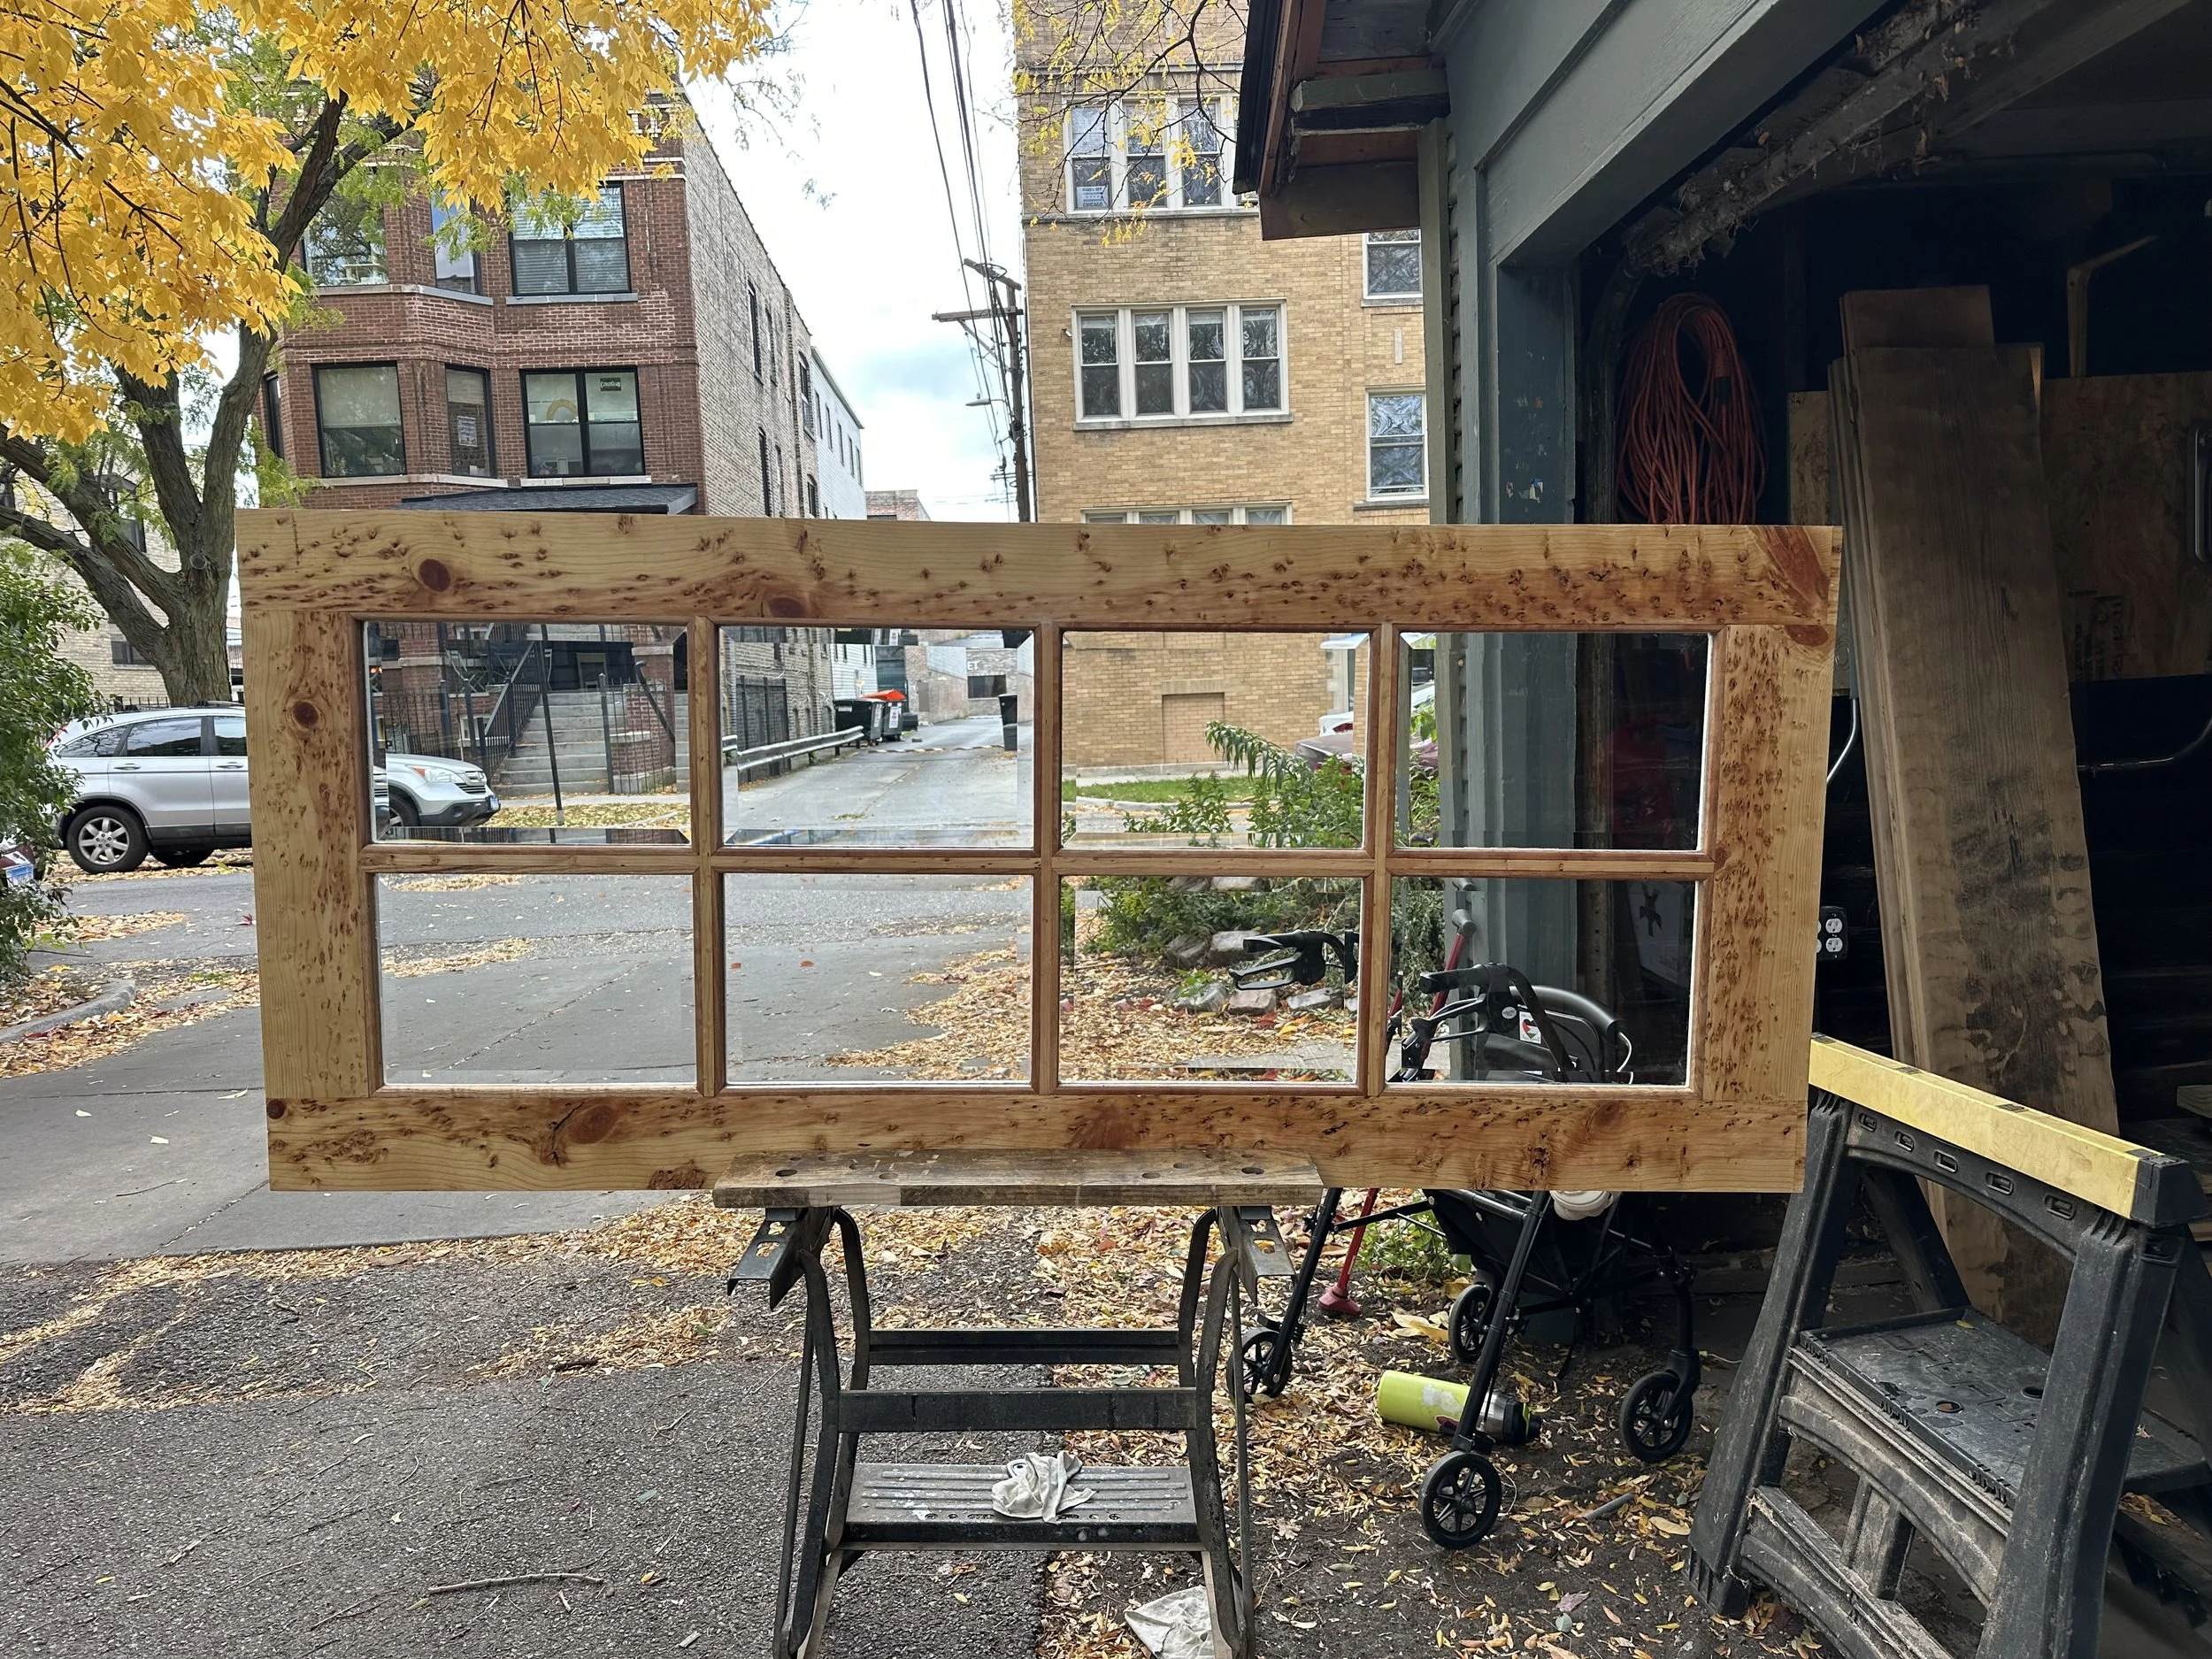
Bryan and I milled this locust wood until it was the desired depth. It was used as a decorative Header for the above window we worked on. I also traced an exact outline of the locust to be taped on the wall for creative placement discussion.

Before

After: A before and after of a Brickmold I cleaned with a small, stiff brush. My mentor was please with the thoroughness, and also encouraged me to not get too lost in the details that I run out of time for the next task. I enjoyed using a small hand tool and putting finishing touches on this beautiful supportive piece.
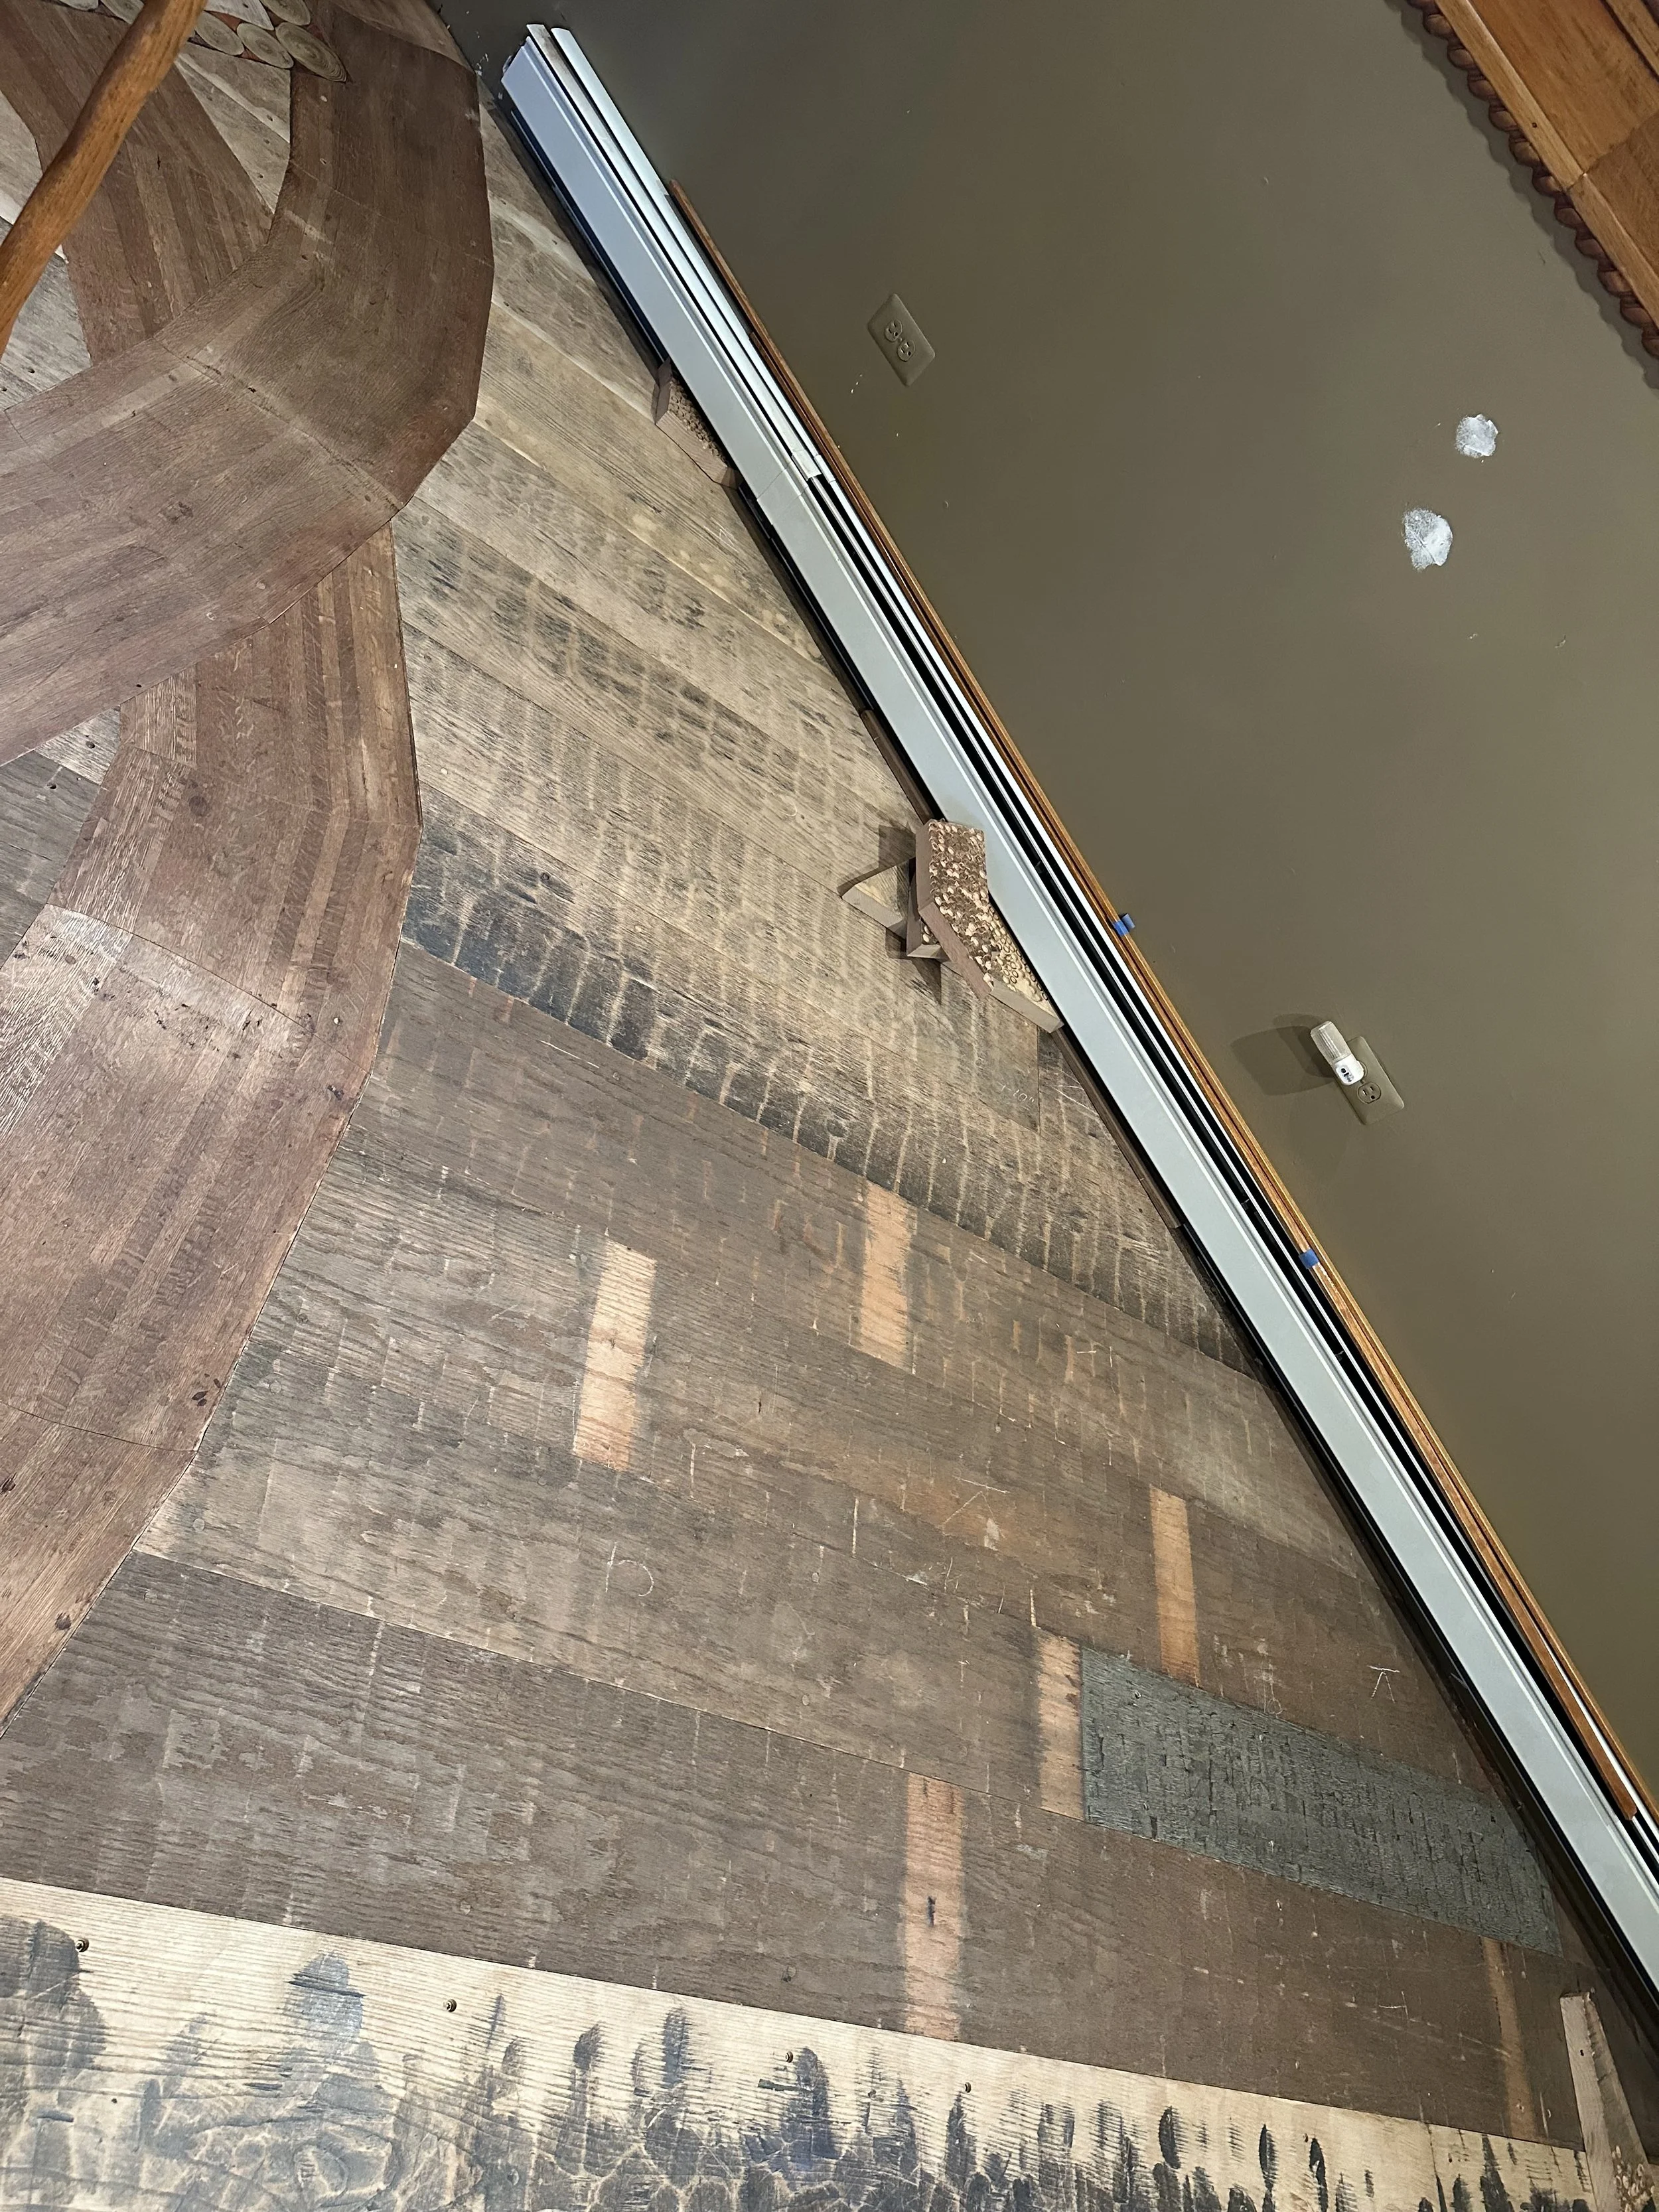
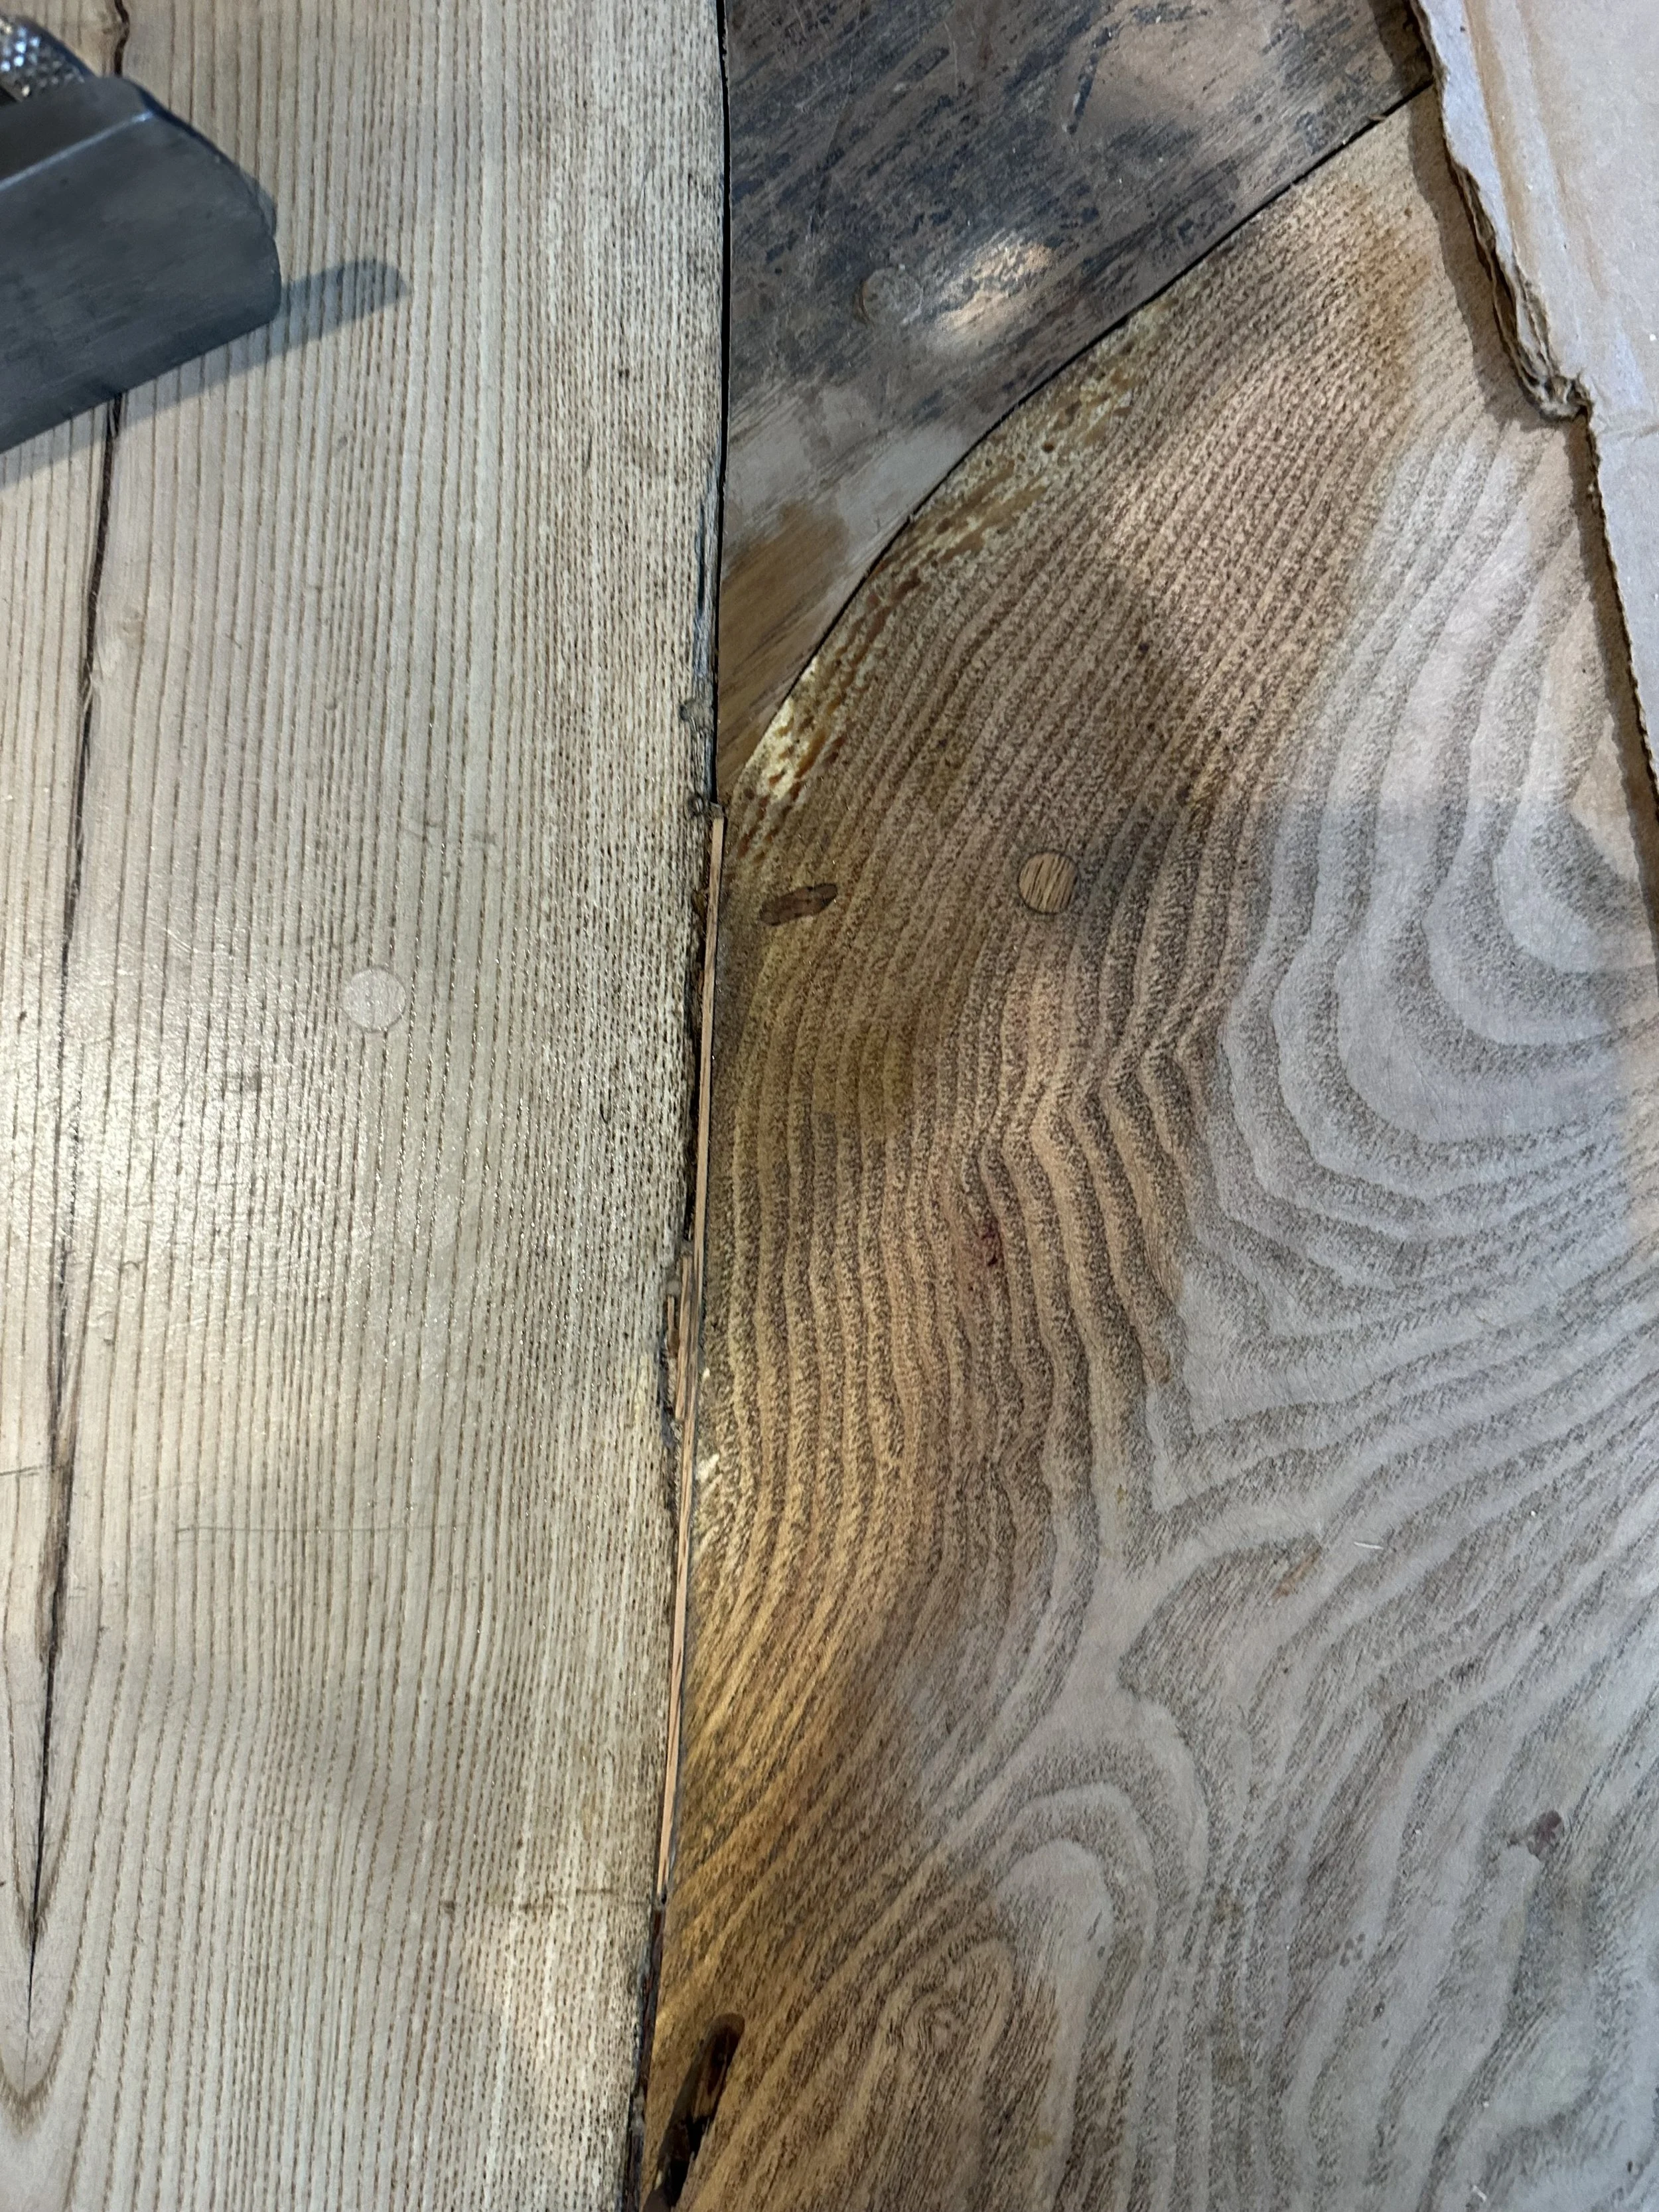
Here is an example of the Mosaic Wooden Floor that Bryan Saner had been building for a year. There are 7 species of wood, gathered by the client over the years in Chicagoland. Here is a Ribbed Oak and Ash. The Ash has been scalloped, which in final form creates a shimmering water effect. My job was to plus the screw holes. It was a tedious task which took many months. My attention to detail greatly served the project in my ability to cut and select precise matches for the peculiarities of the wood. I found pleasure in stepping back and observing the disappearance when a match was particularly cohesive.
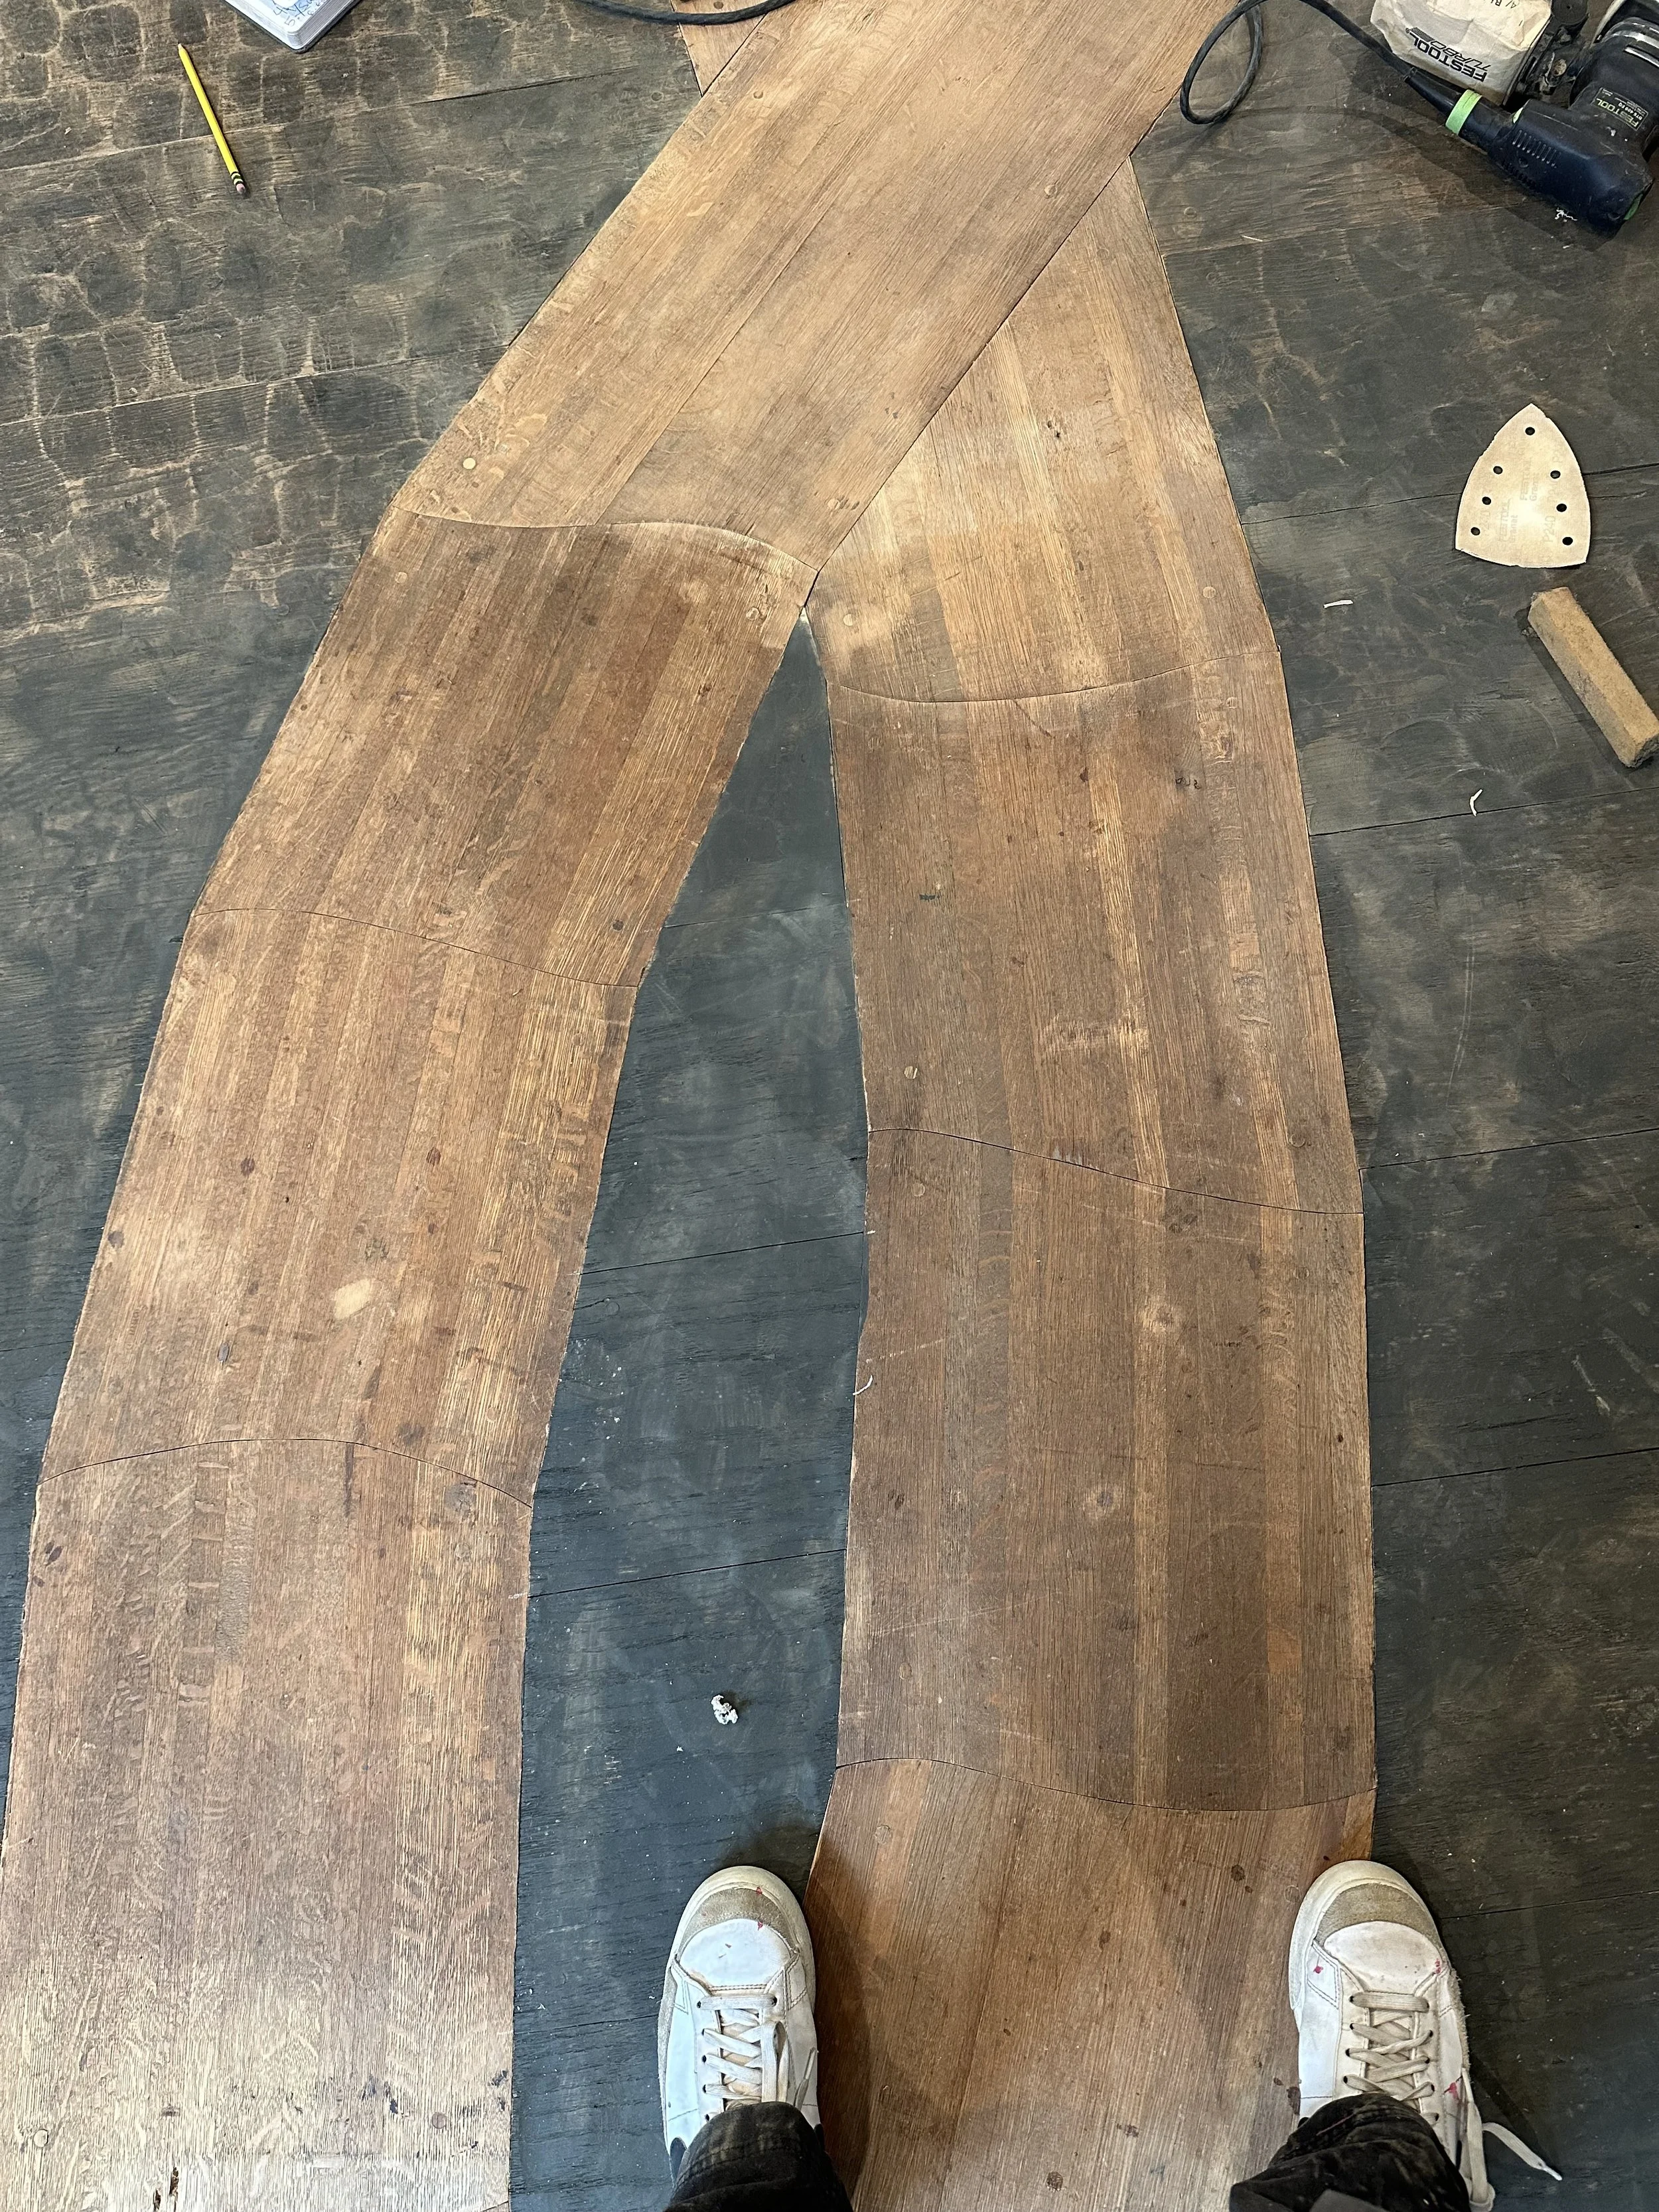
While all planks of wood were beauty to behold, pictured here, are saved pieces of Pew from a local church that’s closed. I felt a responsibility to work with confidence and skill on this wood. This turned out to be a challenge for me, I got in my head a bit and panicked, creating light craters where the tool made contact. I showed my mentor the impact, and he wasn’t pleased. I suggested sanding the area with a 80 grit when we get to sanding. It worked! There was epoxy on the wood, that I had to sand away and make suitable for walking. In the end, we were both very very pleased.
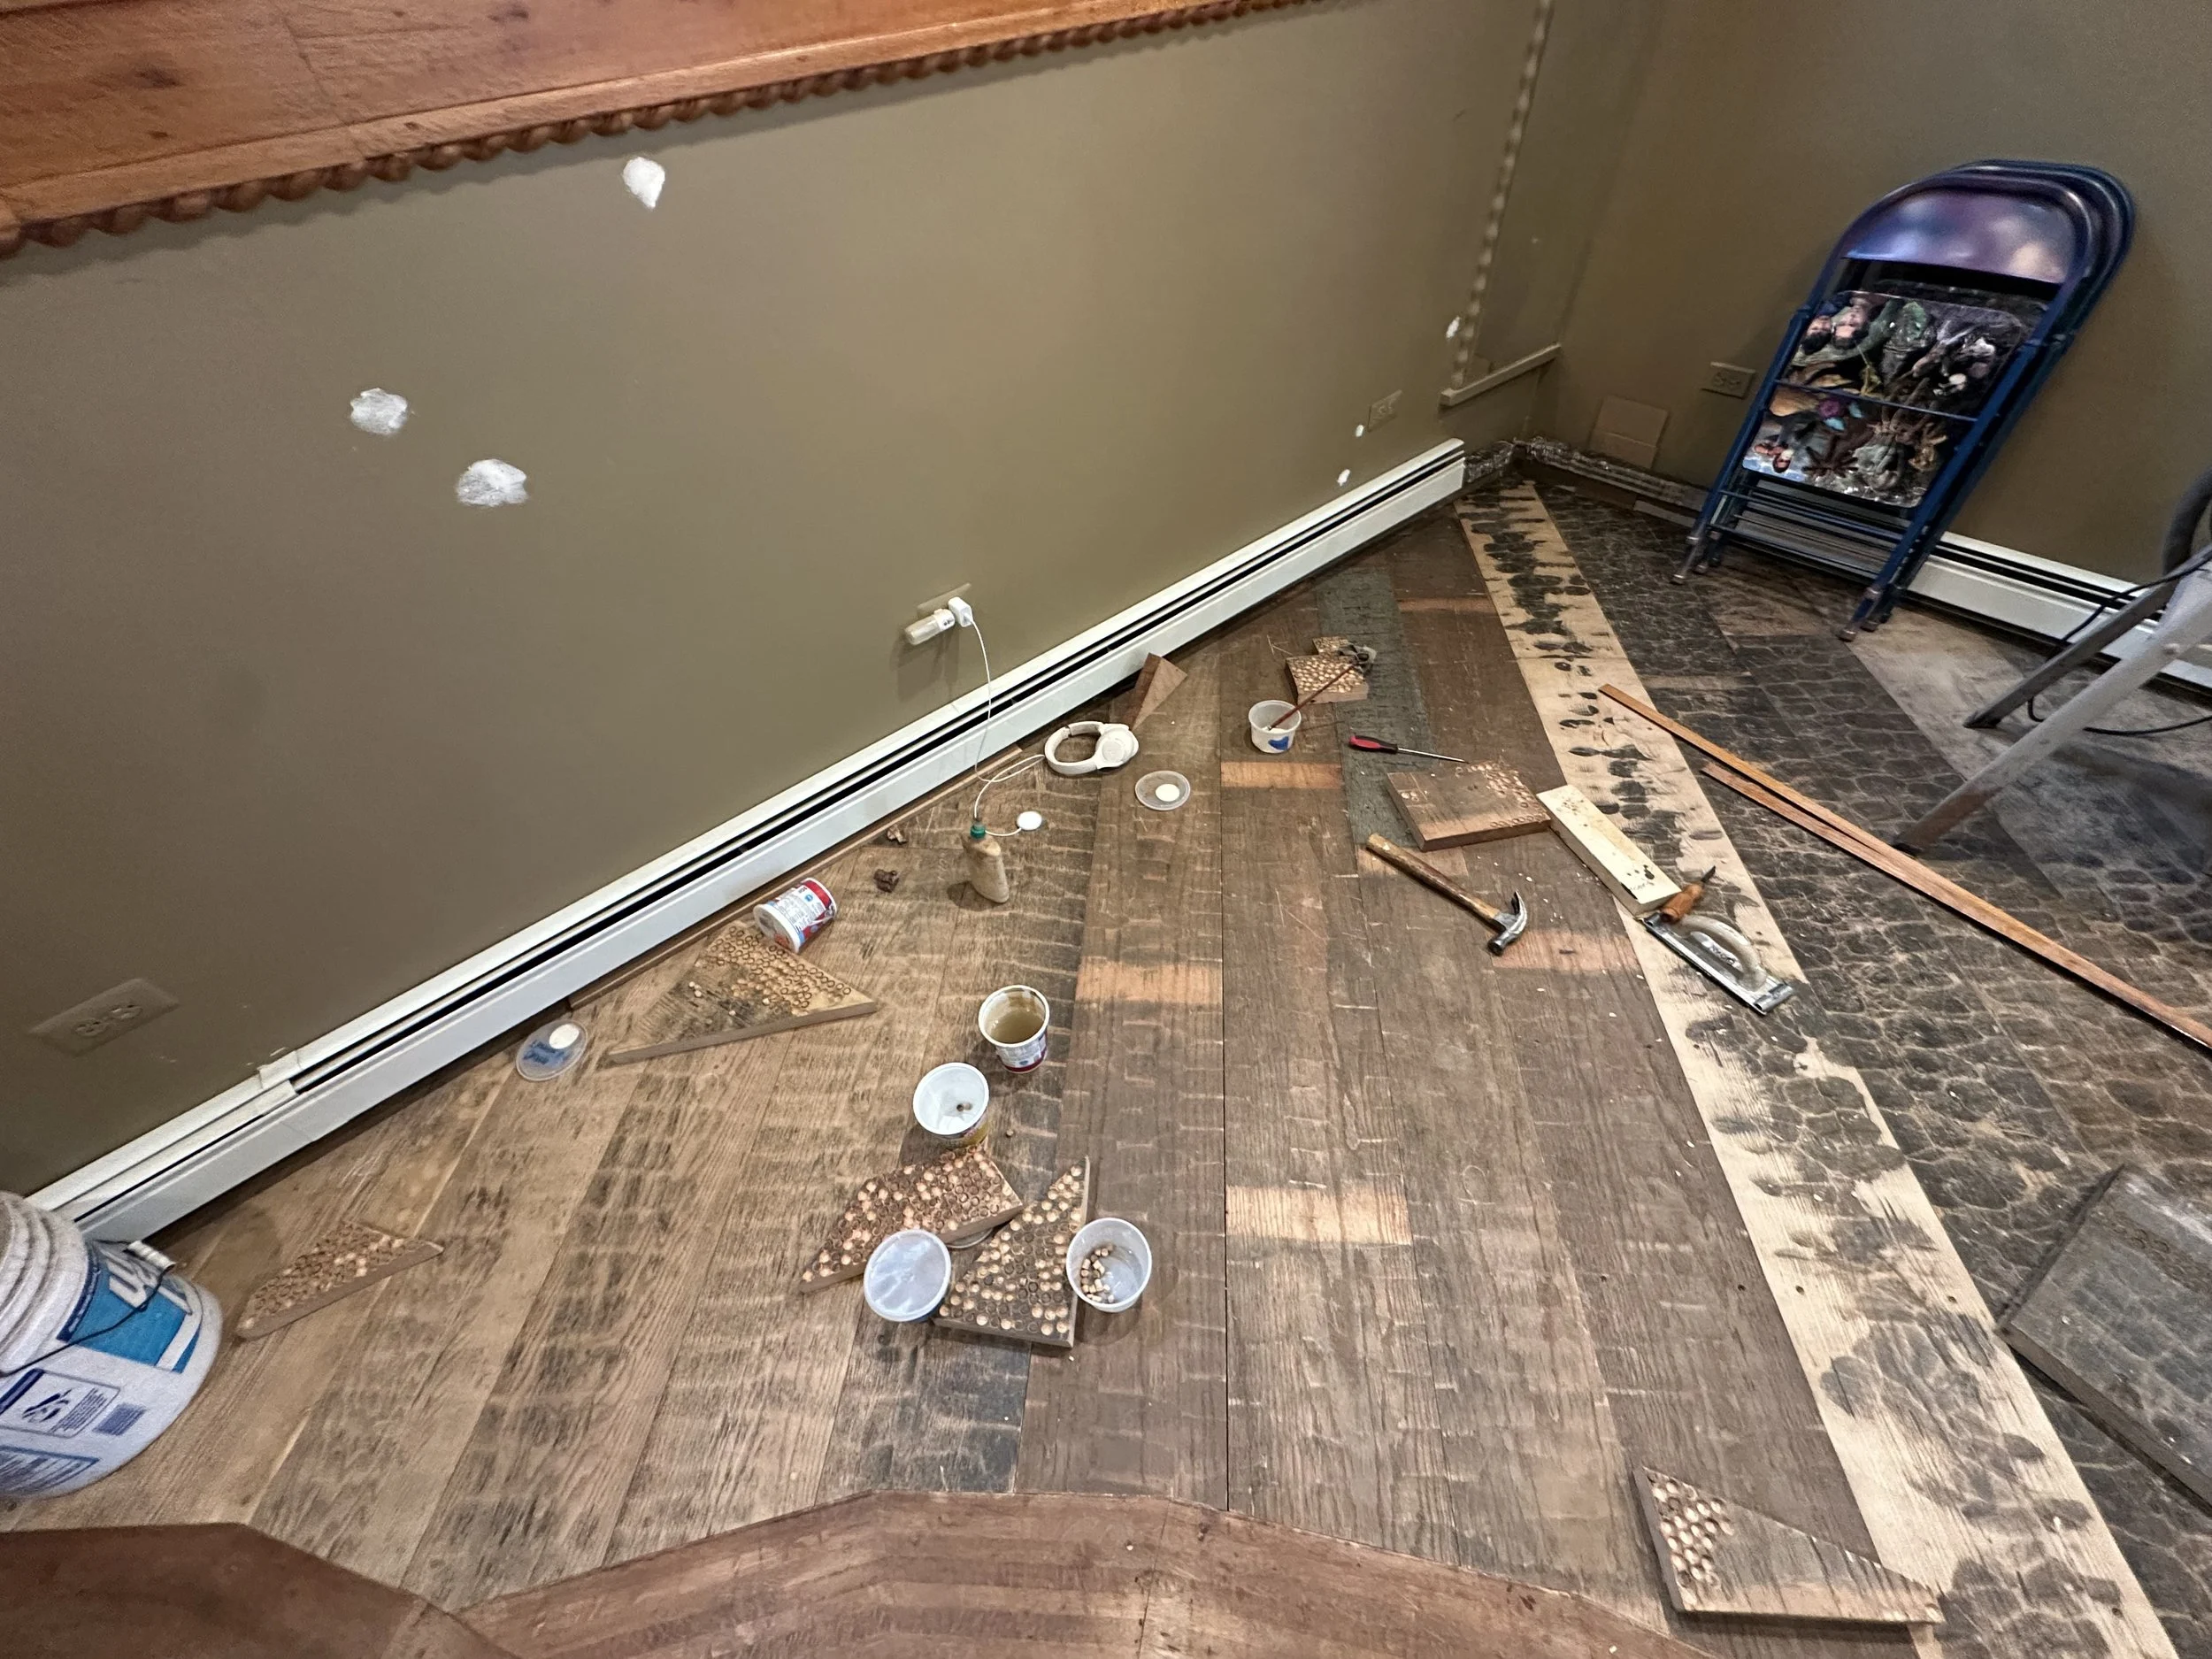
I had a learning curve with all of my projects in the early months of my apprenticeship. In this one, each species responded differently to being cut in the drill press. Some would burn and change color, some would break more easily. With installing, some species were softer, and would need different pressure, some were so hard that I had to chisel out a cone like shape for them to go in at all. Bryan would come over to remind me proper hammer technique from time to time. I learned that my double jointedness made intuitive posture of the hammer unreliable, so I’m developing routine to check my posture before beginning using tools.

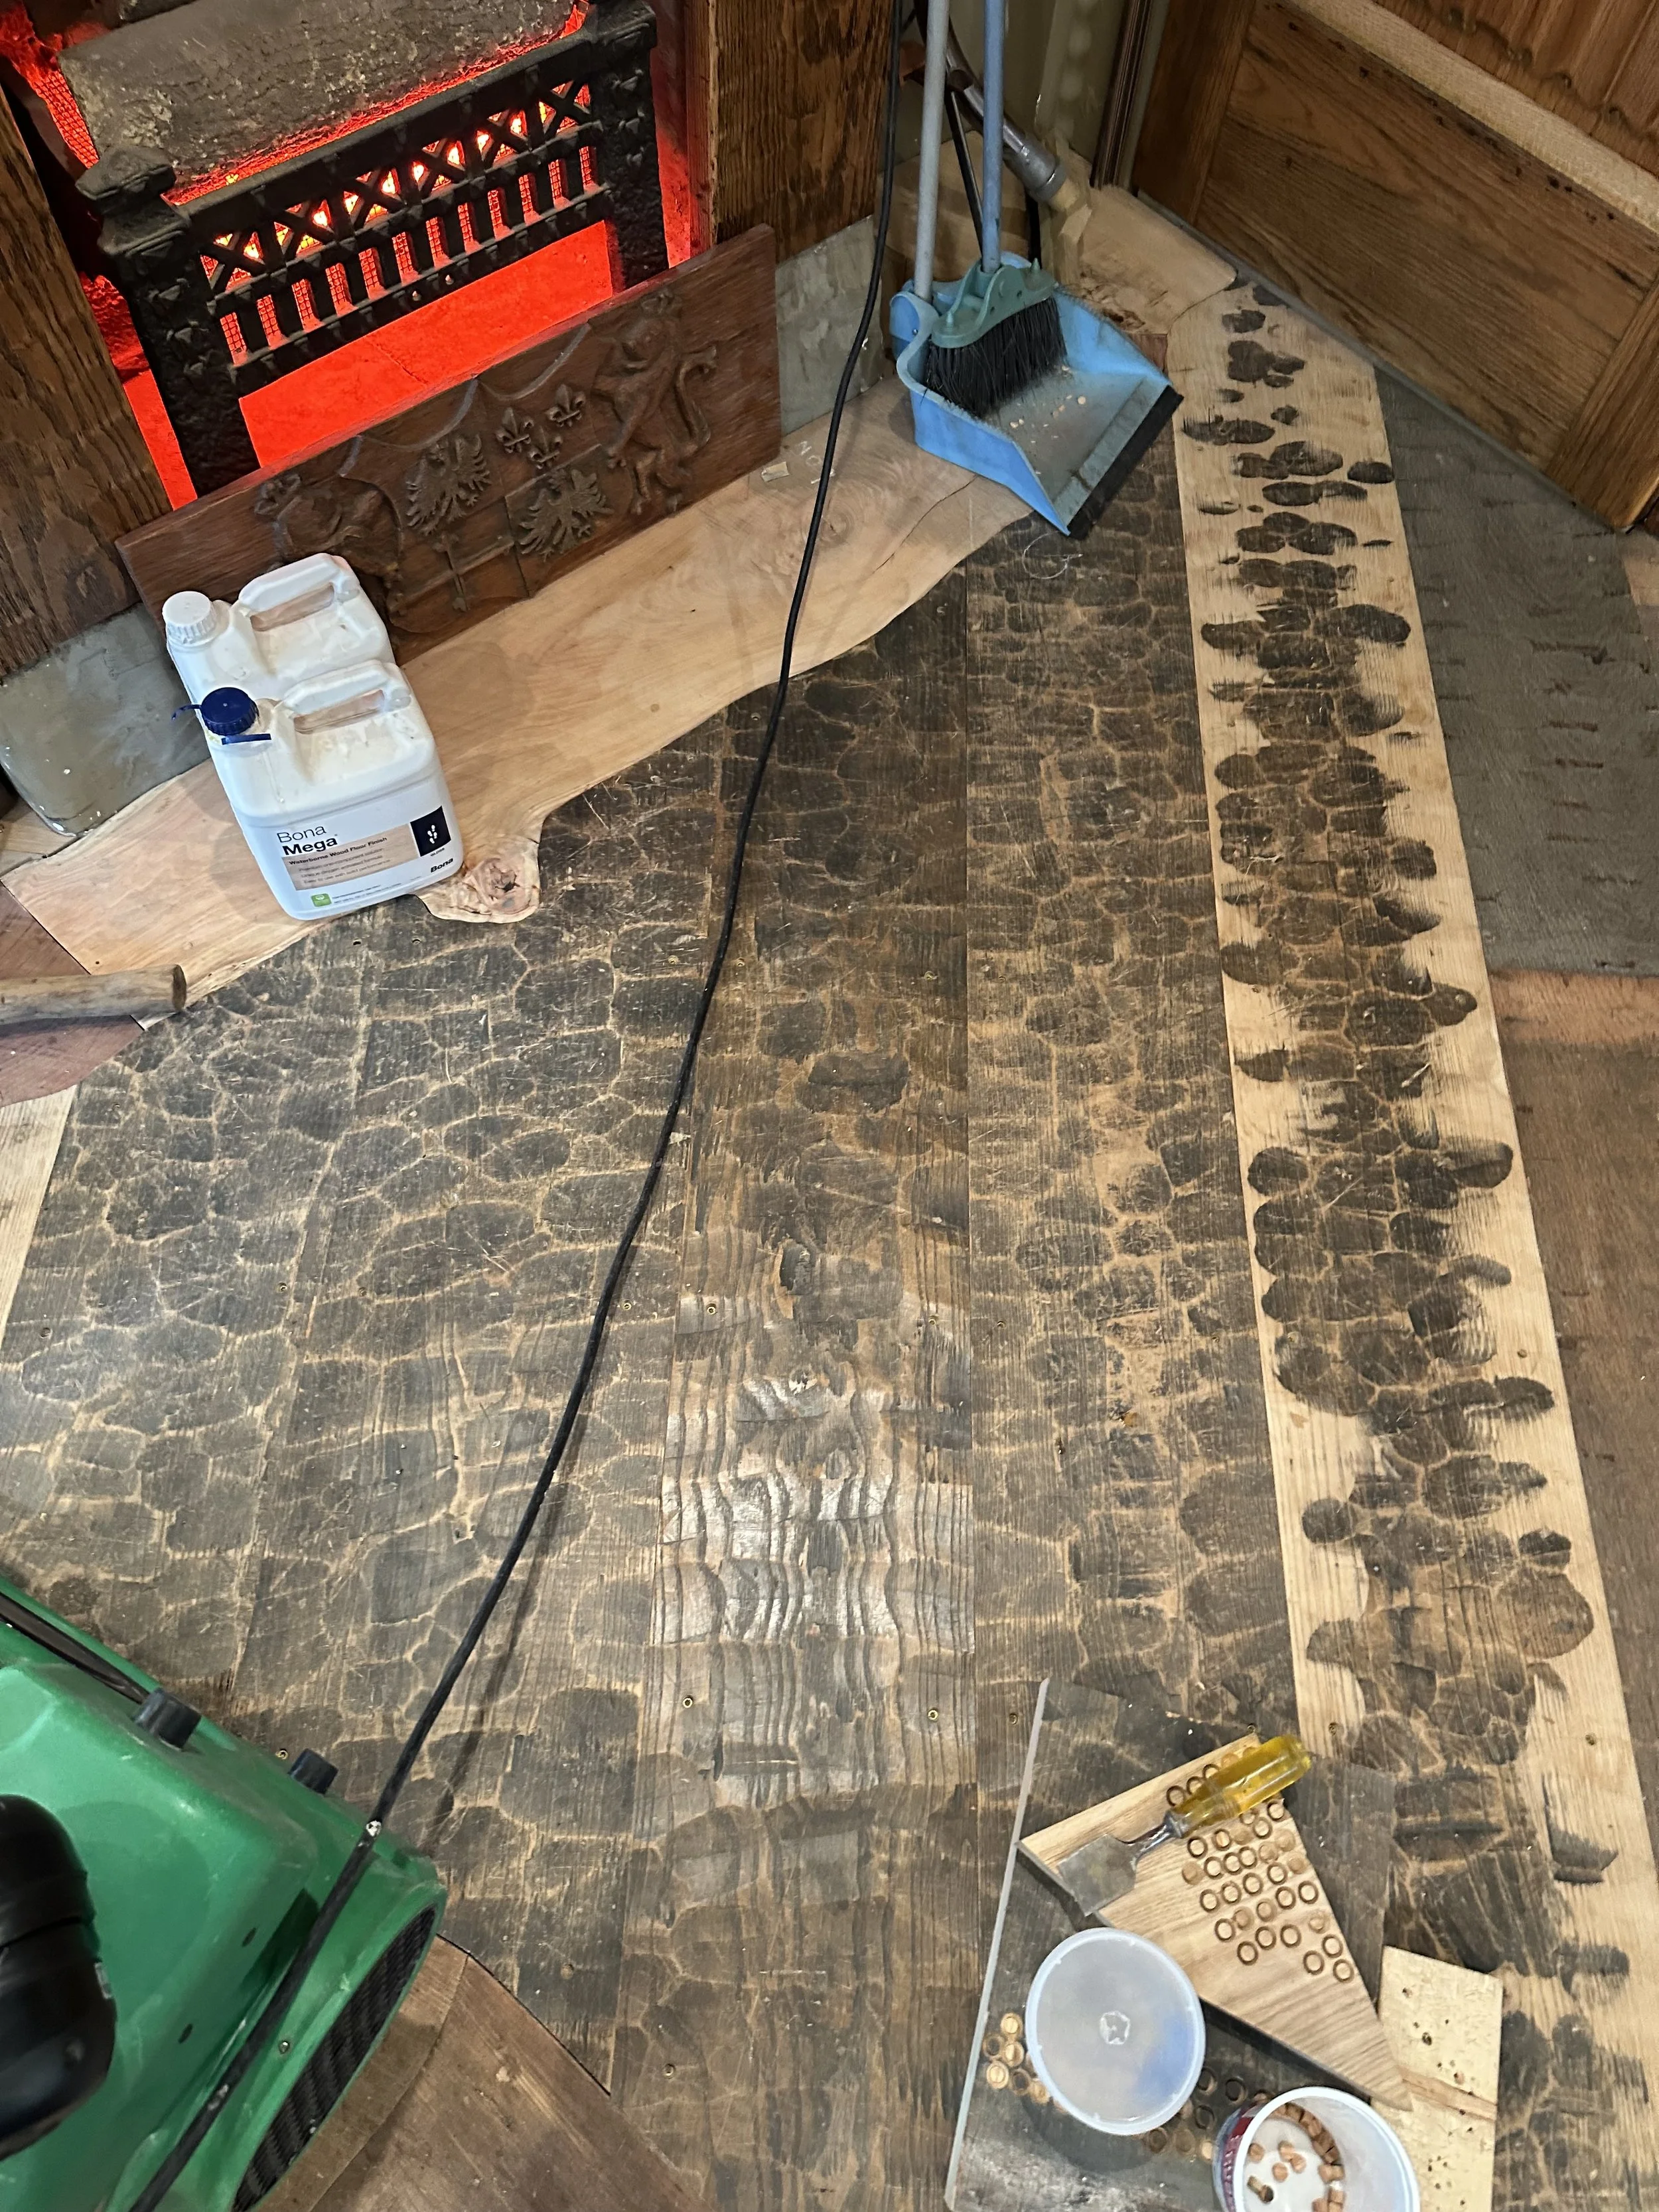
Here's a satisfying image of 1/5 of the floor being plugged. It is important to step away from your work from time to time to let your eyes rest and adjust. When returning, you may see things you didnt before while hard at work.
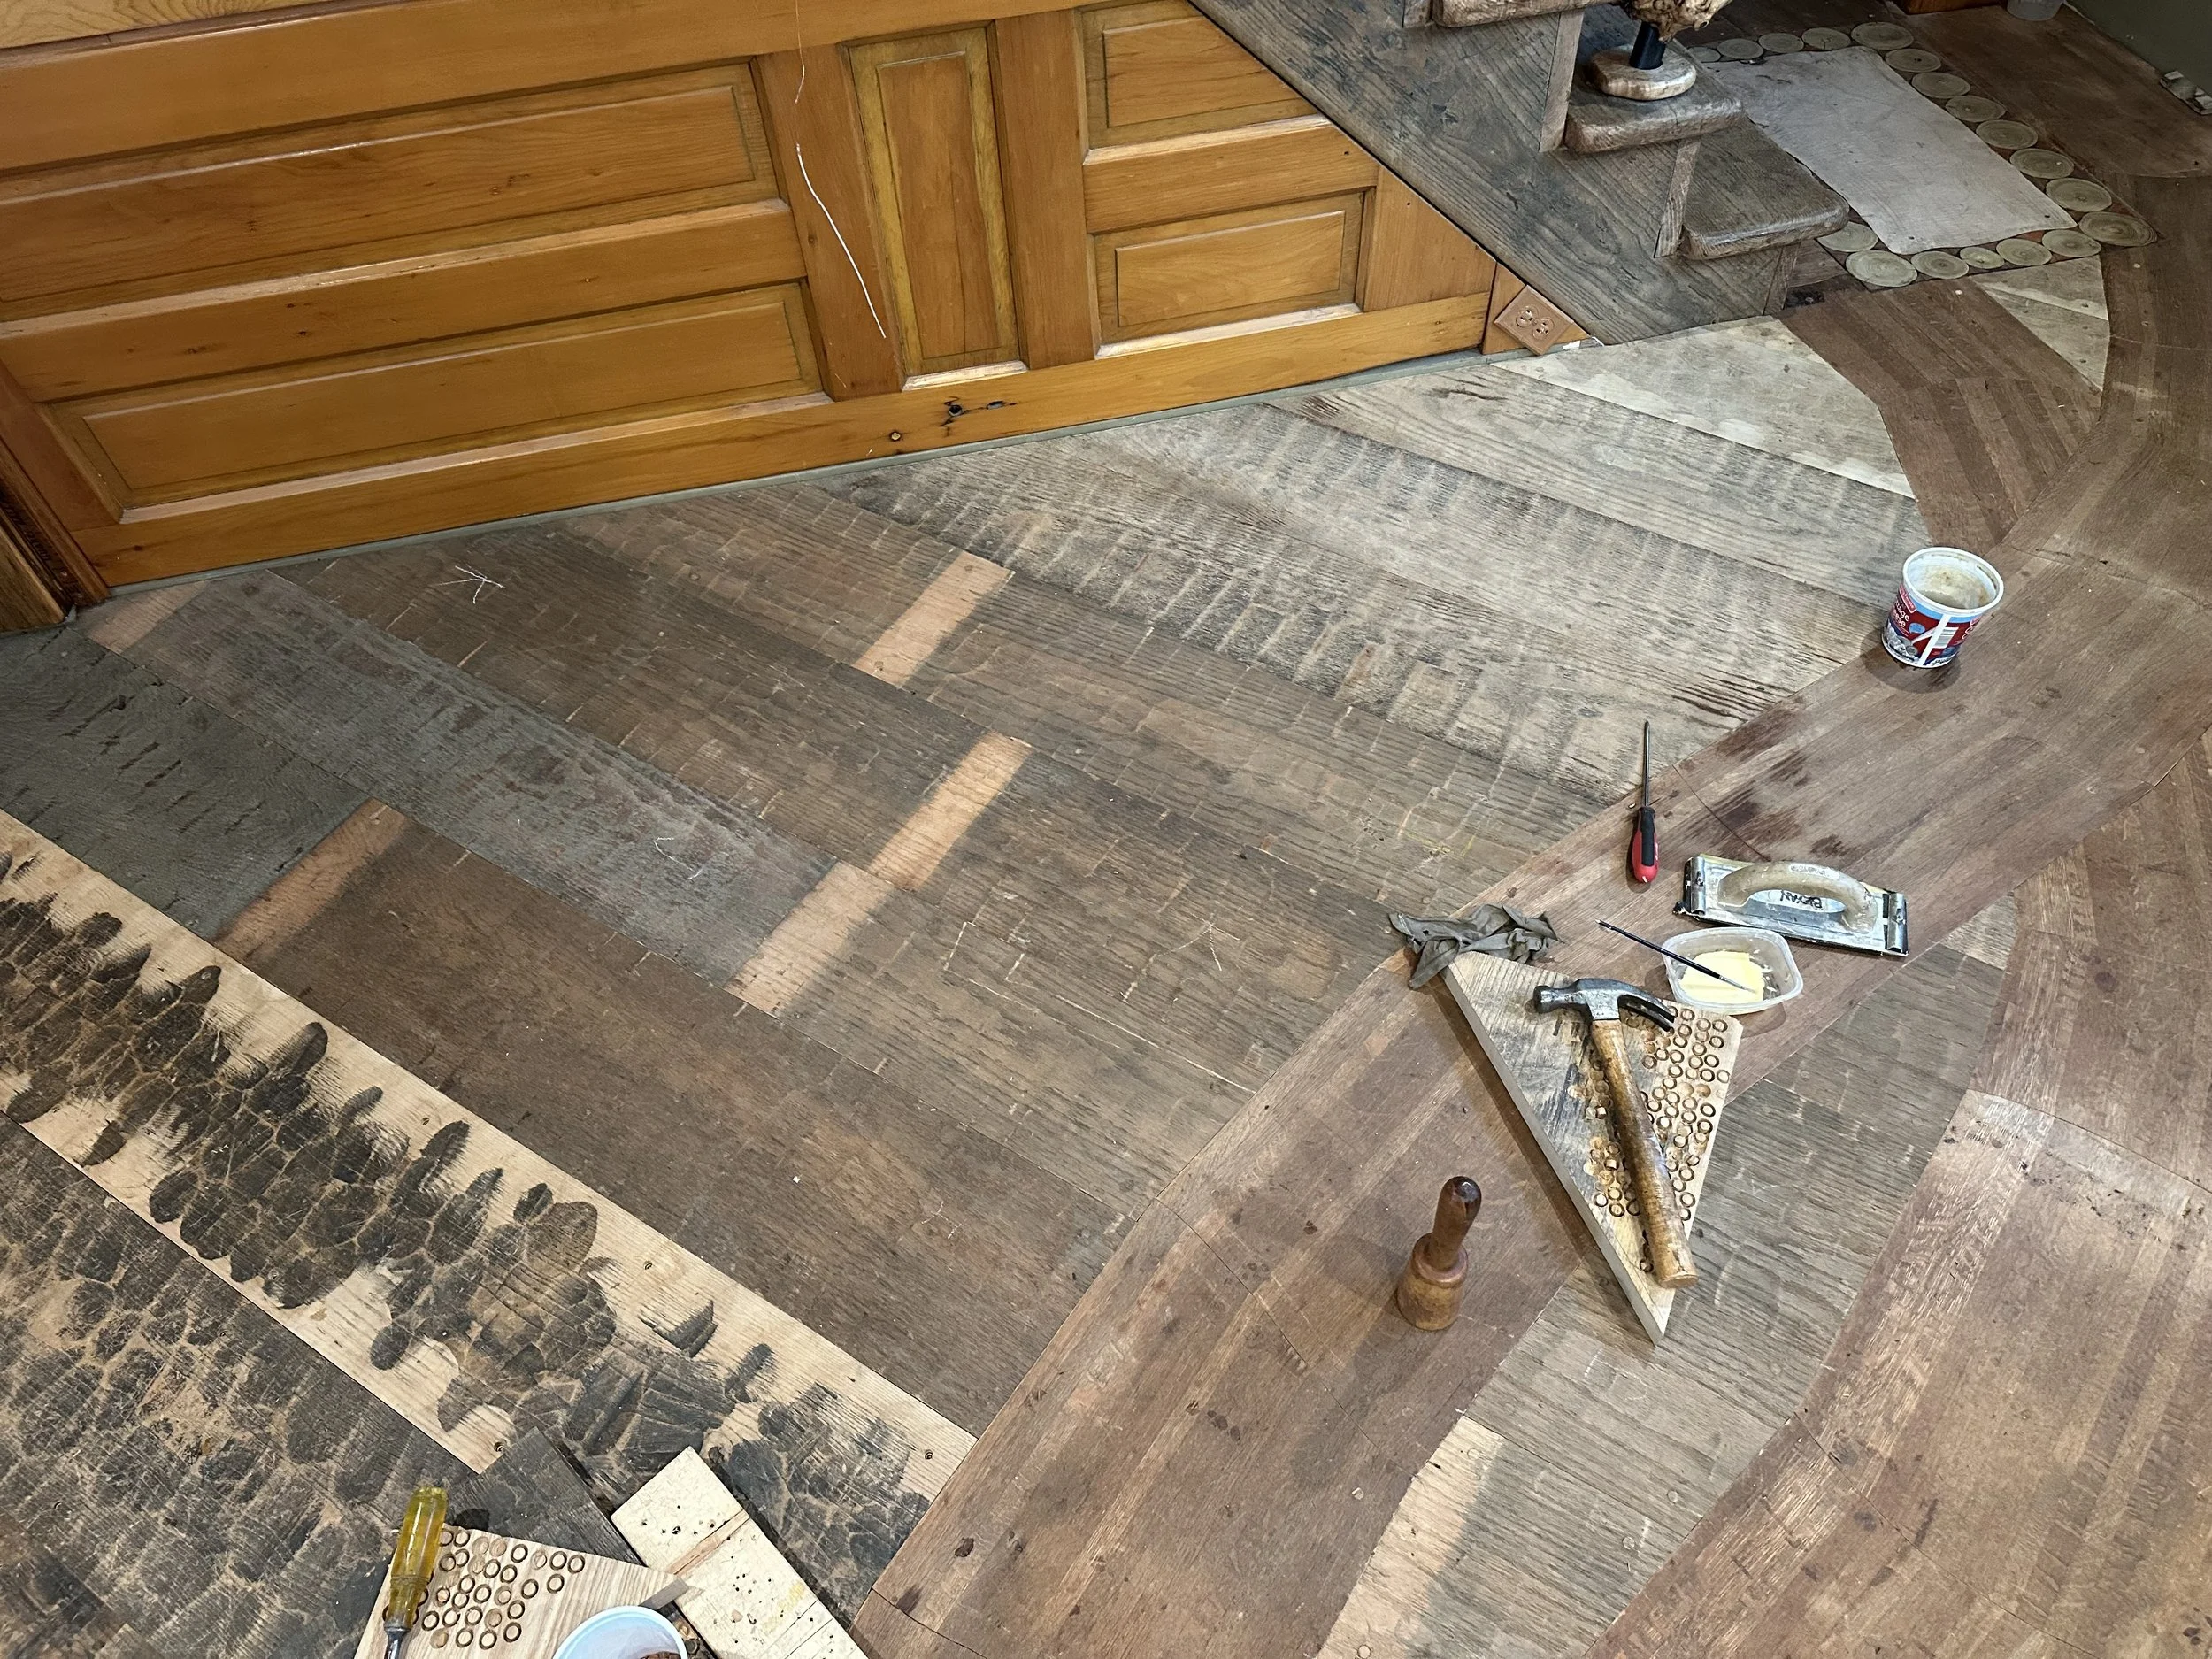
complete pluged floor space
complete plugged floor space
complete plugged floor space
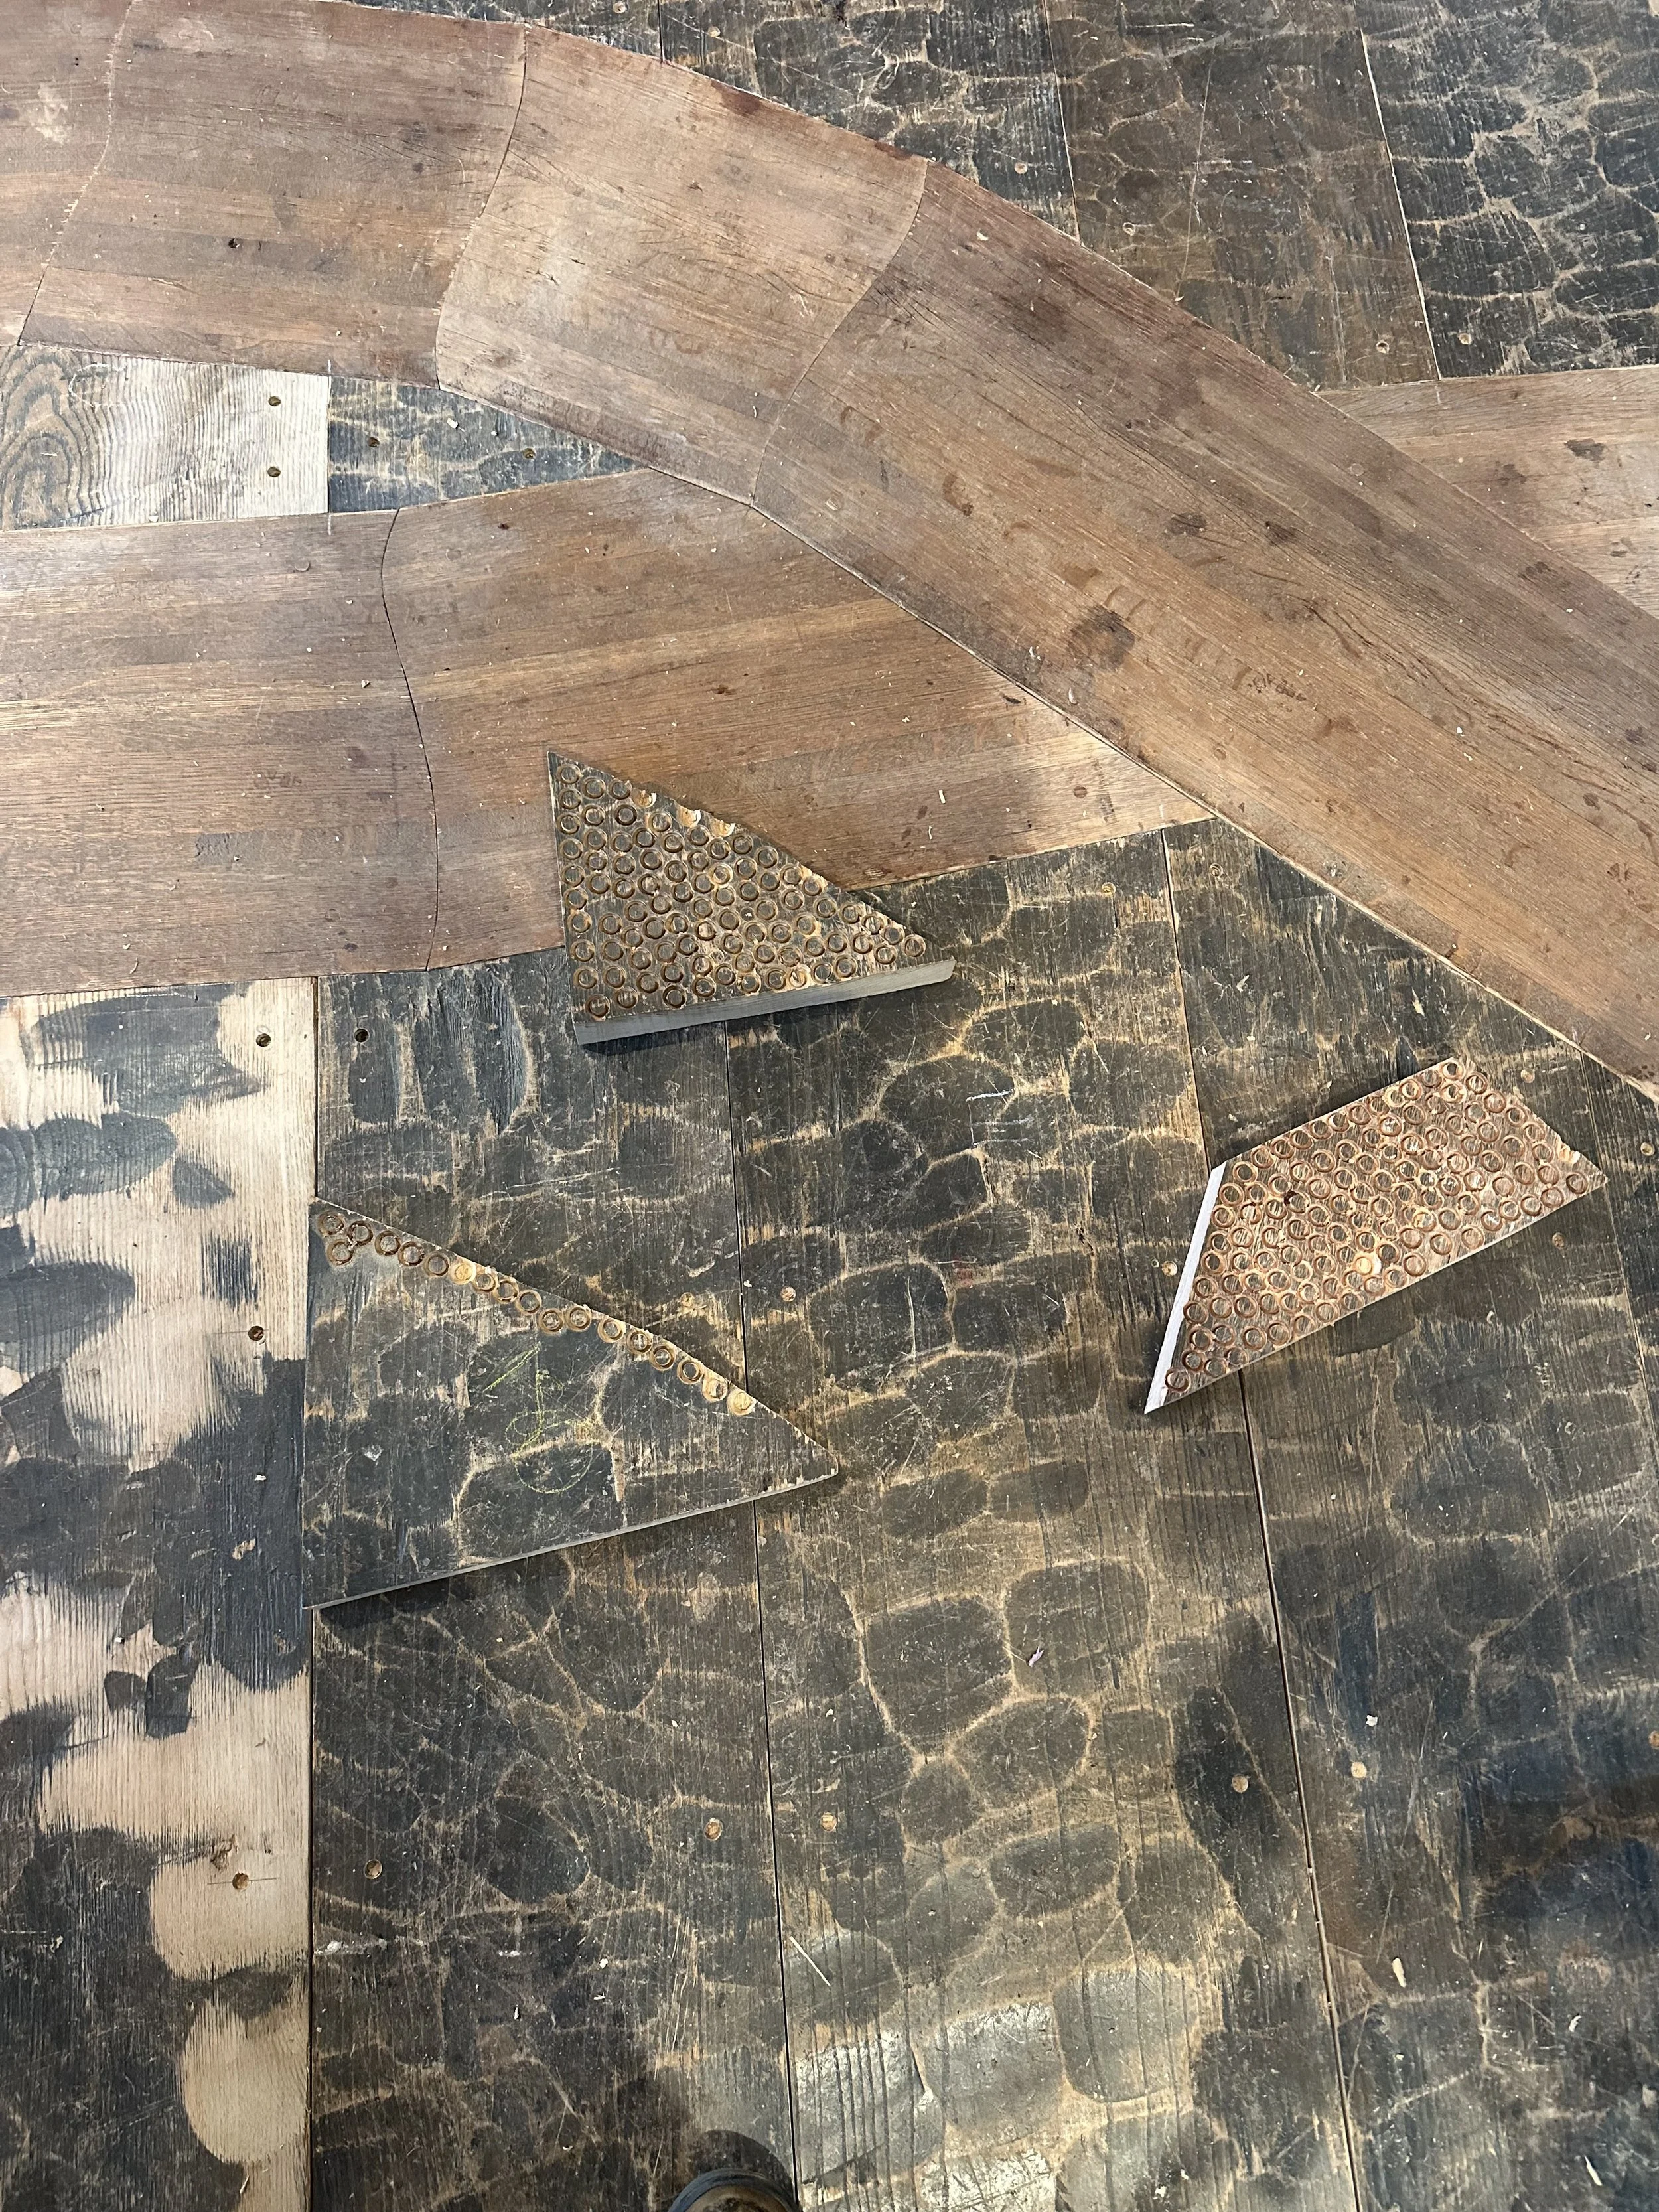
Here you can see the scalloped formations. This was the largest group of wood we were working on. There were some boards where the plugs needed to be light. I realized I could use the underside of my scrap piece to easily cut new light plugs. I was spending a lot of time using sandpaper to get to the light shade- this saved a lot of time and energy.
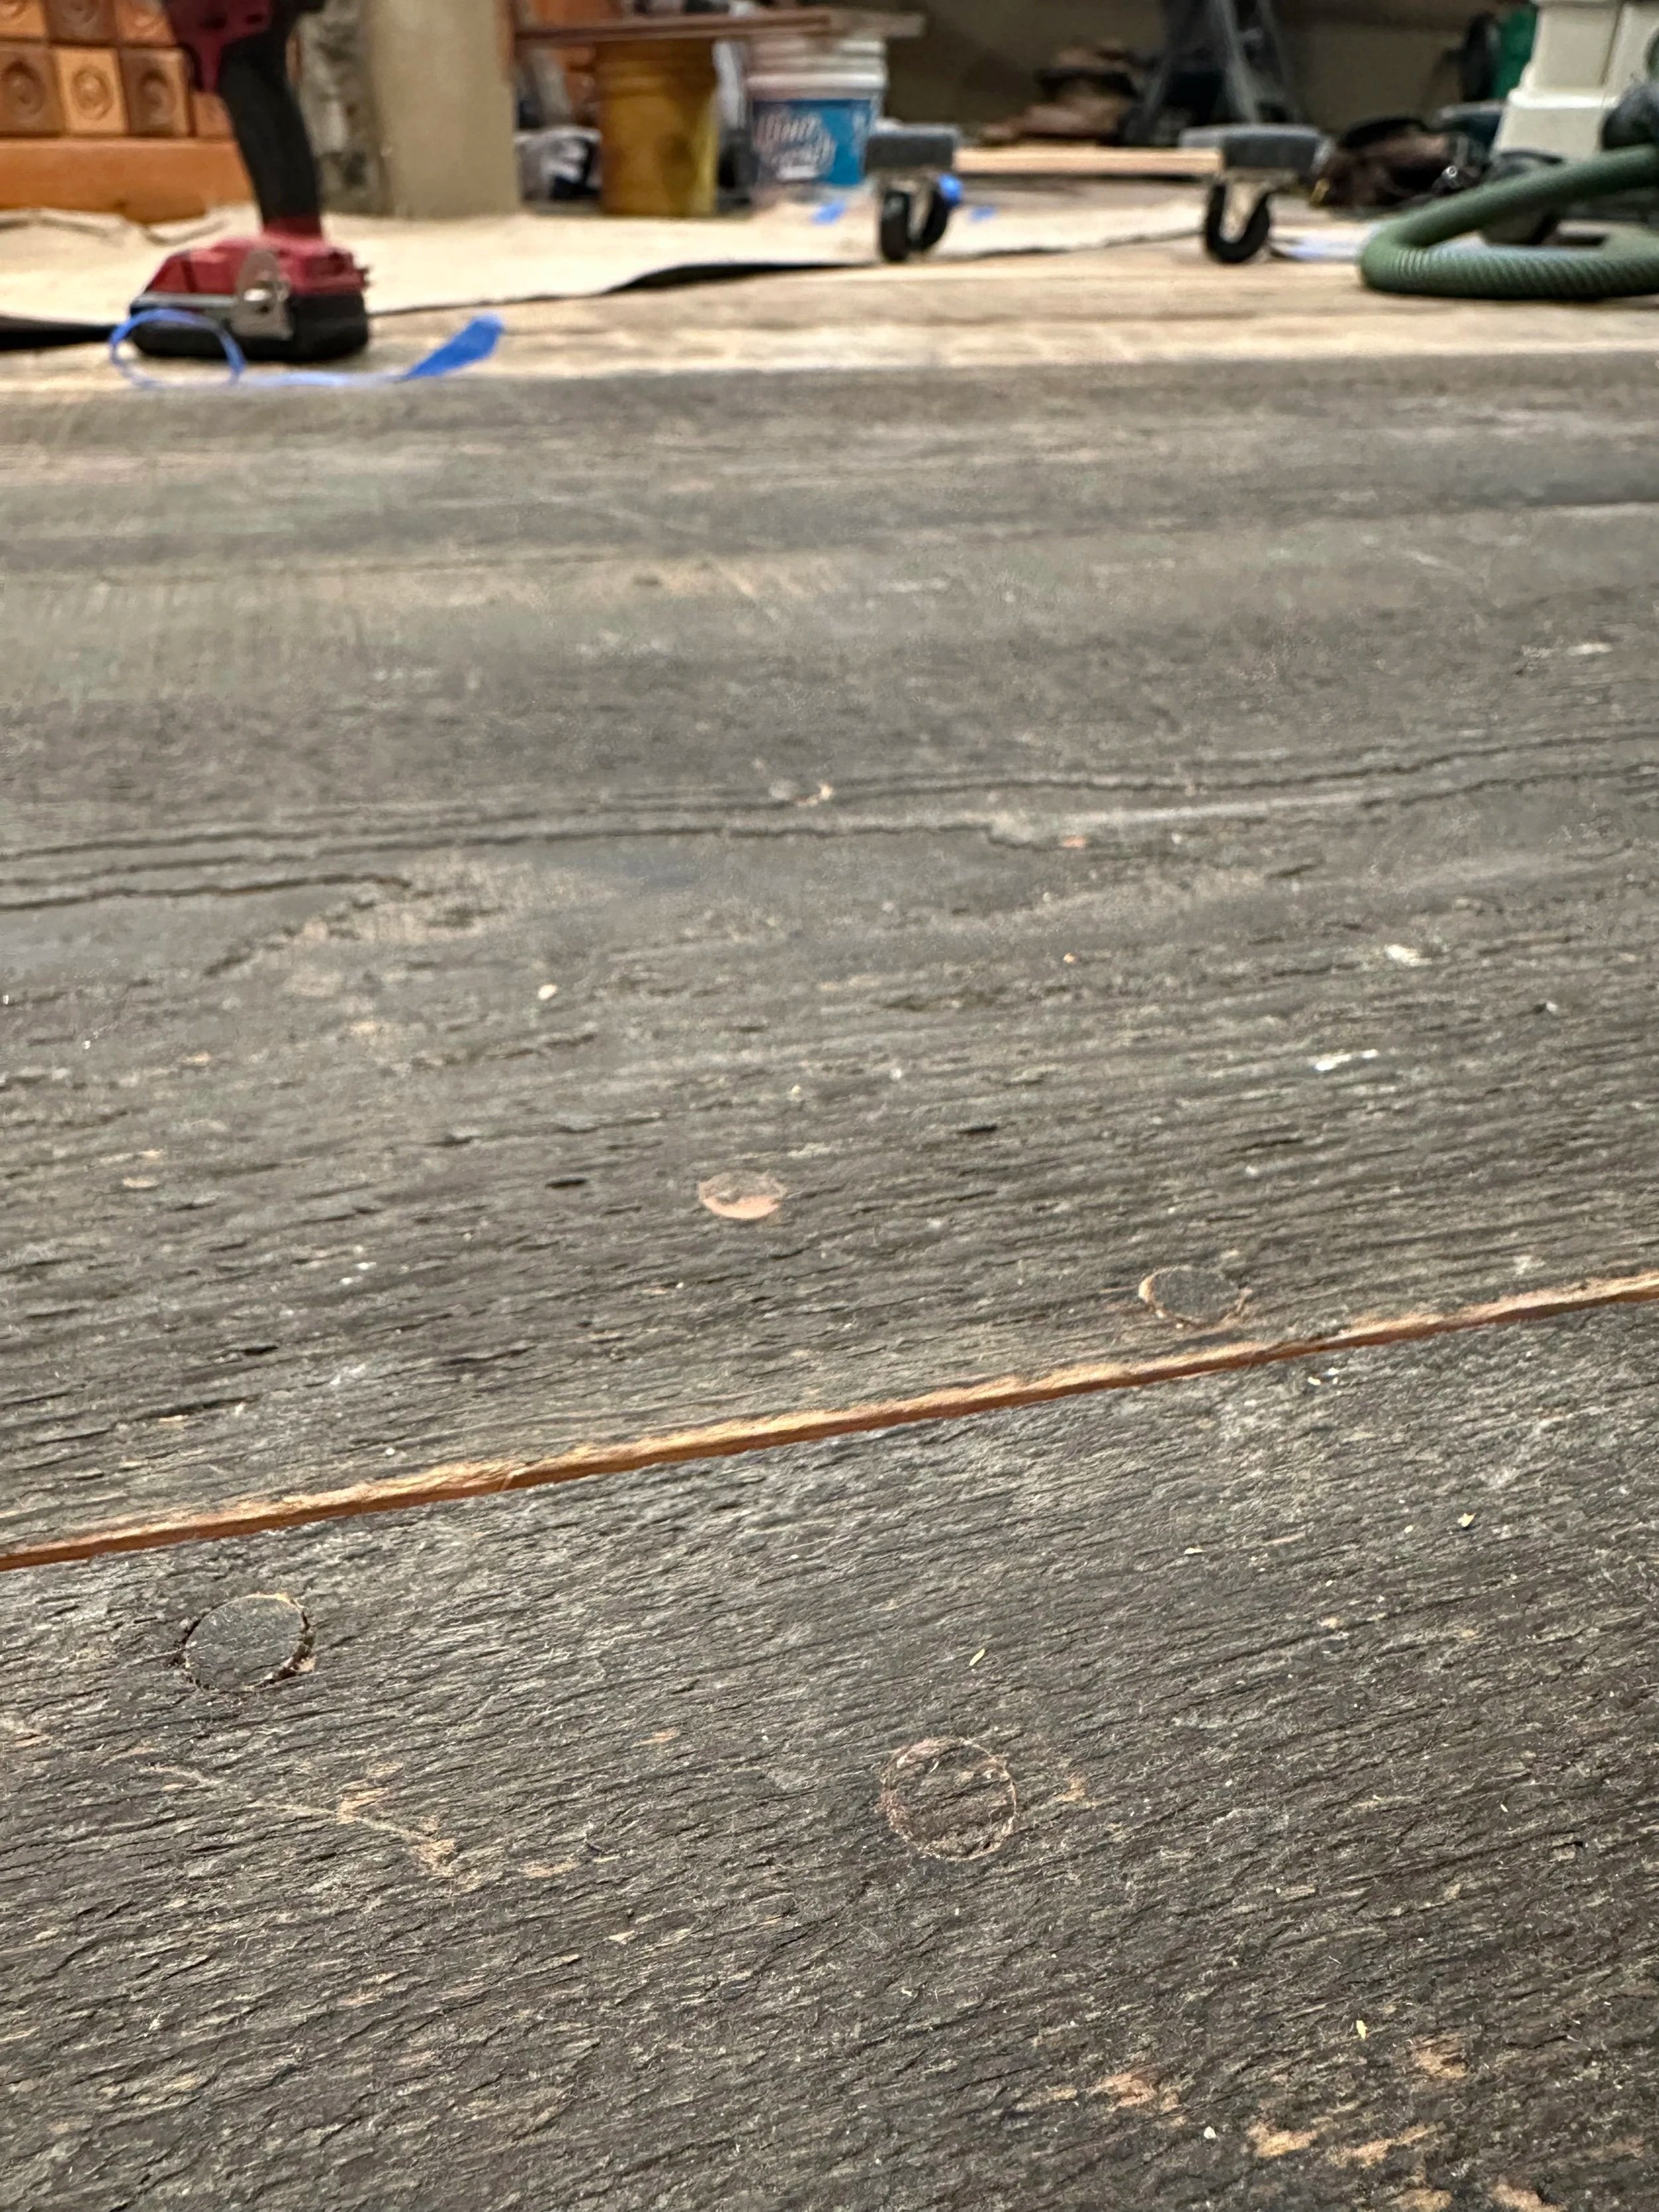
closeup of plugged hole
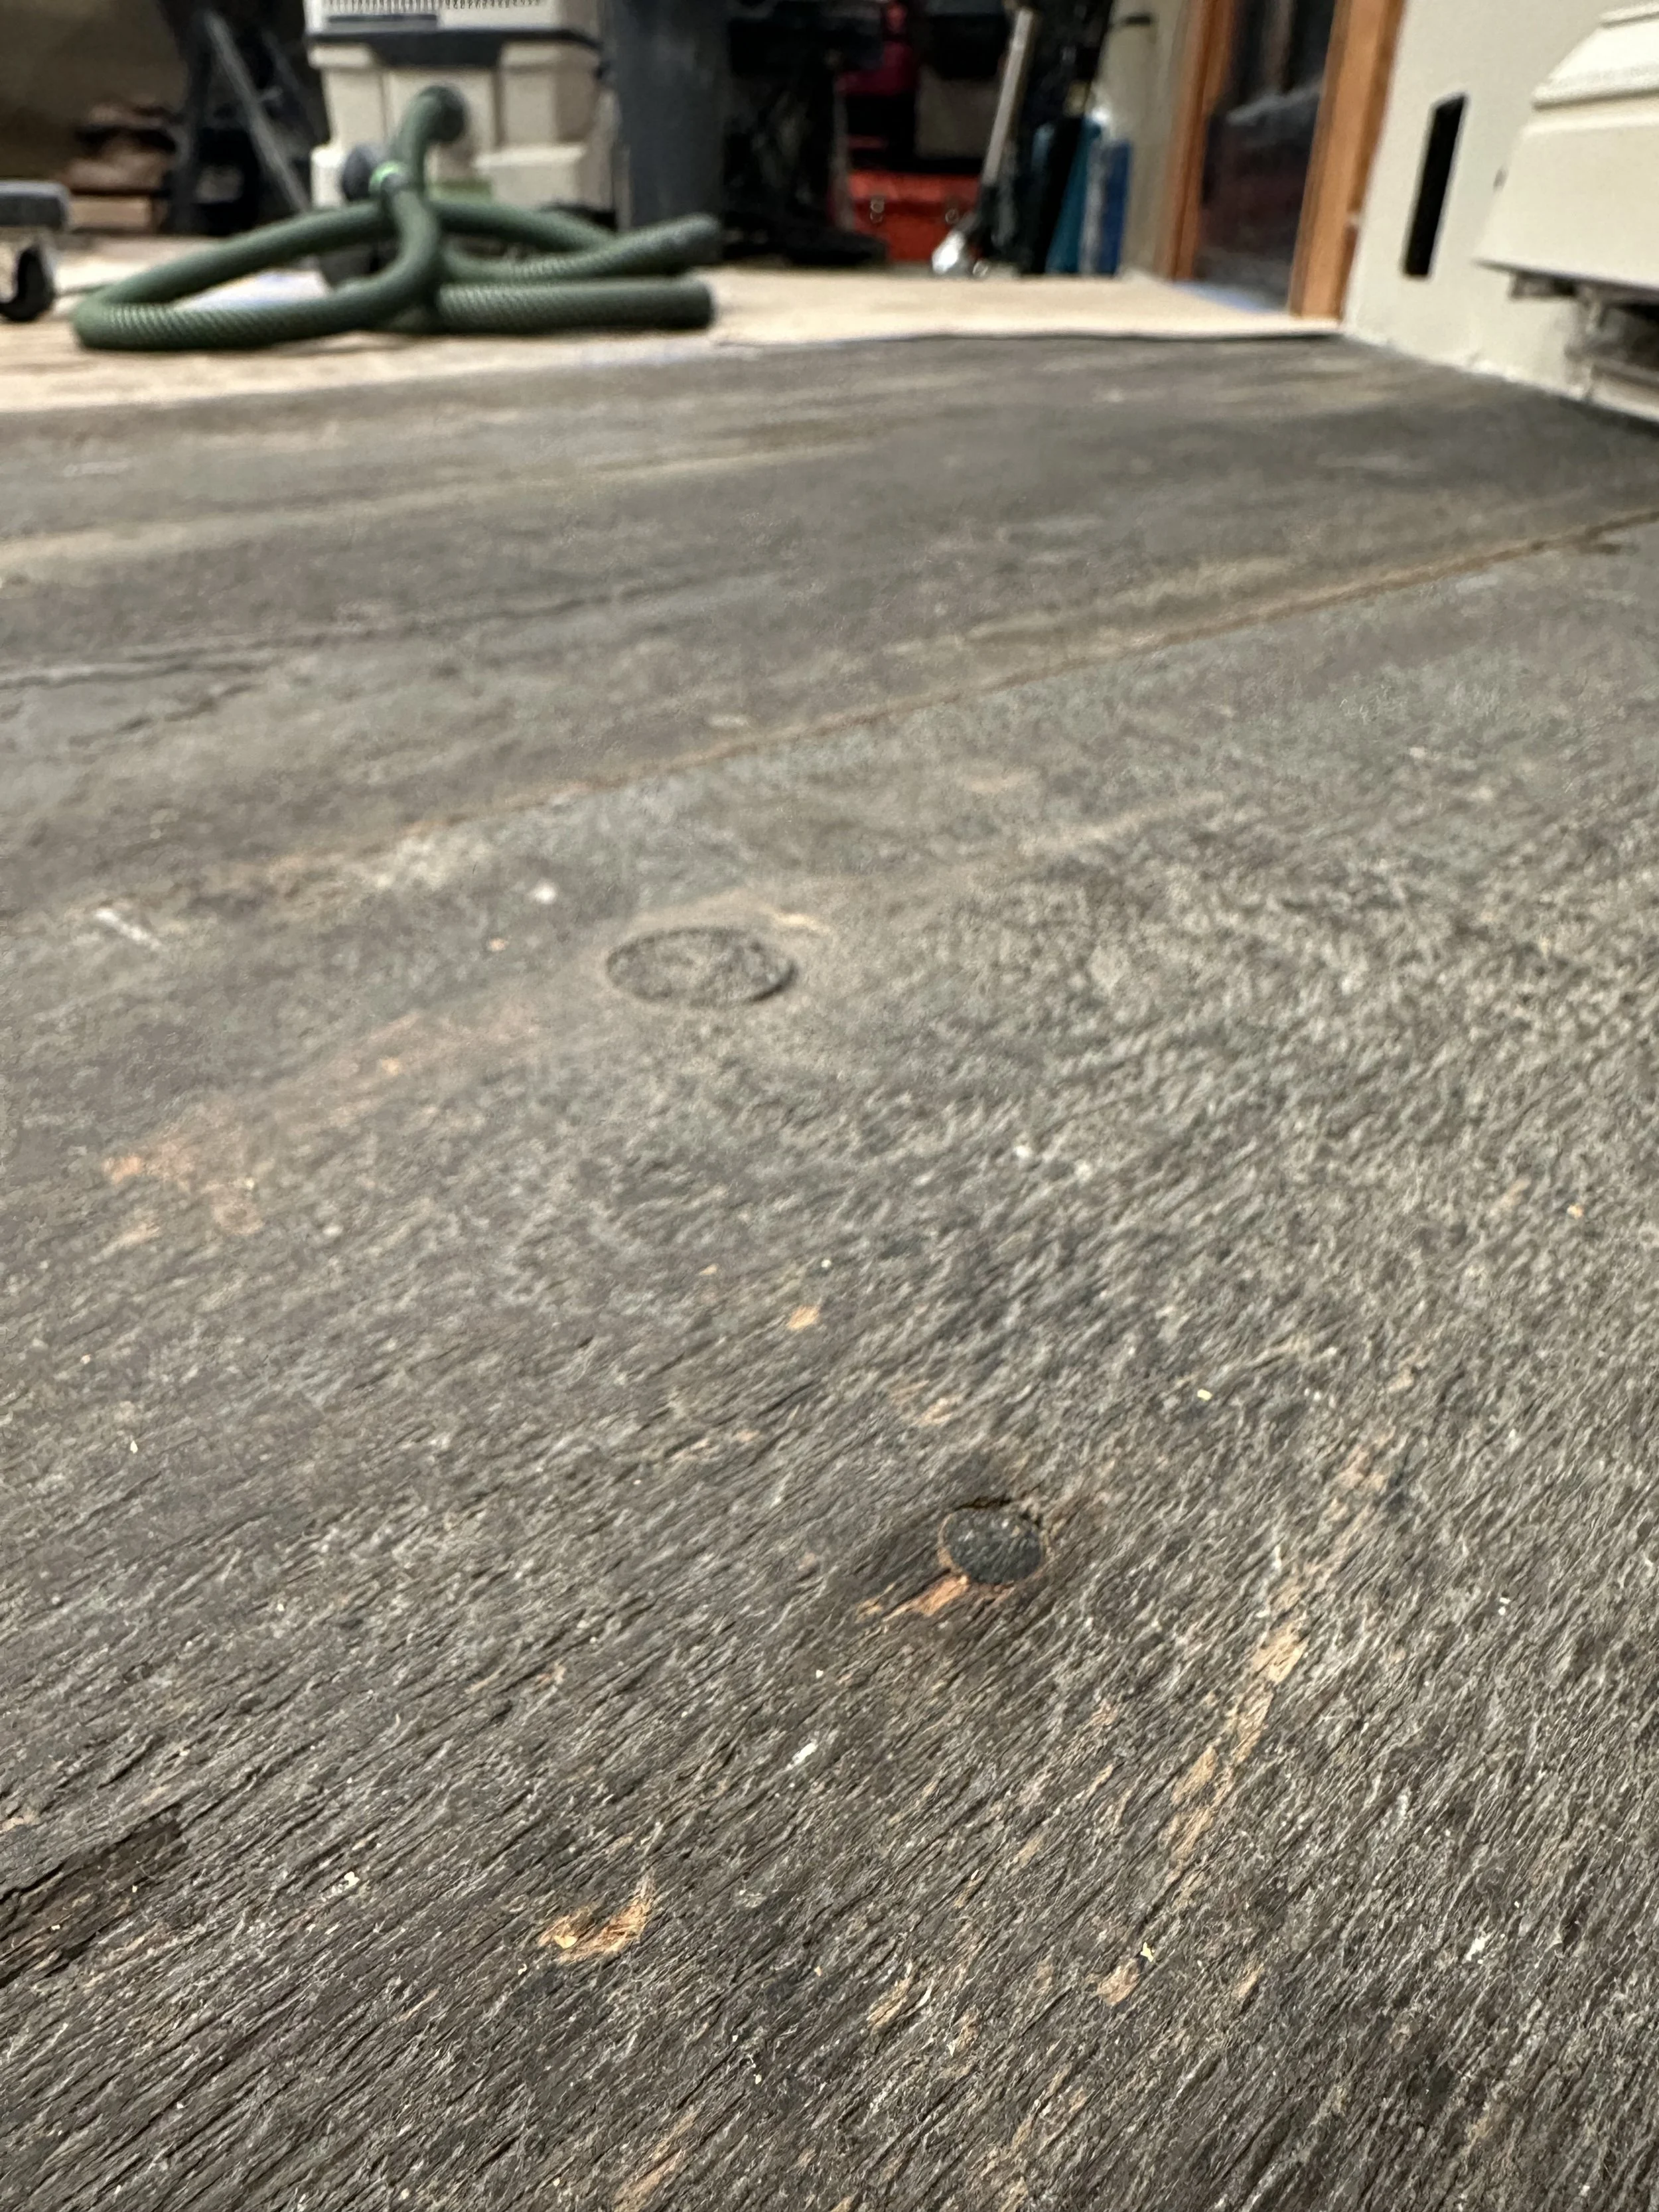
more plugged holes
close up of plugged floor
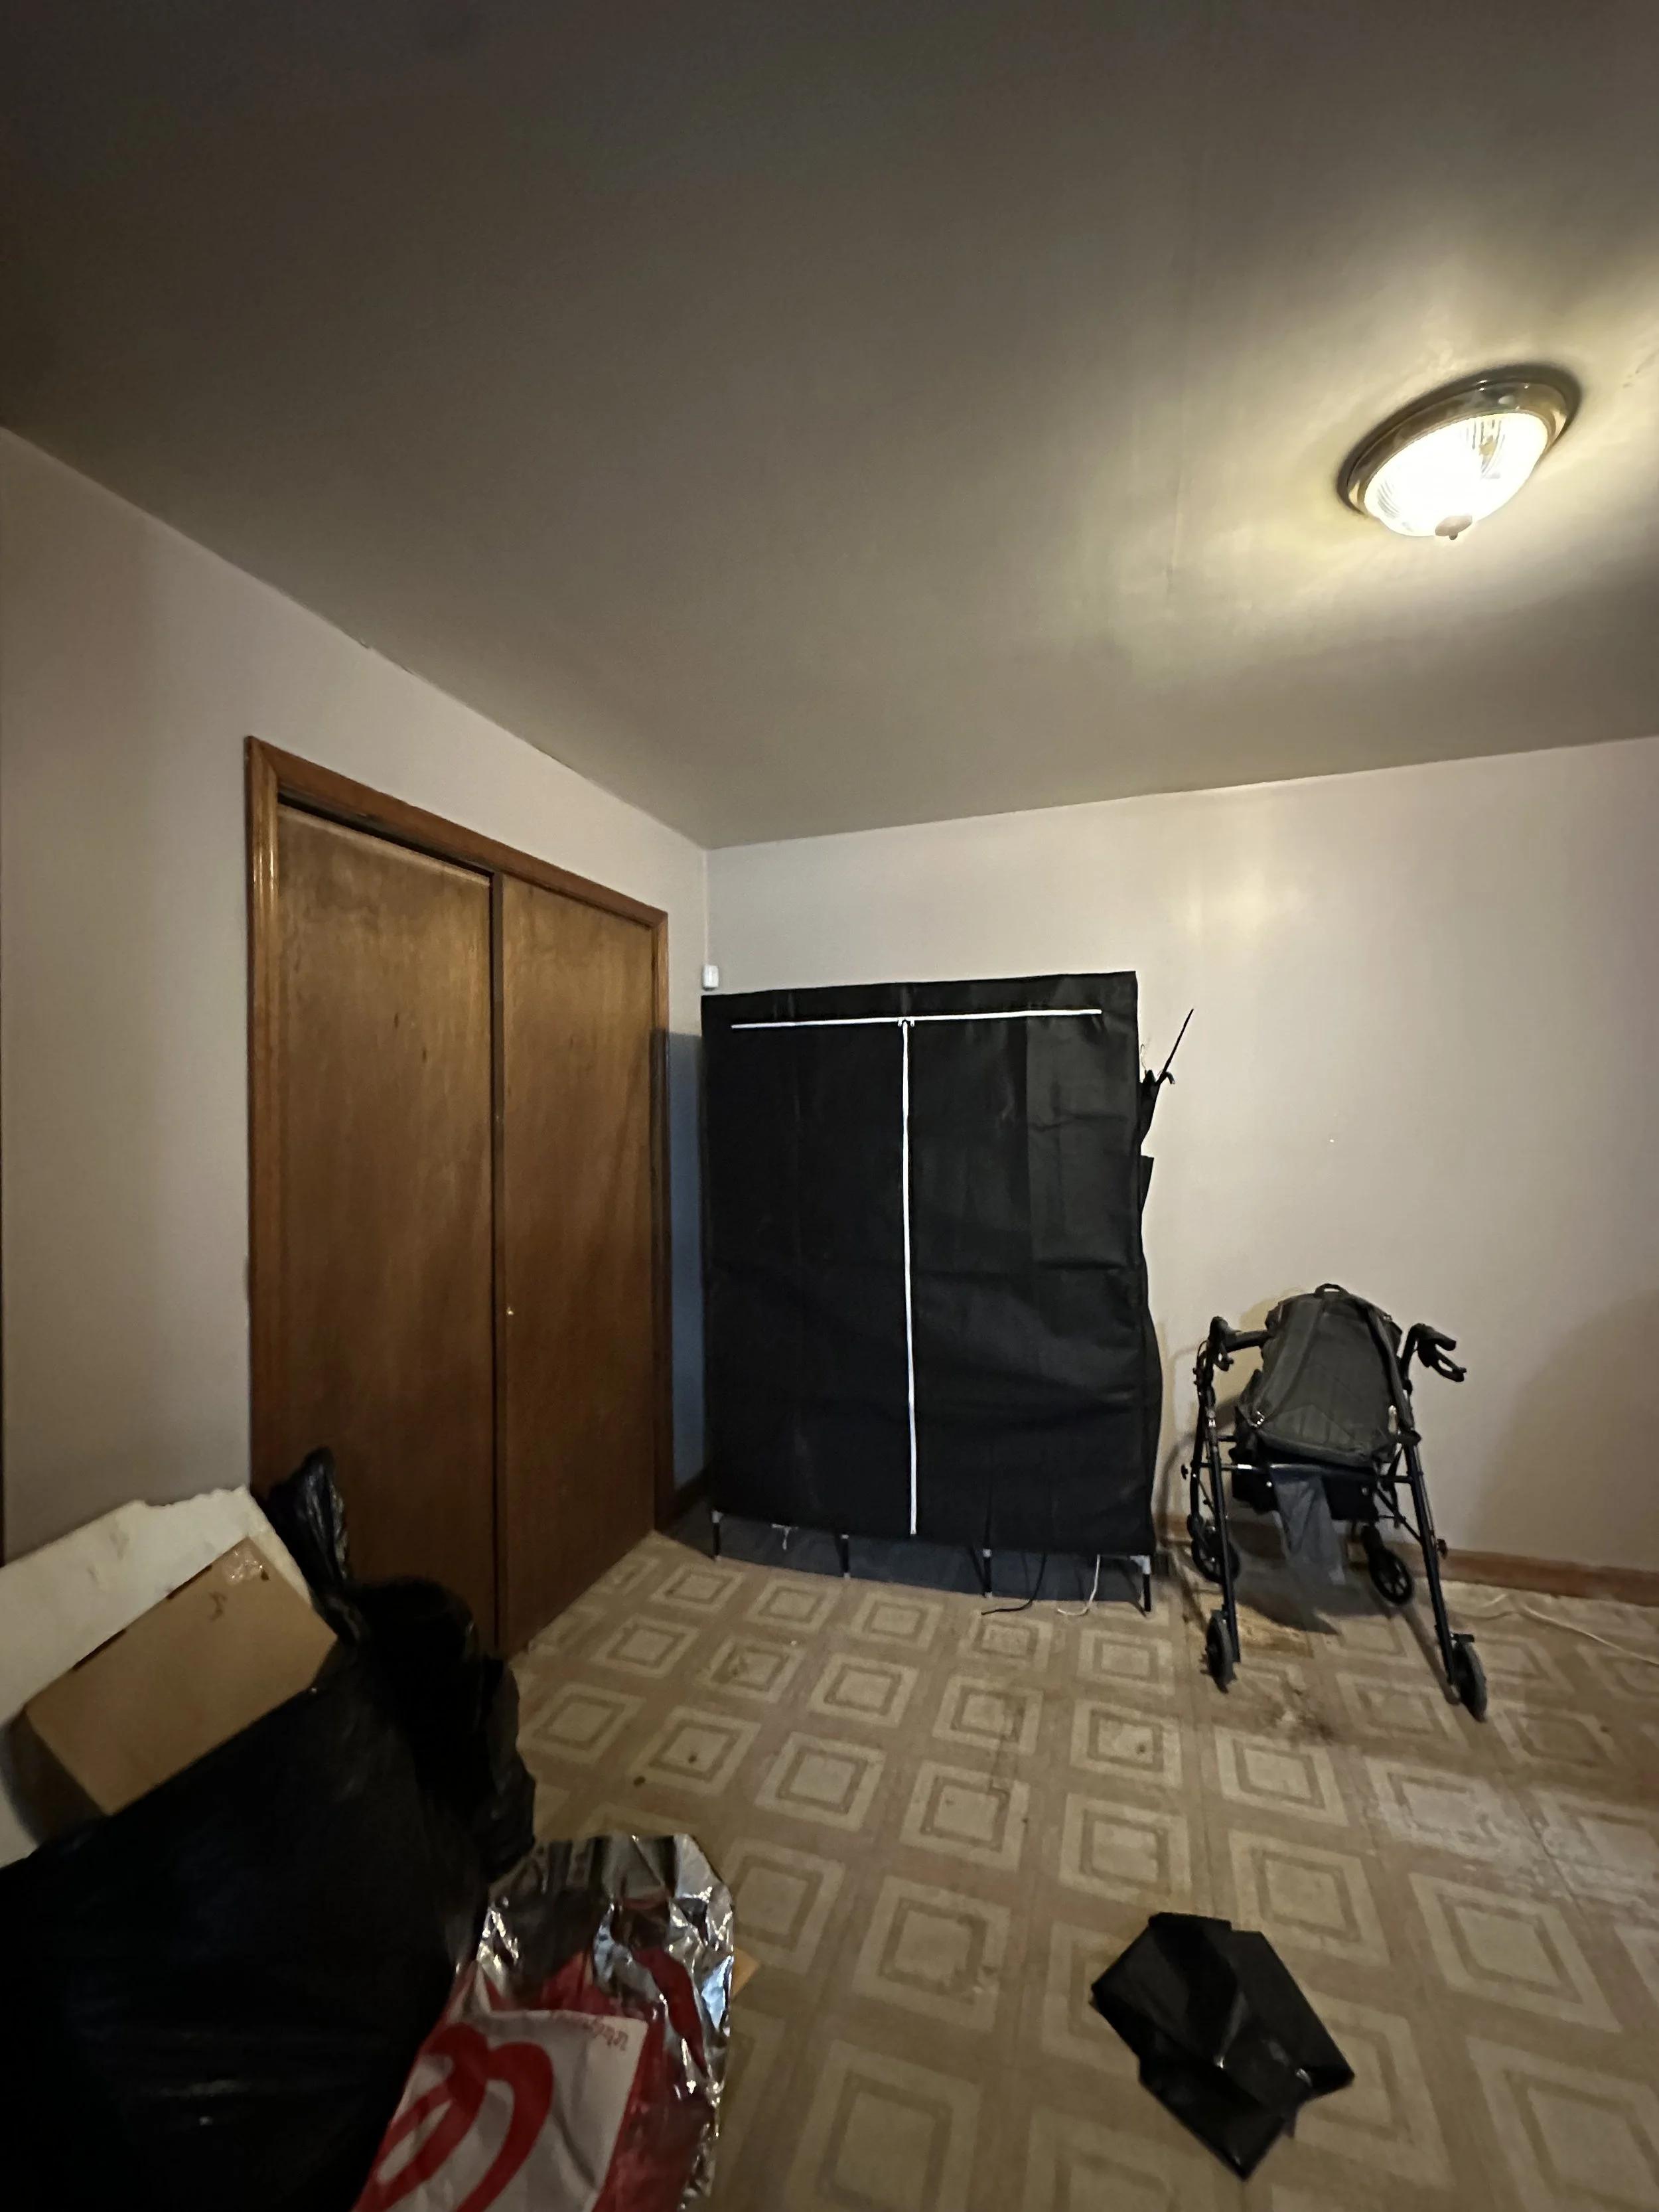
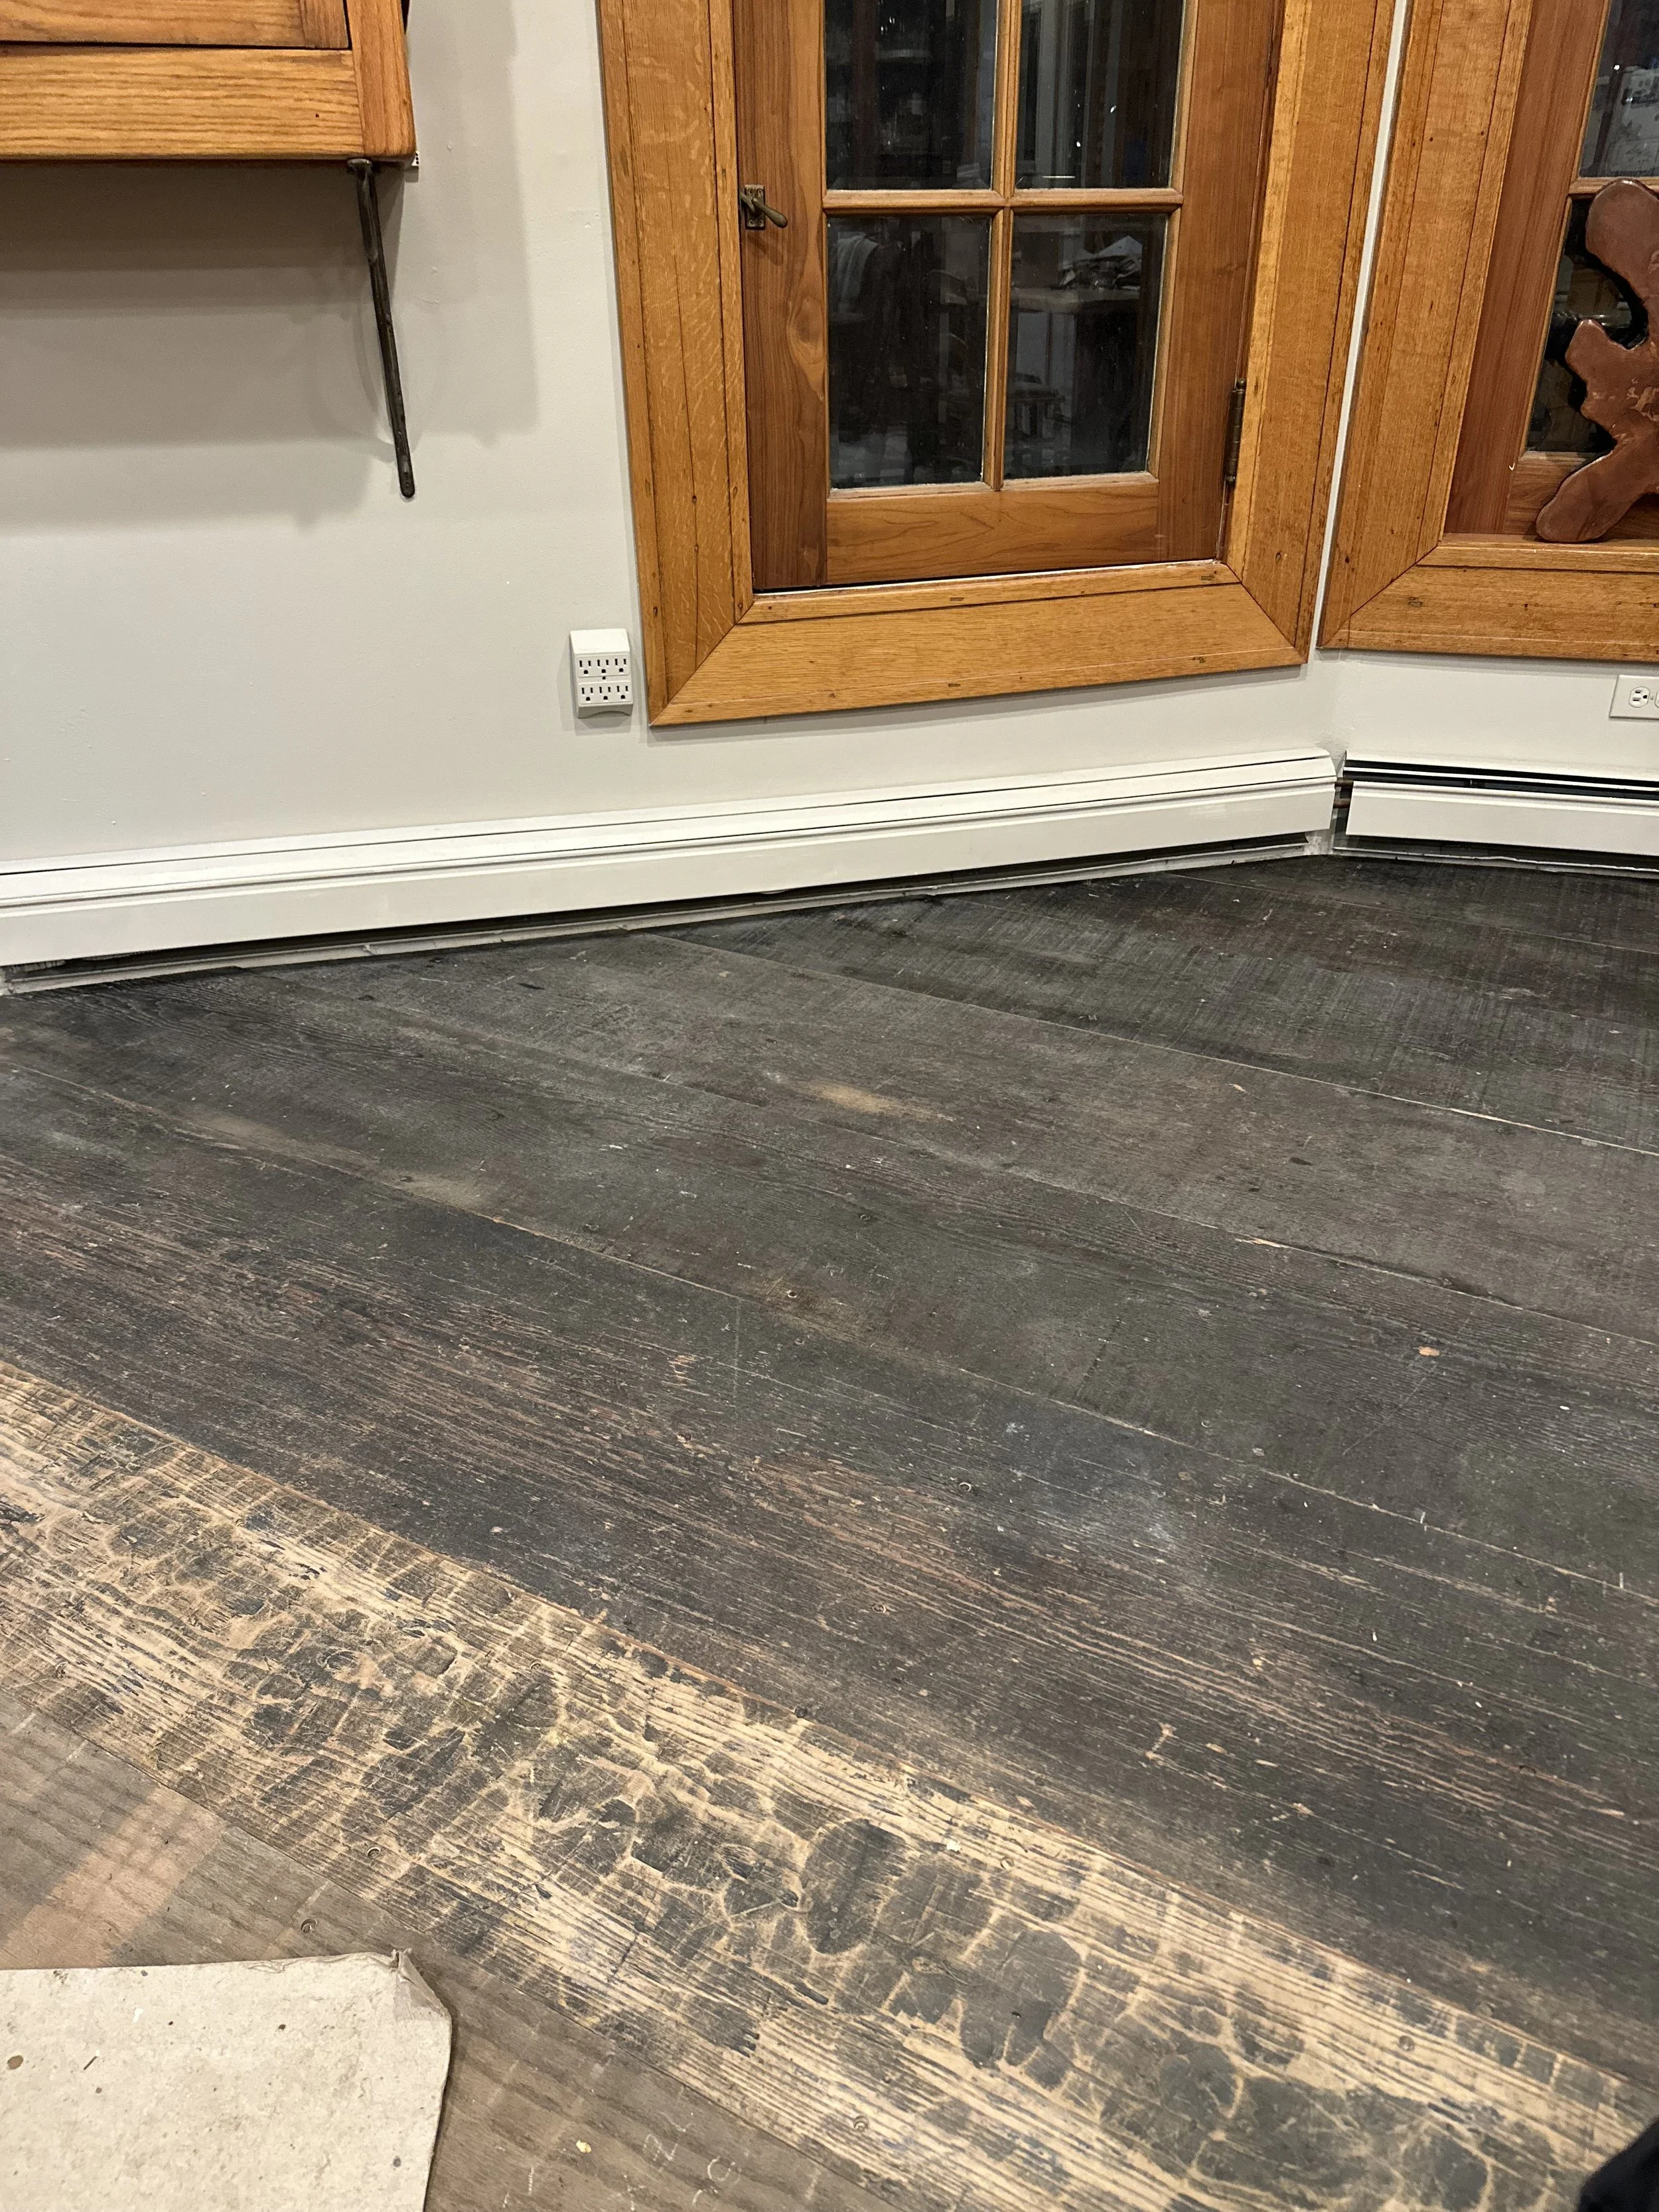
My grandmother in- laws home in South Shore. Her closet had been off the hinges for a long time. The floor has shifted over the years, and the tracts were no longer reaching properly. I used a drill to open the floor piece, measured a few pieces of cardboard, and layered them under the floor peace. Then, I tightened up the loose brackets and placed the door back on the track! She was pleased and I was happy to work with a lovely wooden door.
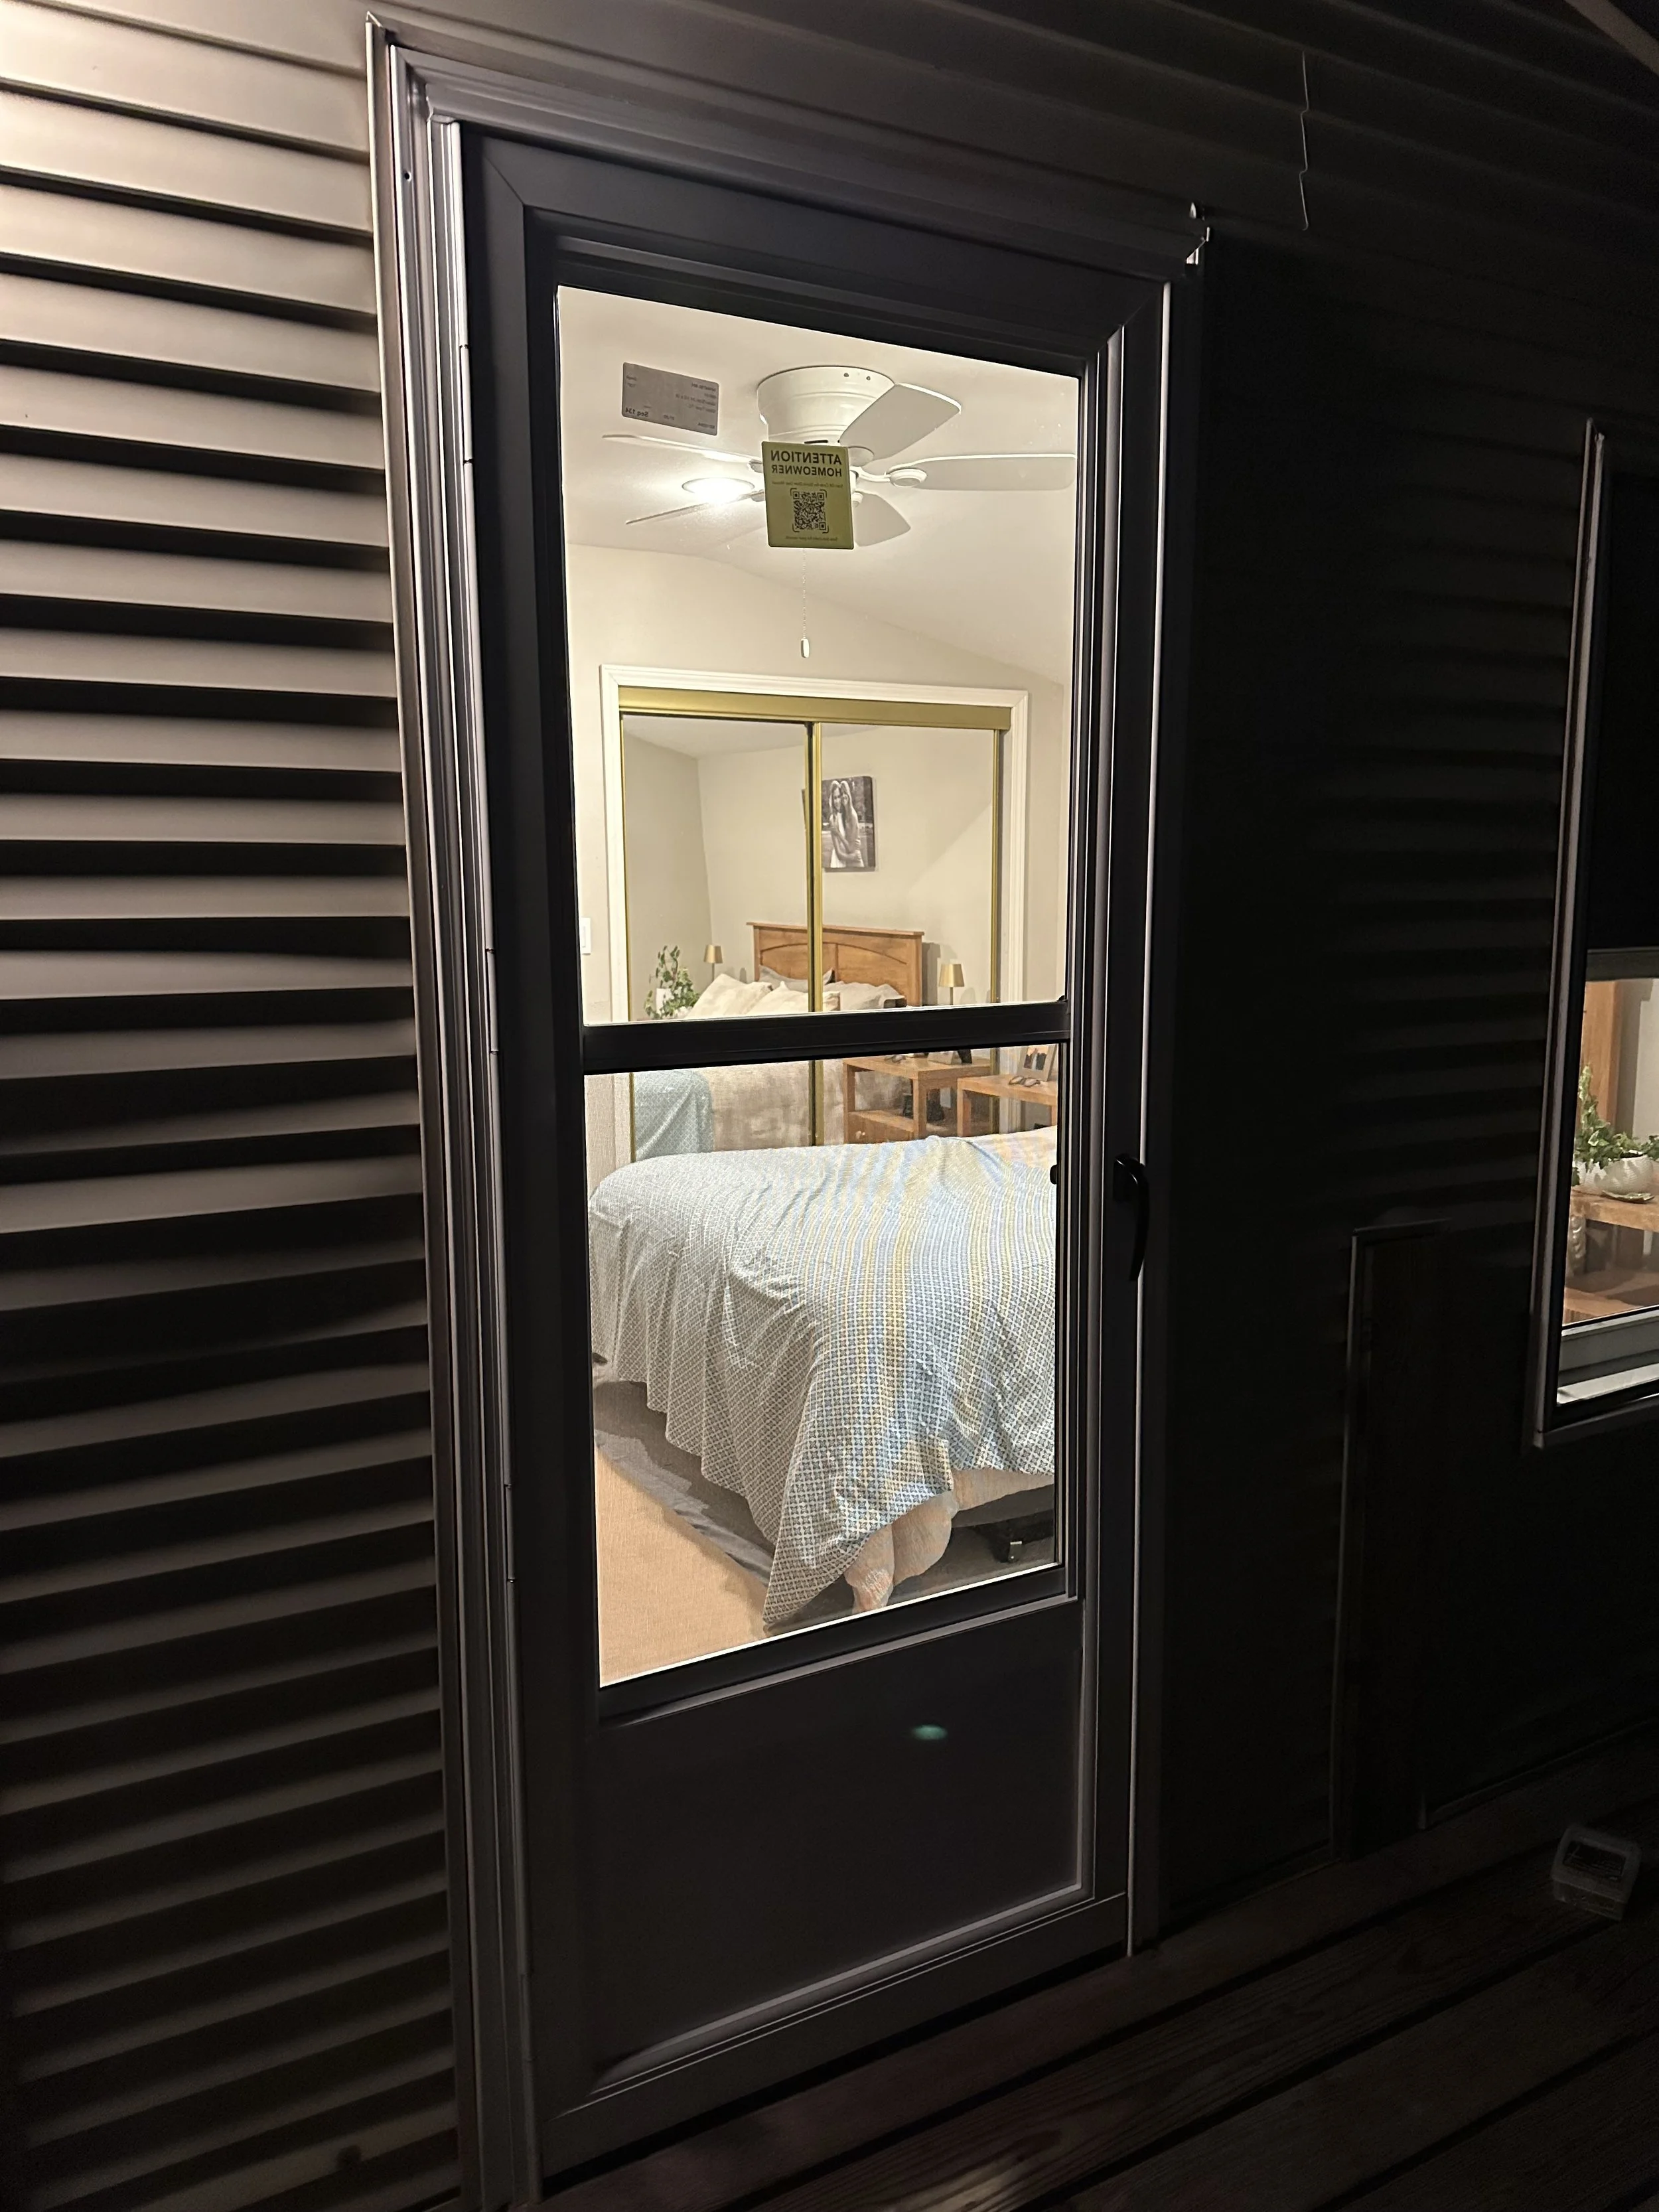
A storm doorm. My mentor and I were installing this door. It took an afternoons ( into evening) to install all of the parts. I began to learn the anatomy of doors and the importance of keeping tools and materials tidy while at someone's home.
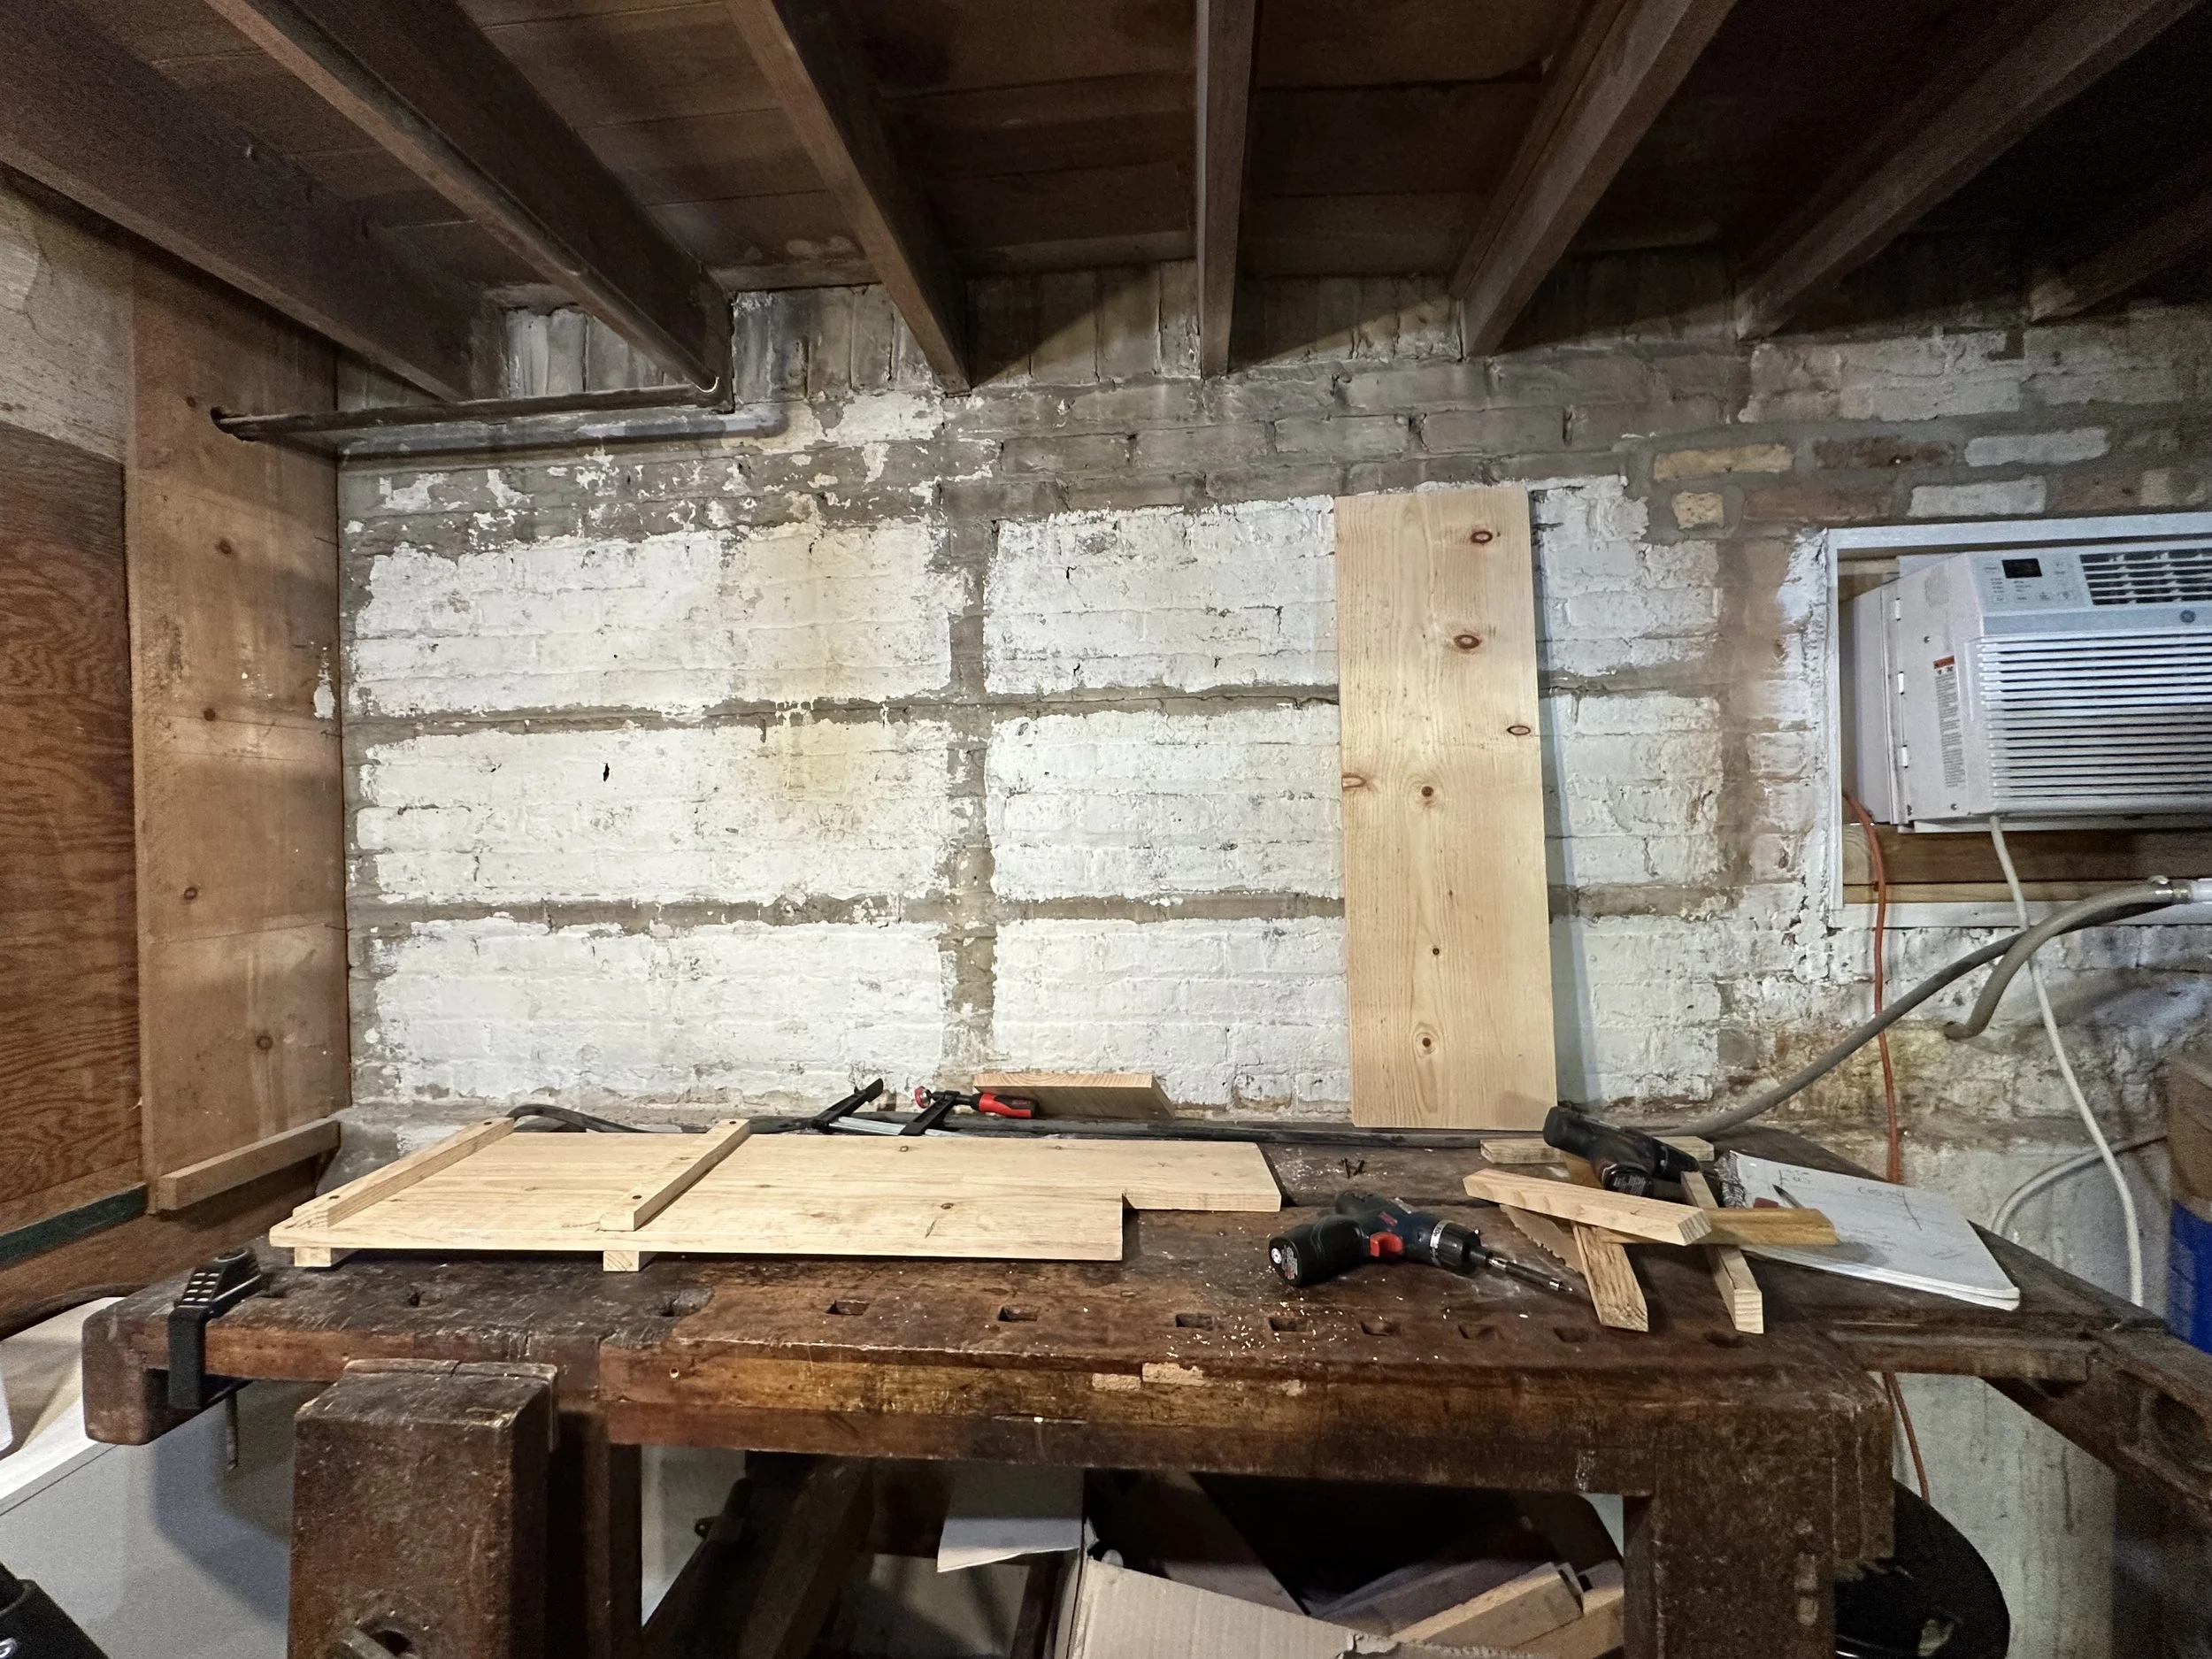
These are workshop shelves I made from scratch. I measured the space, went to purchase lumbar, and cut the lumbar to size with a Rip Saw. That was very enjoyable. I wore gloves to avoid splinters and knee pads to support my knees while working.
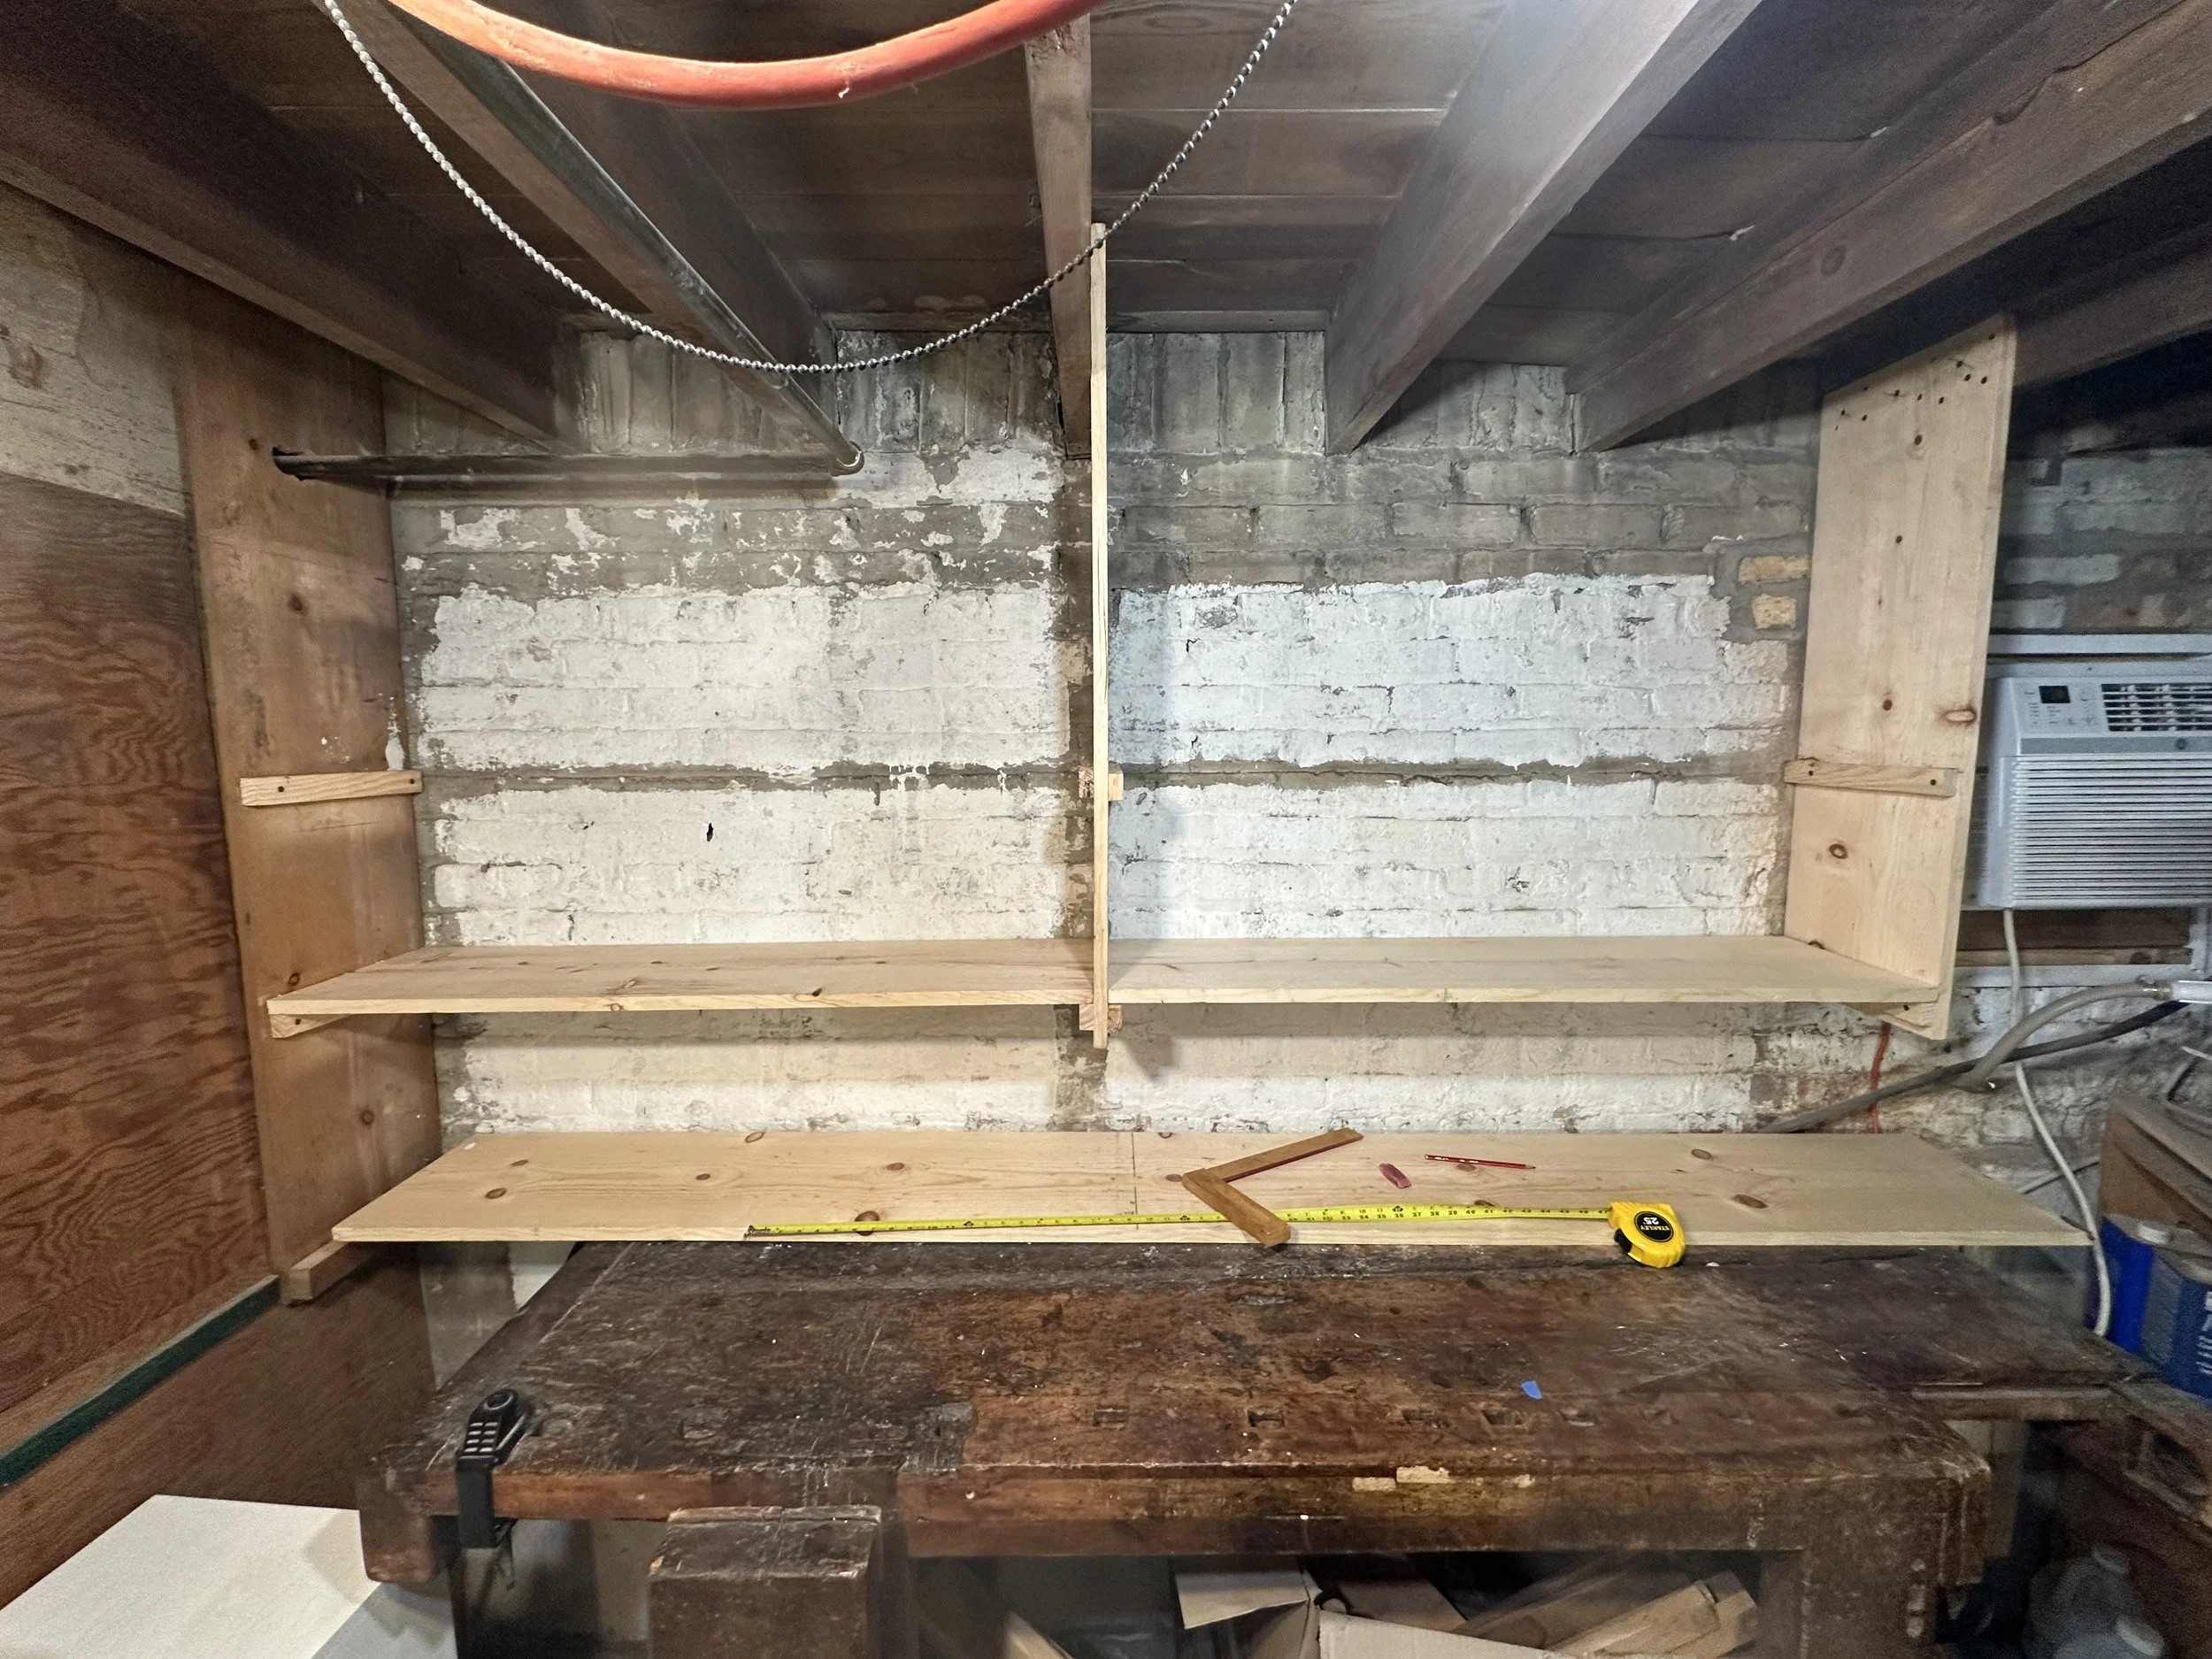
My center board was hard to align properly, so I measured for the gap and cut a shim with a band saw. I screwed all of my boards into the handmade brackets I fashioned earlier.
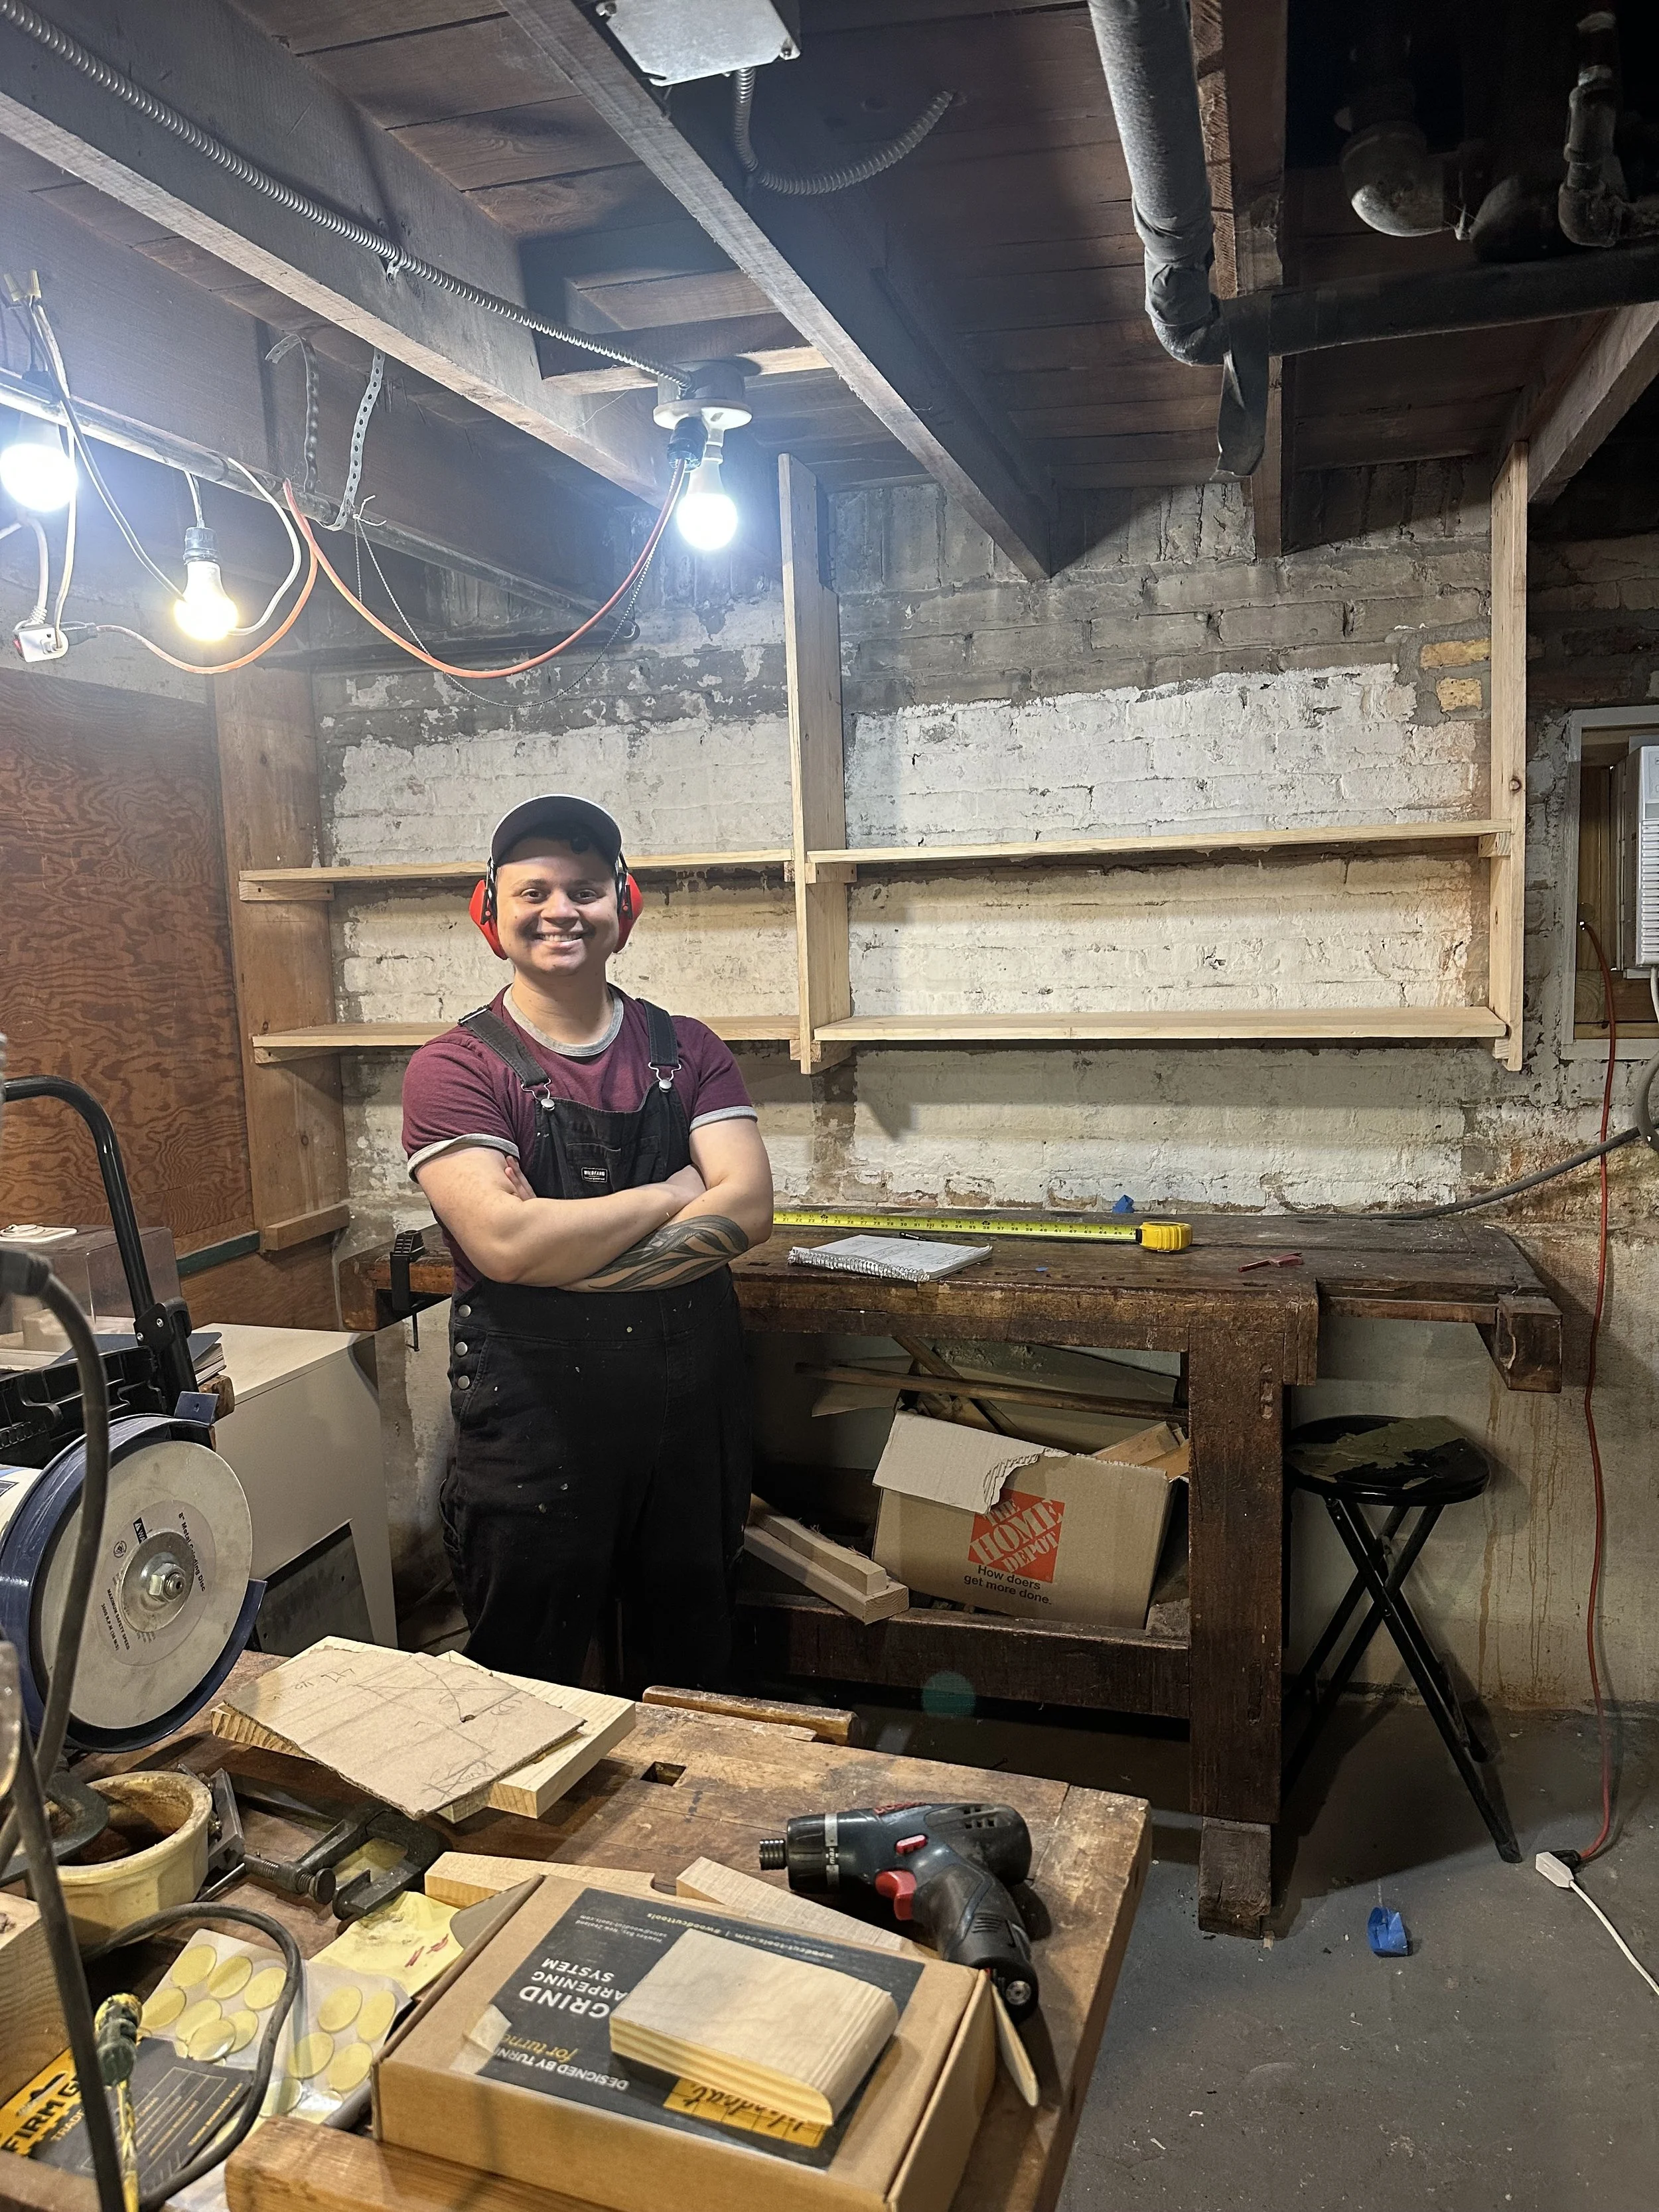
Task Complete! Client was very happy with result, timeliness, and load bearing precautions.
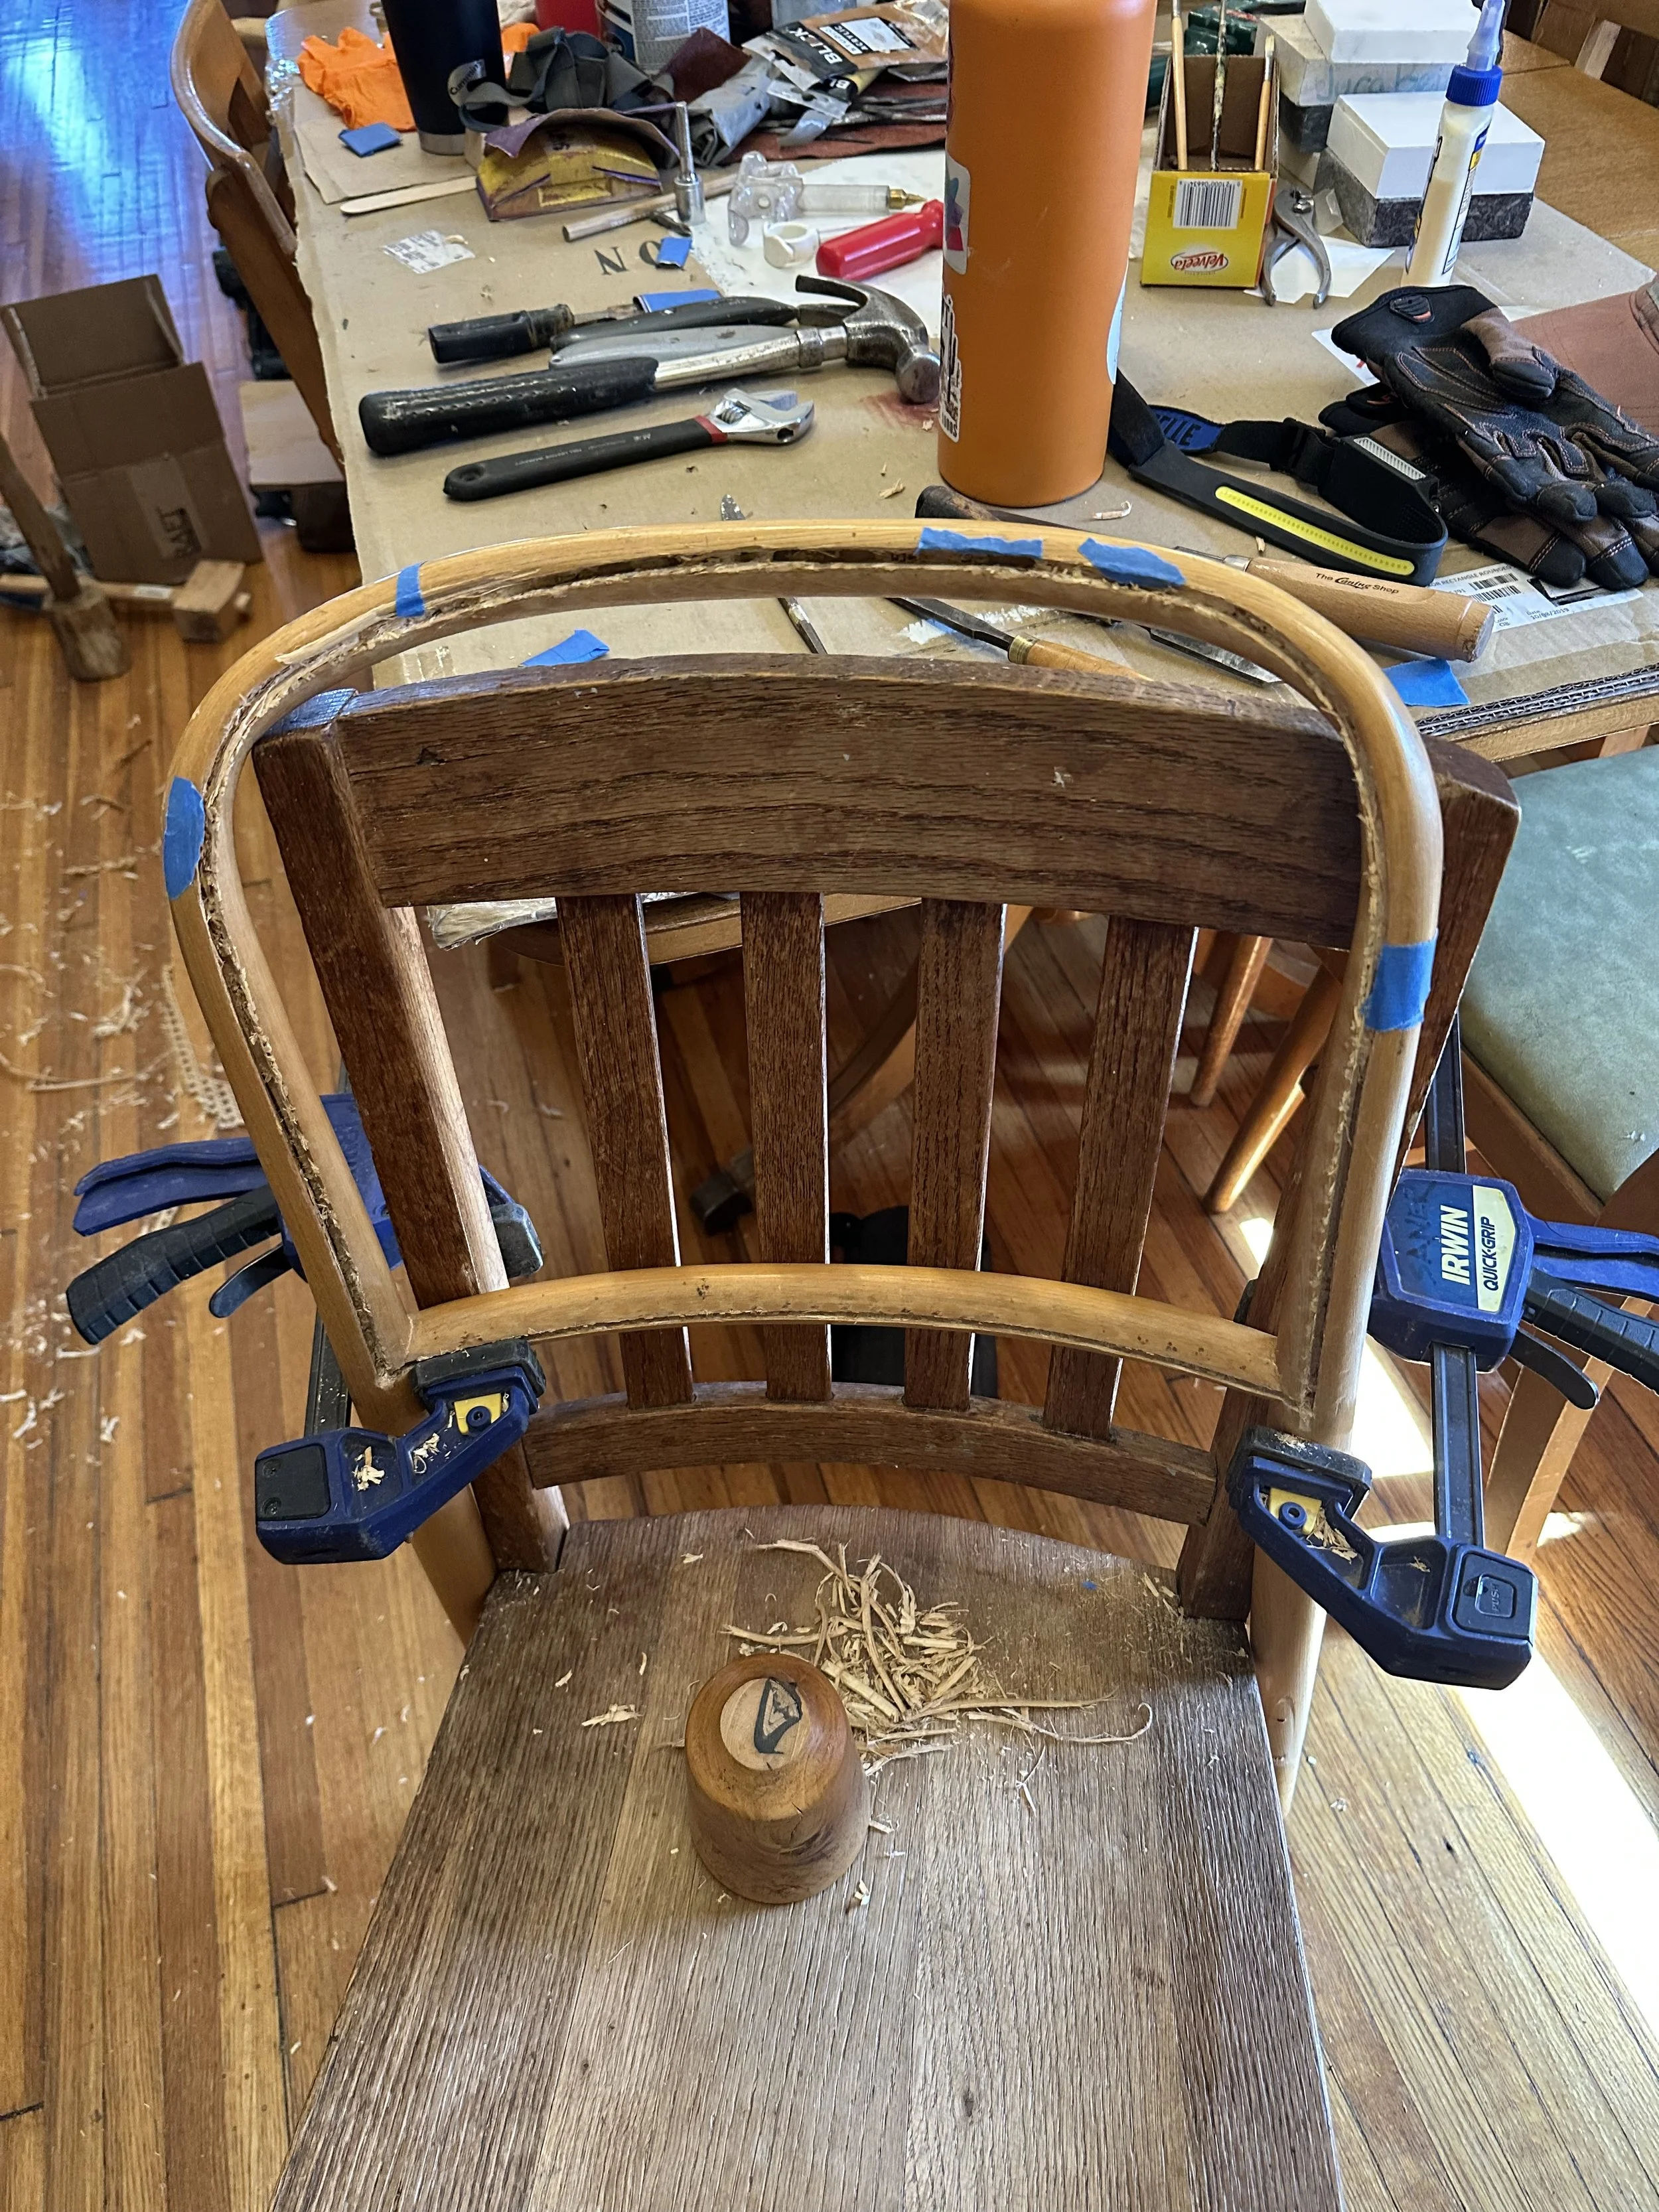
Much of the caning project was adapting erogmatic ways to work. I took it upon myself to lead that and same up with several ways to secure the backs and seats of the chairs. Different parts required different solutions. I was proud to innovate and be flexible.
I used a skew and malate to work the cane. Hyde glue with a syringe, and rounded thin wood to ease the new cane into place. I enjoyed working on a small, detailed scale.
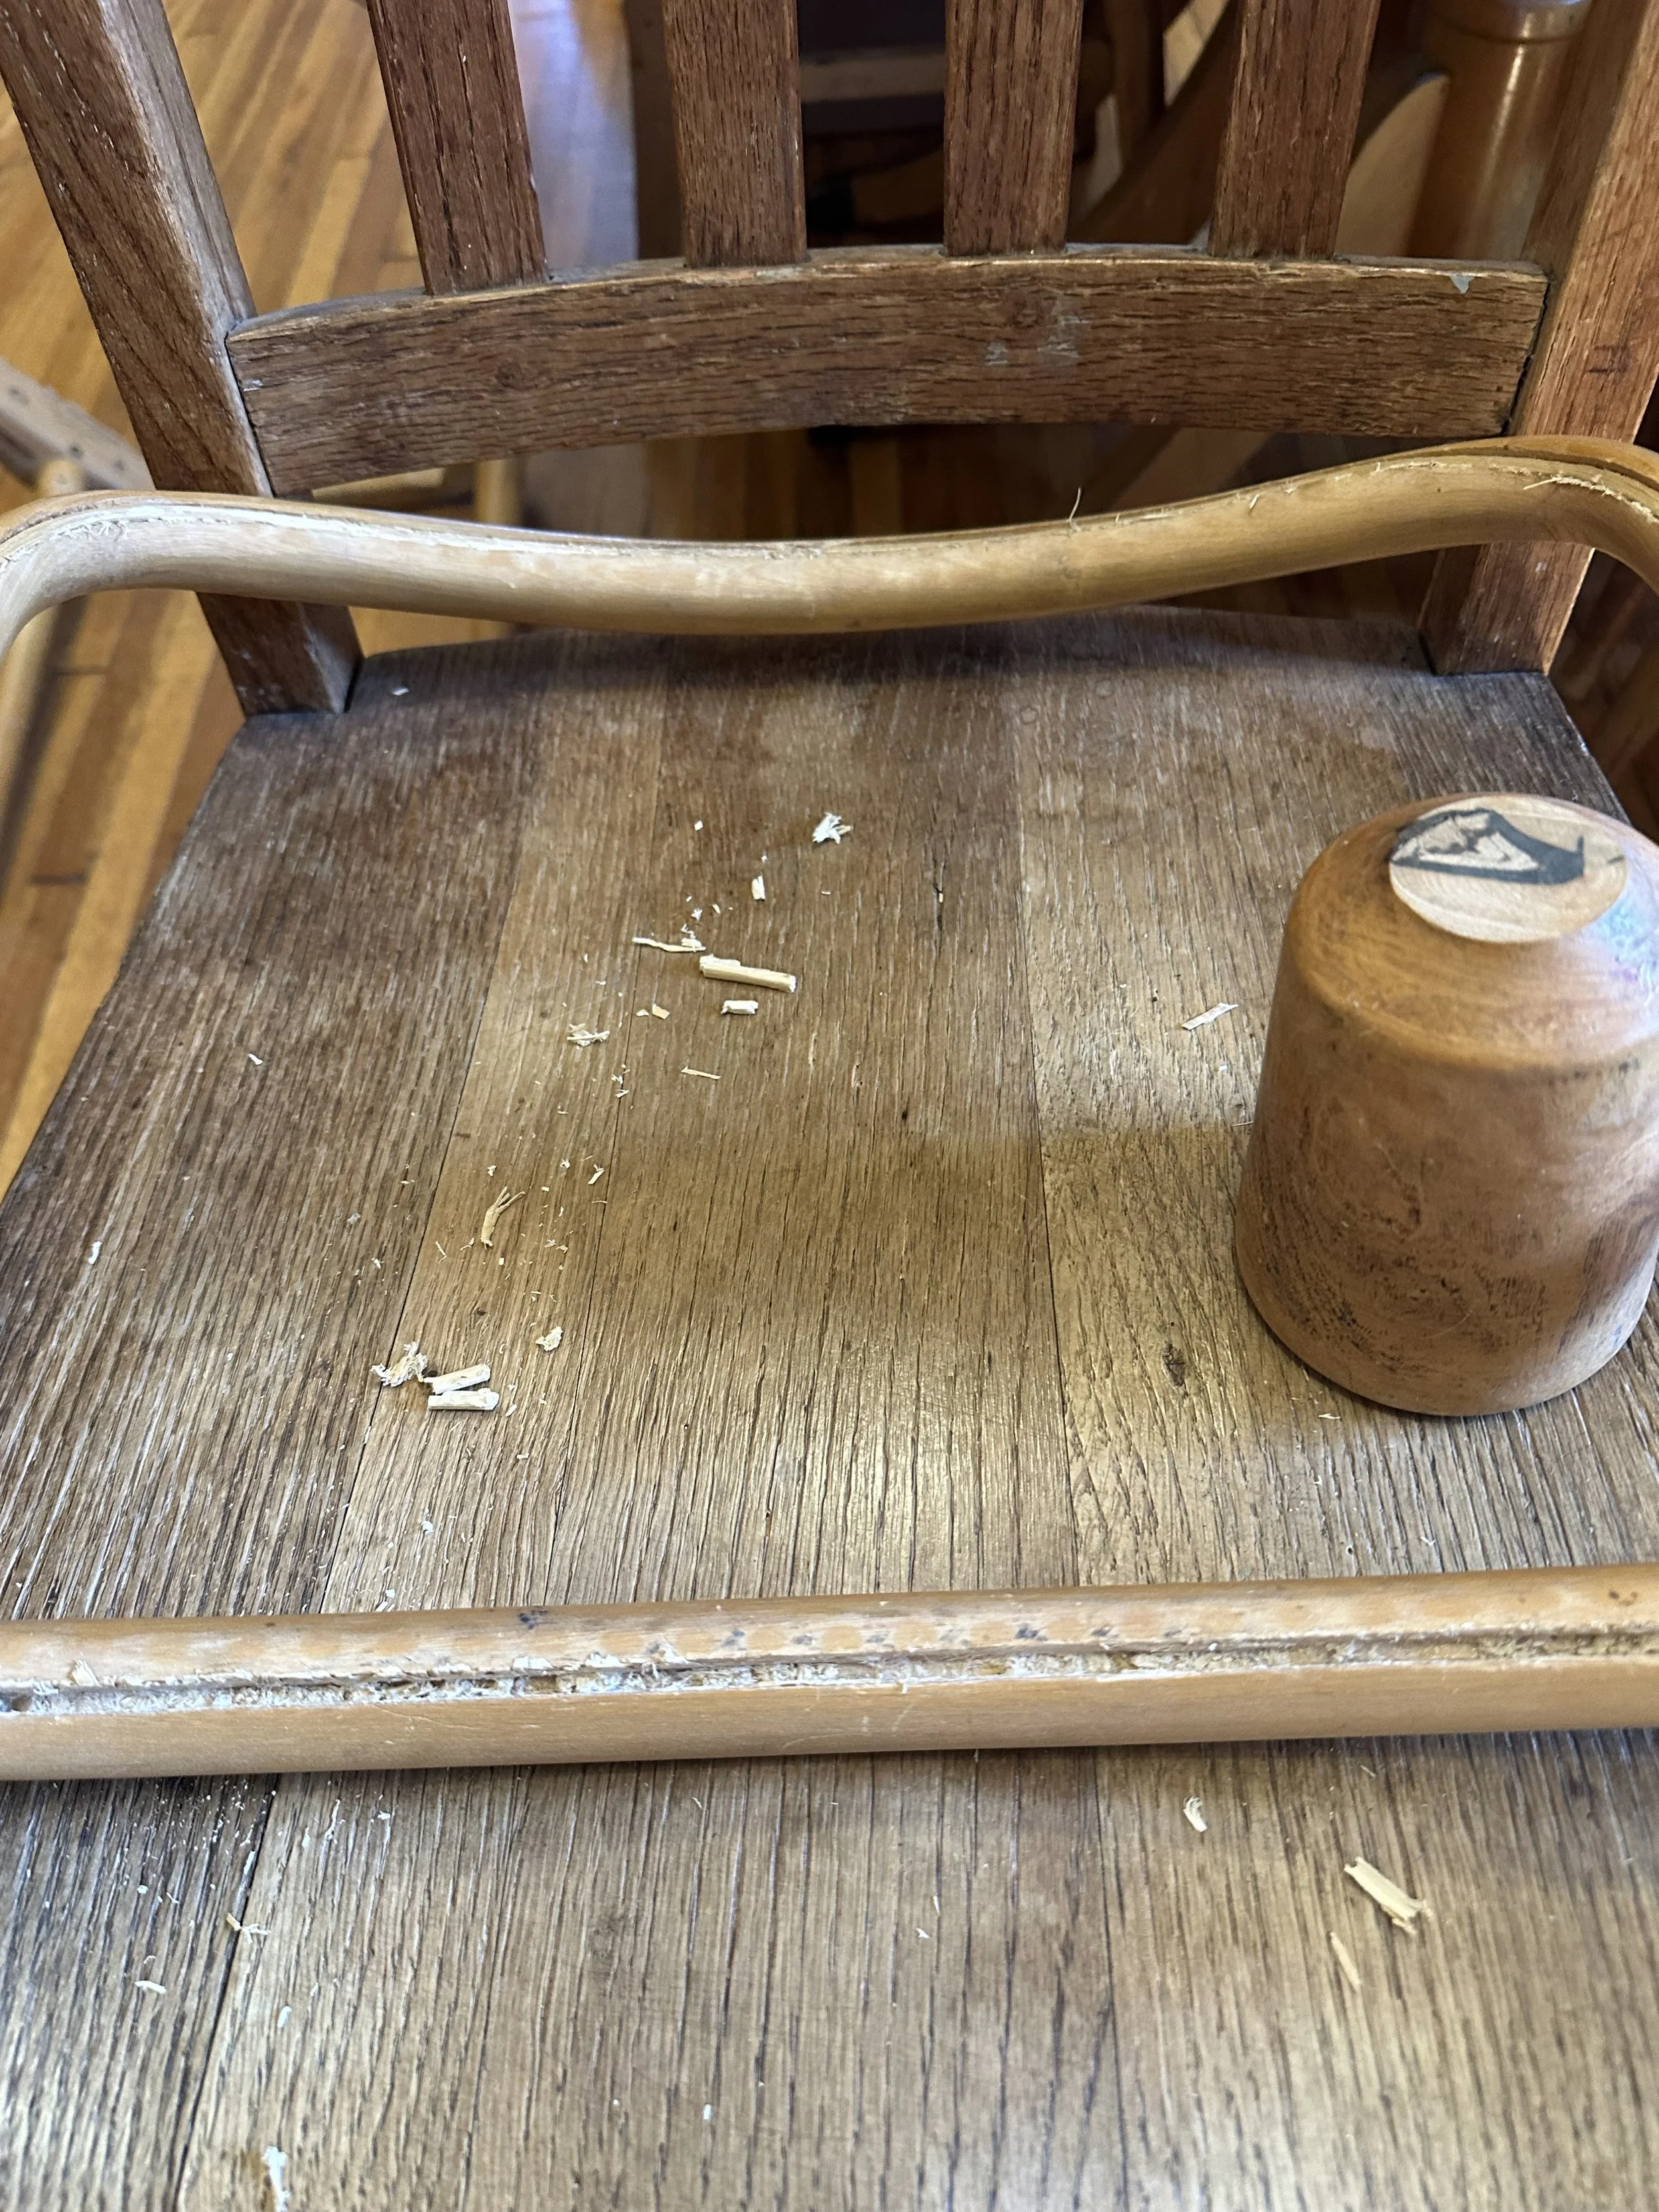
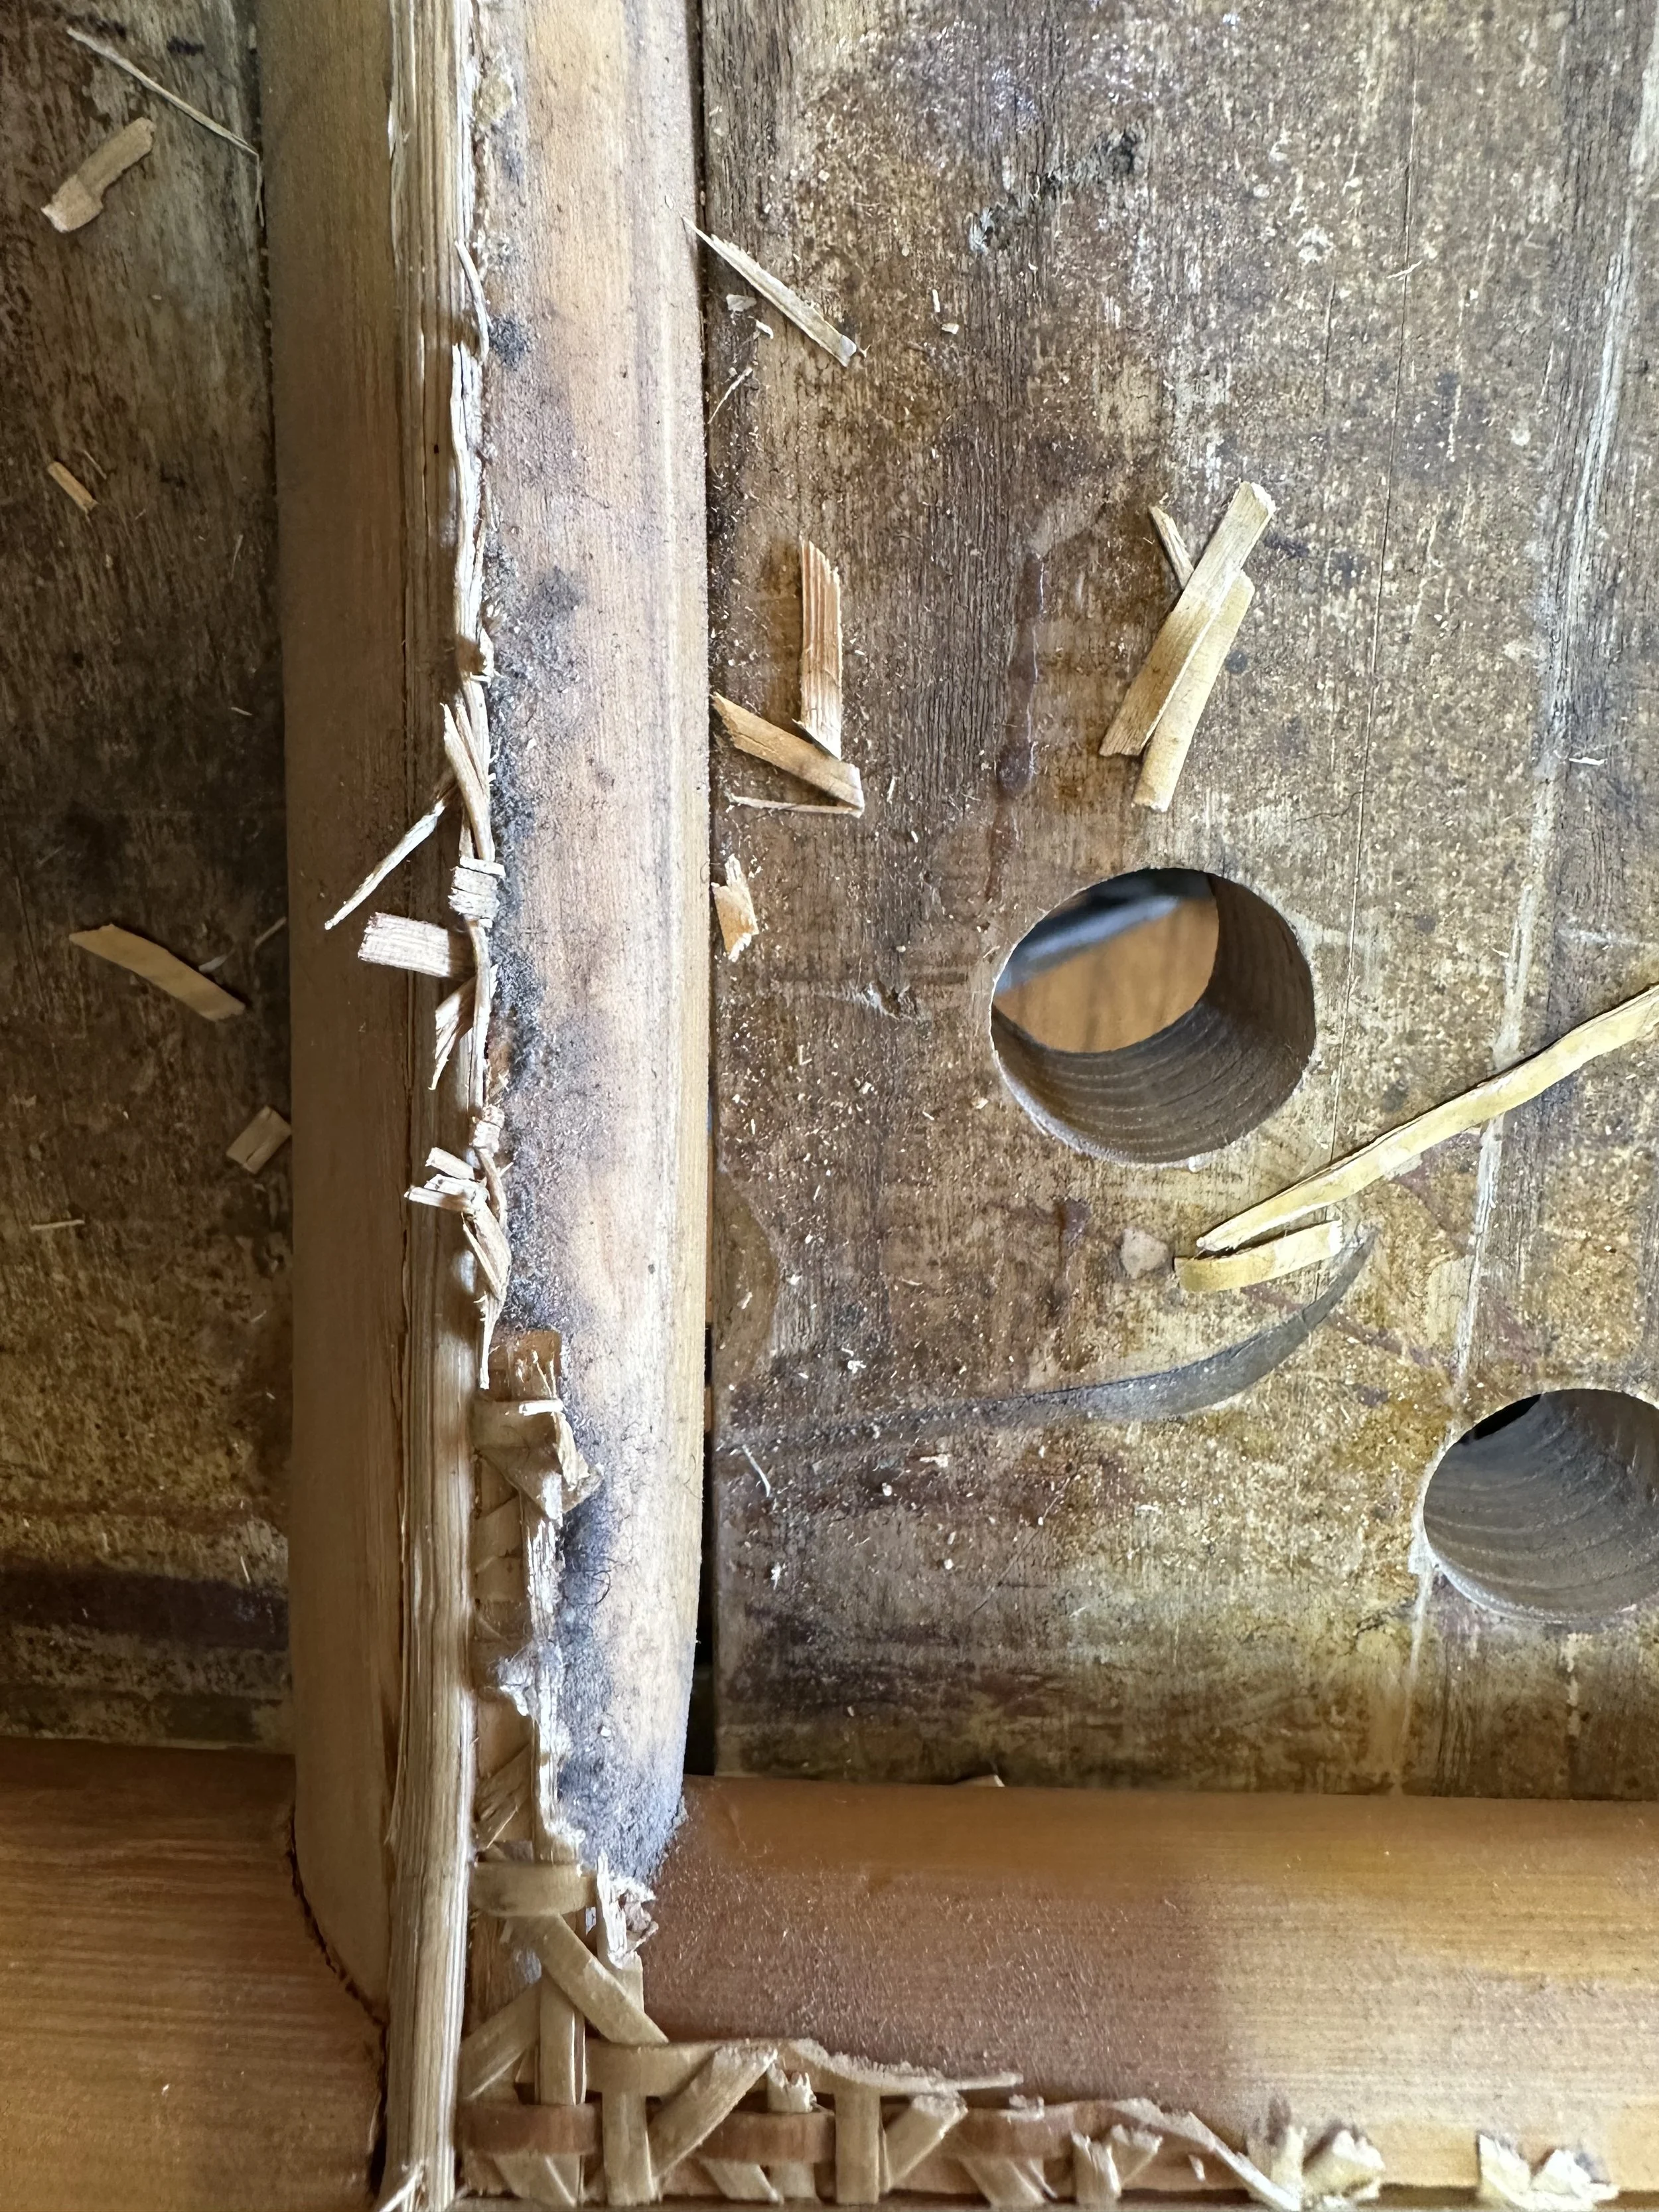
Chair caning project. Image of a cleared cane passage. Ready for new cane. We repaired 8 dining chairs. We Deconstructed the backs and seats, prepared caning material for caning, and performed minimal repairs on the frames and legs.
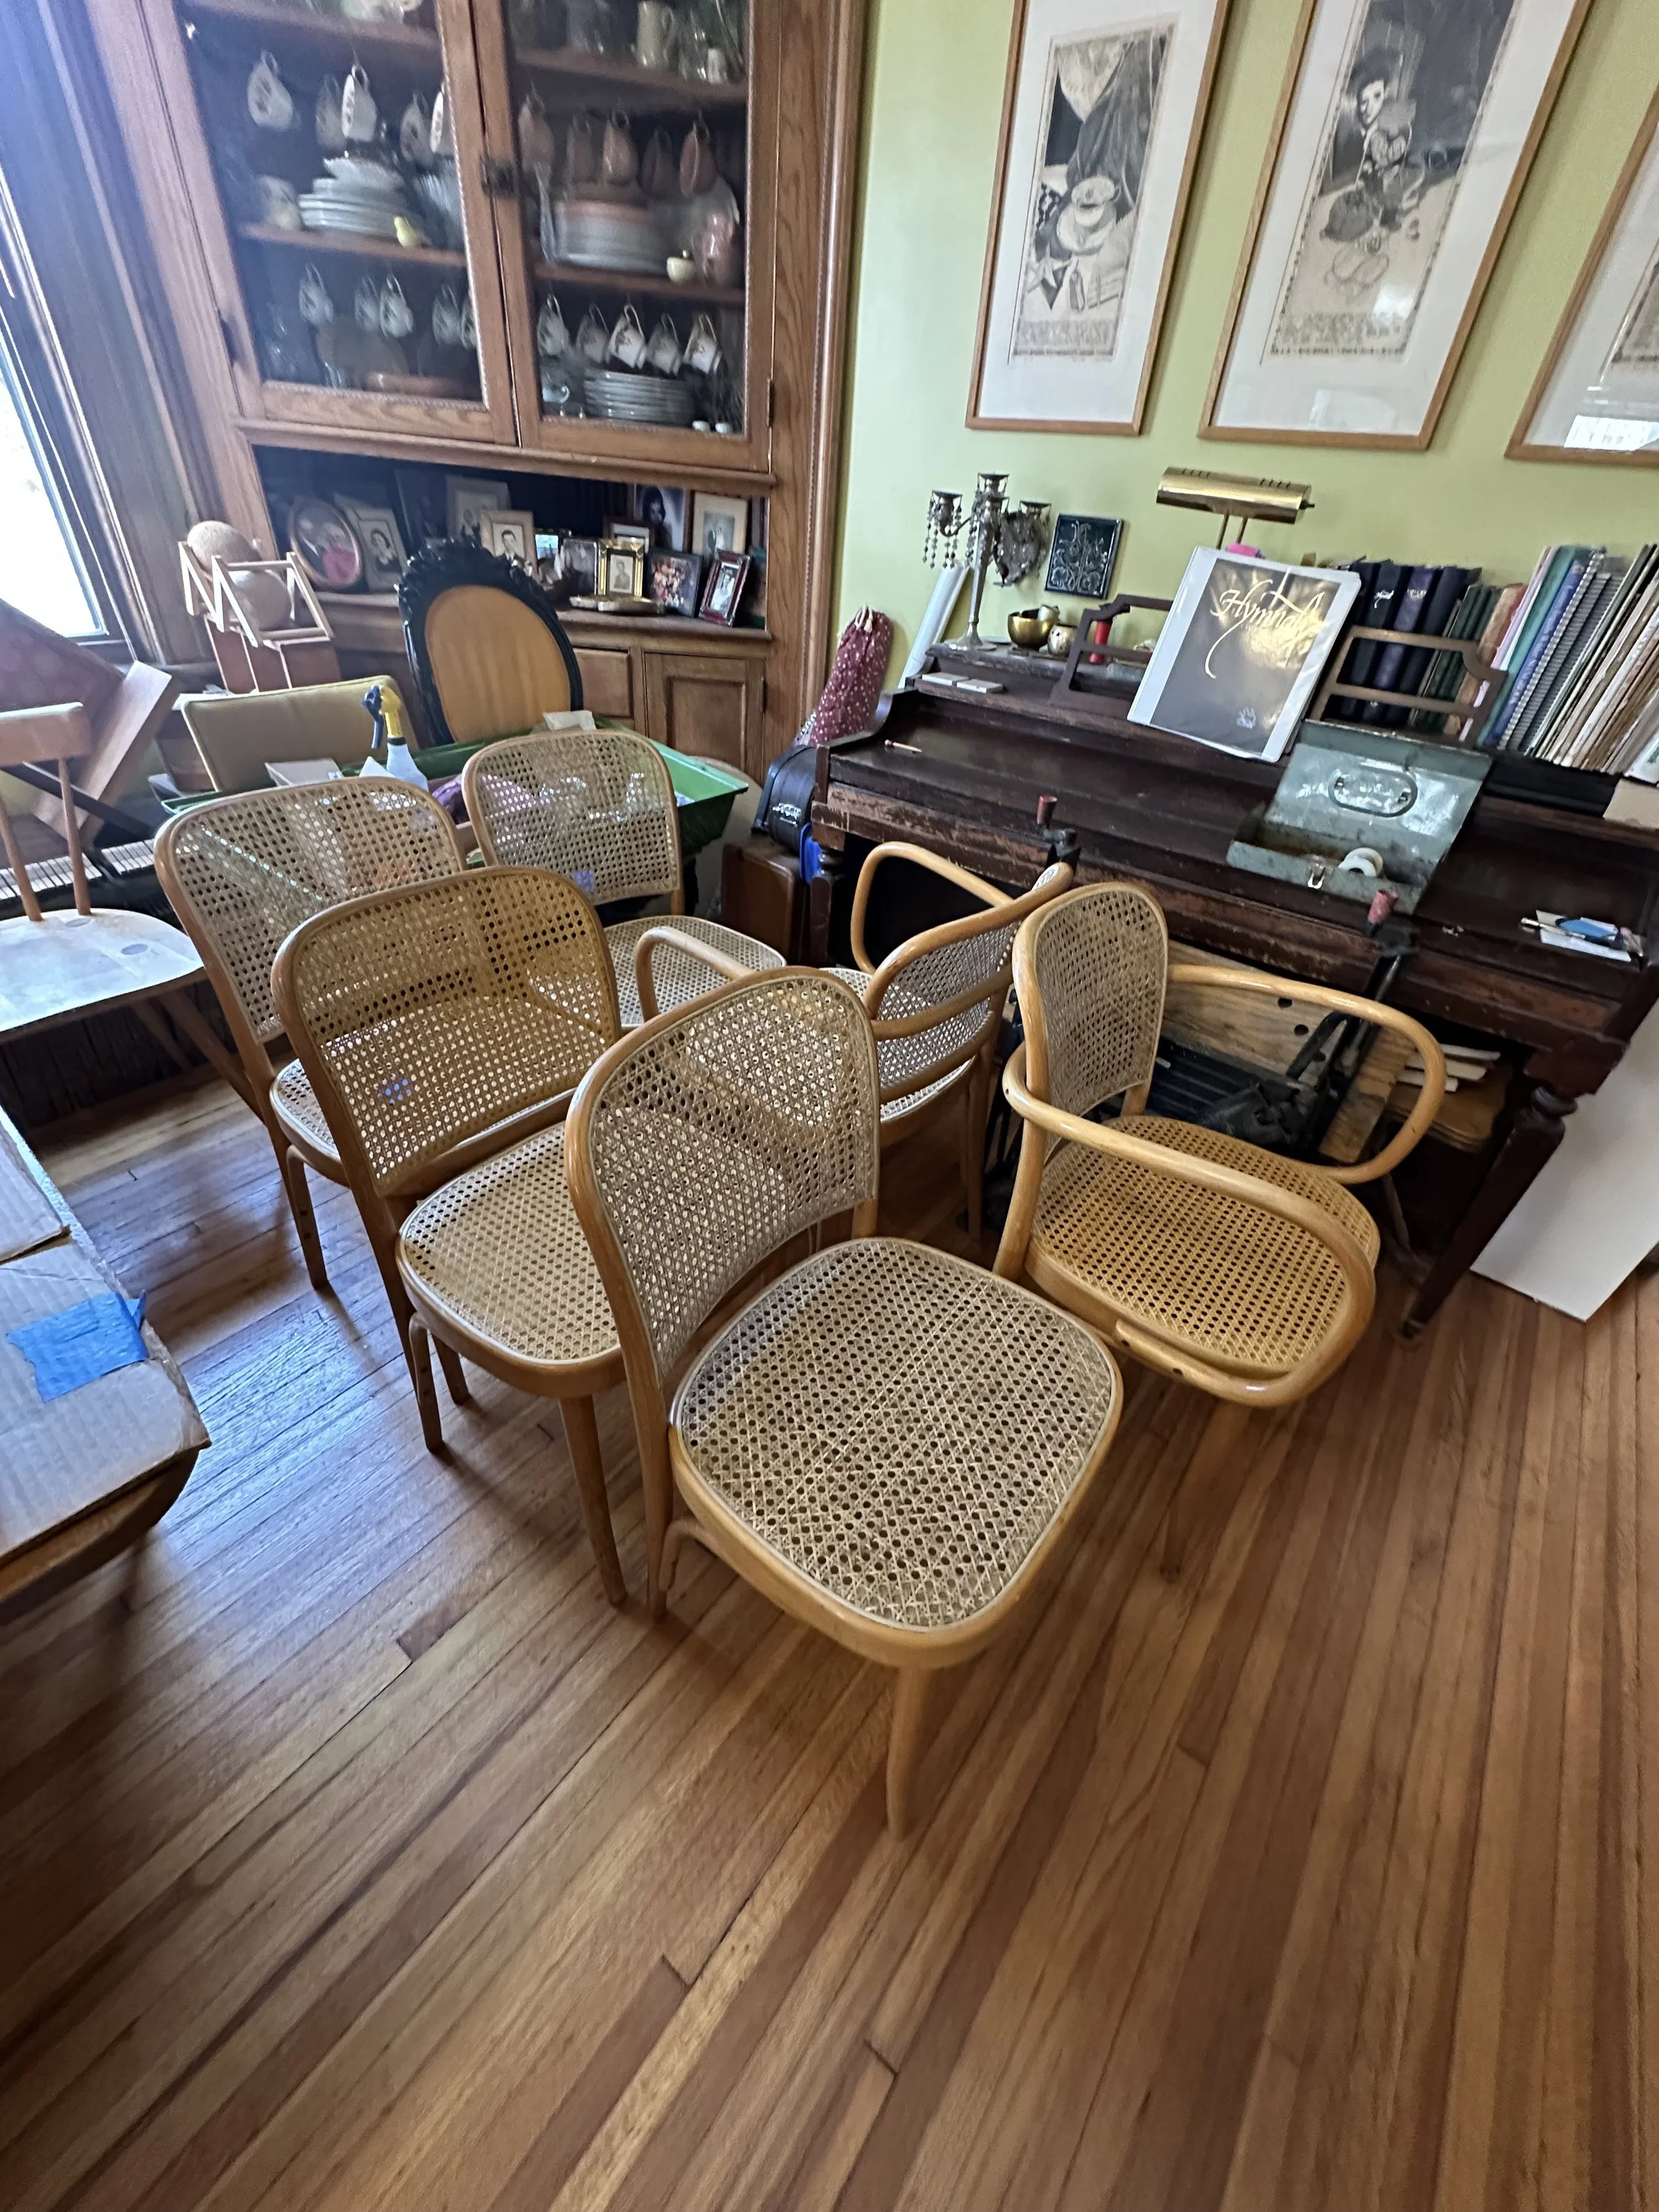
All chairs re-caned and awaiting color staining. We used stiff bristle brushes to kneed in the pigment.